OV20i Product Activation Guide
- 12 May 2025
- Print
- PDF
OV20i Product Activation Guide
- Updated on 12 May 2025
- Print
- PDF
Article summary
Did you find this summary helpful?
Thank you for your feedback!
This guide walks you through activating your OV20i camera system. By the end of this process, your camera will be fully registered and ready for production use.
Overview
The OV20i camera requires activation before all features become available. The activation process registers the camera with Overview and enables functionality. This one-time procedure takes approximately 2–5 minutes to complete.
Prerequisites
Before you begin, ensure you have:
- OV20i camera powered on and connected to your network
- Access to the camera's web interface through a browser
- Reliable internet connection on the device used for activation
- Activation code or license key (if provided separately).
Note
The activation code can be provided separately if the computer that is activating the camera is not connected to internet. Contact support@overview.ai
Connecting to the Camera
1. Establish Network Connection
- Connect the OV20i camera to your local network using the Ethernet port
- Power on the camera using the provided power supply (or 24V from your machine’s power supply)
- Wait approximately 60 seconds for the camera to fully boot
- Confirm the camera is online by checking that the status LED is solid green
2. Access the Web Interface
- Open a web browser on a computer connected to the same network
- Enter the camera's IP address in the address bar:
- Default IP: 192.168.0.100
- If using DHCP, find the assigned IP address in your router's client list
- Press Enter to navigate to the camera's web interface
- If this is your first time connecting, you'll automatically be directed to the setup wizard
Tip
If you cannot access the camera using the default IP, the camera might have received a different IP from your network's DHCP server. Check your router's connected devices list.
Alternative Access
The OV20i includes a secondary emergency access port. You can connect via a micro-USB cable on the side of the camera and access the interface at 192.168.55.1. This does not require changes to your local network settings.
Running the Activation Wizard
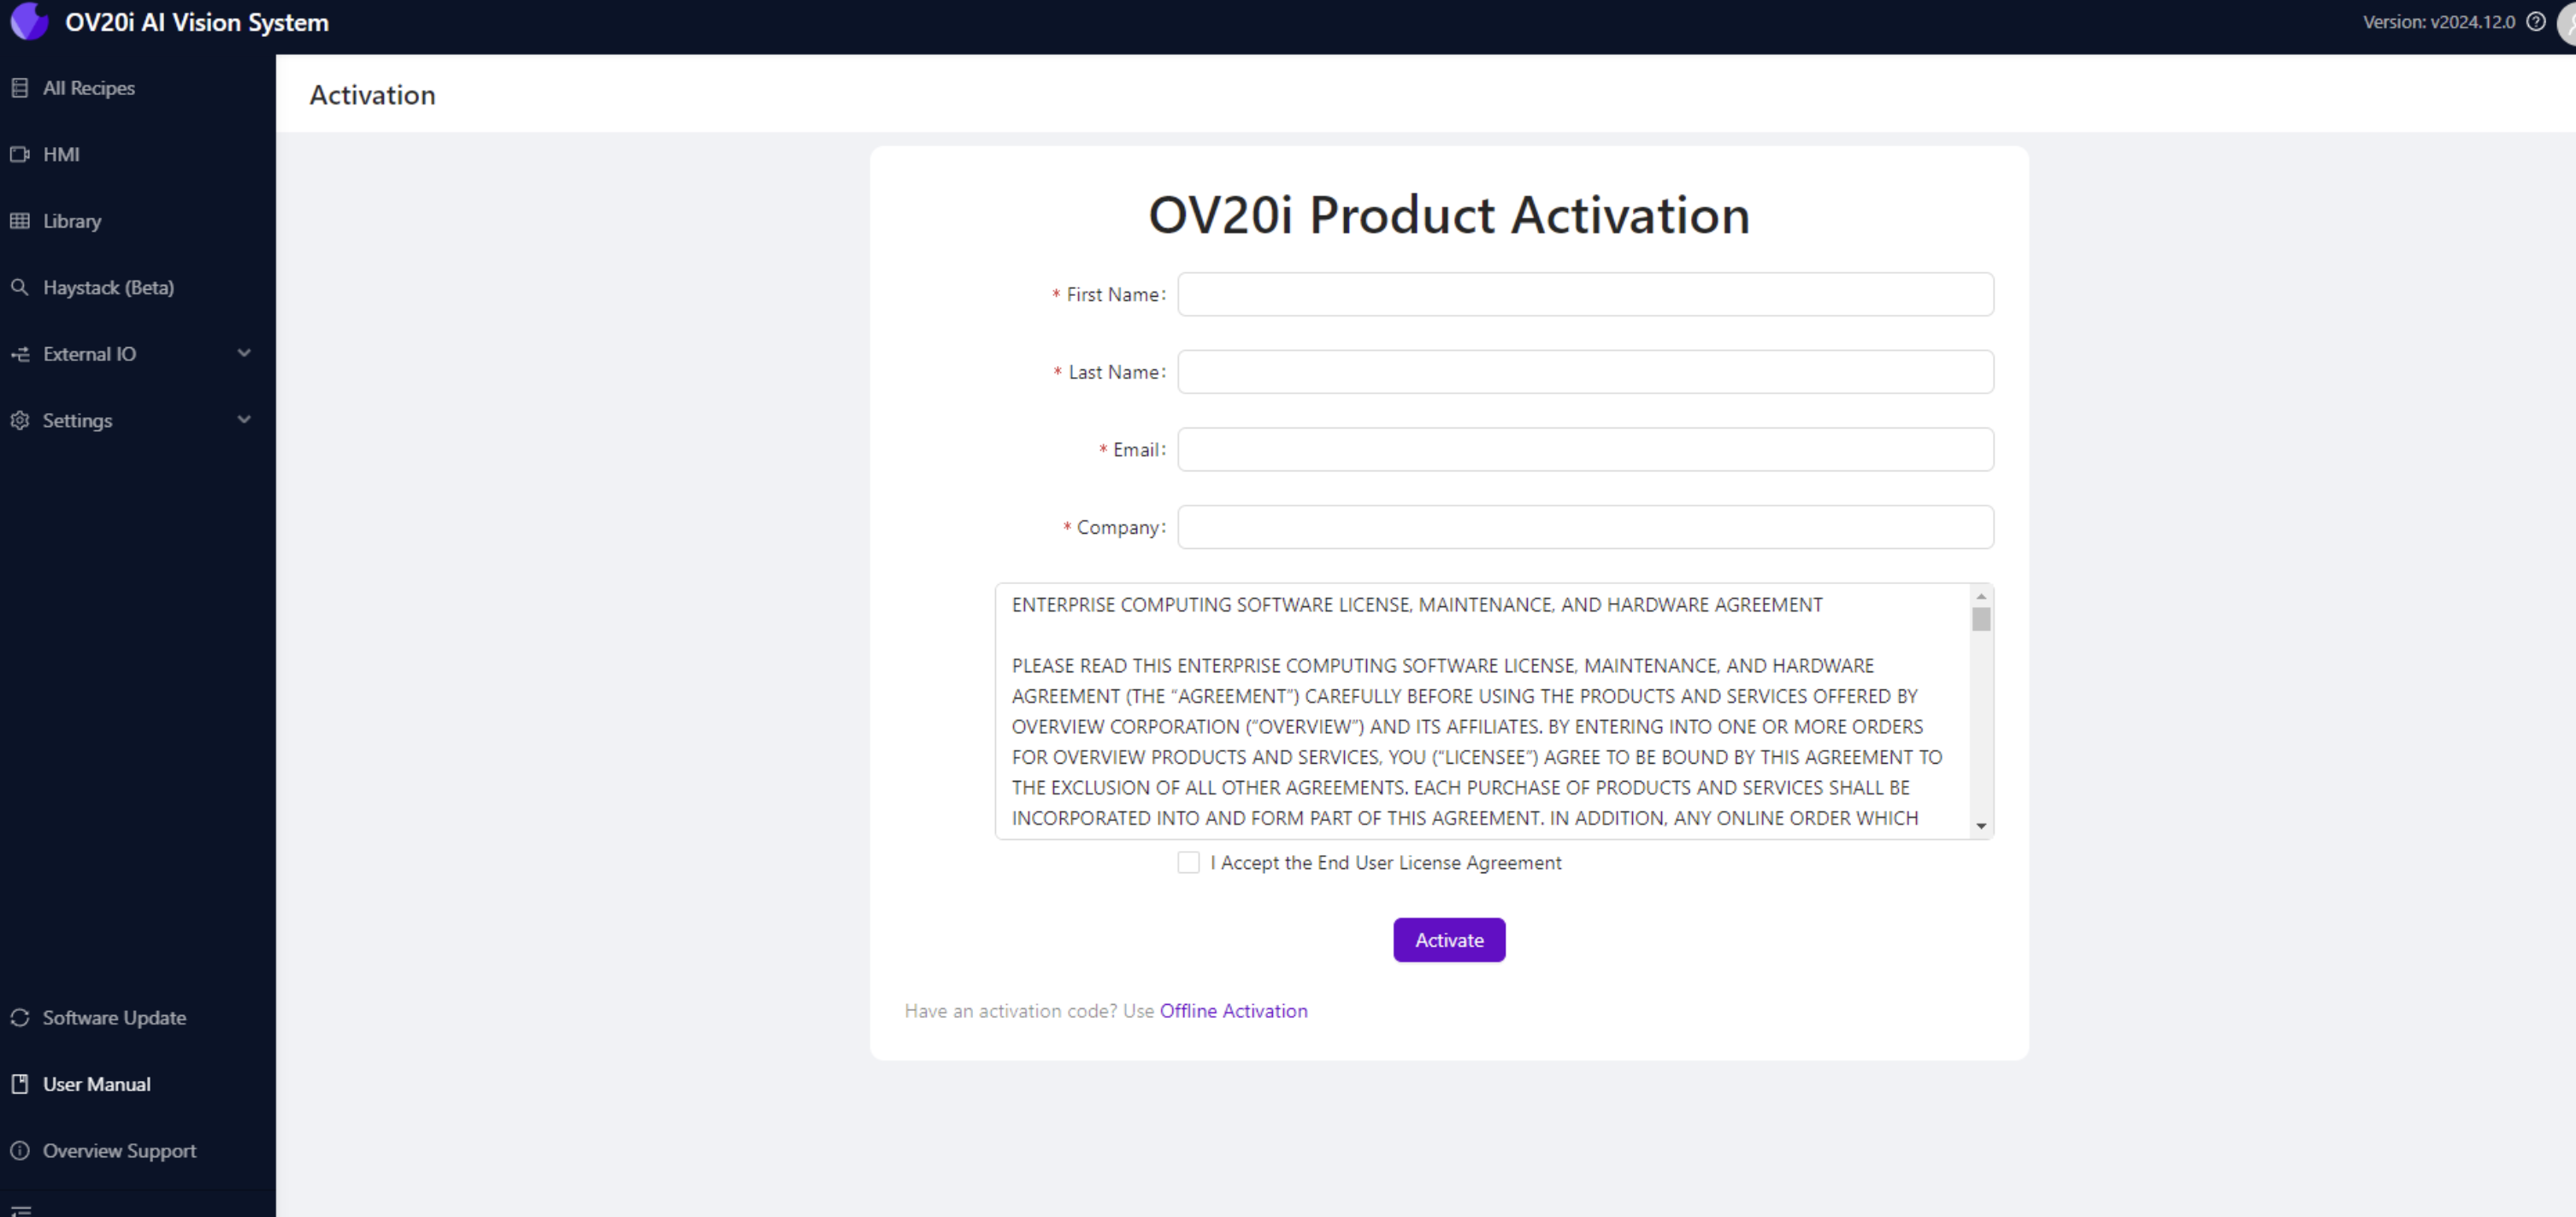
Online Activation (Computer Connected to Internet)
- Follow the on-screen steps in the Product Activation page
- Accept the End User License Agreement
- Click Activate
Note
Note: This method requires internet access on the computer performing the activation.
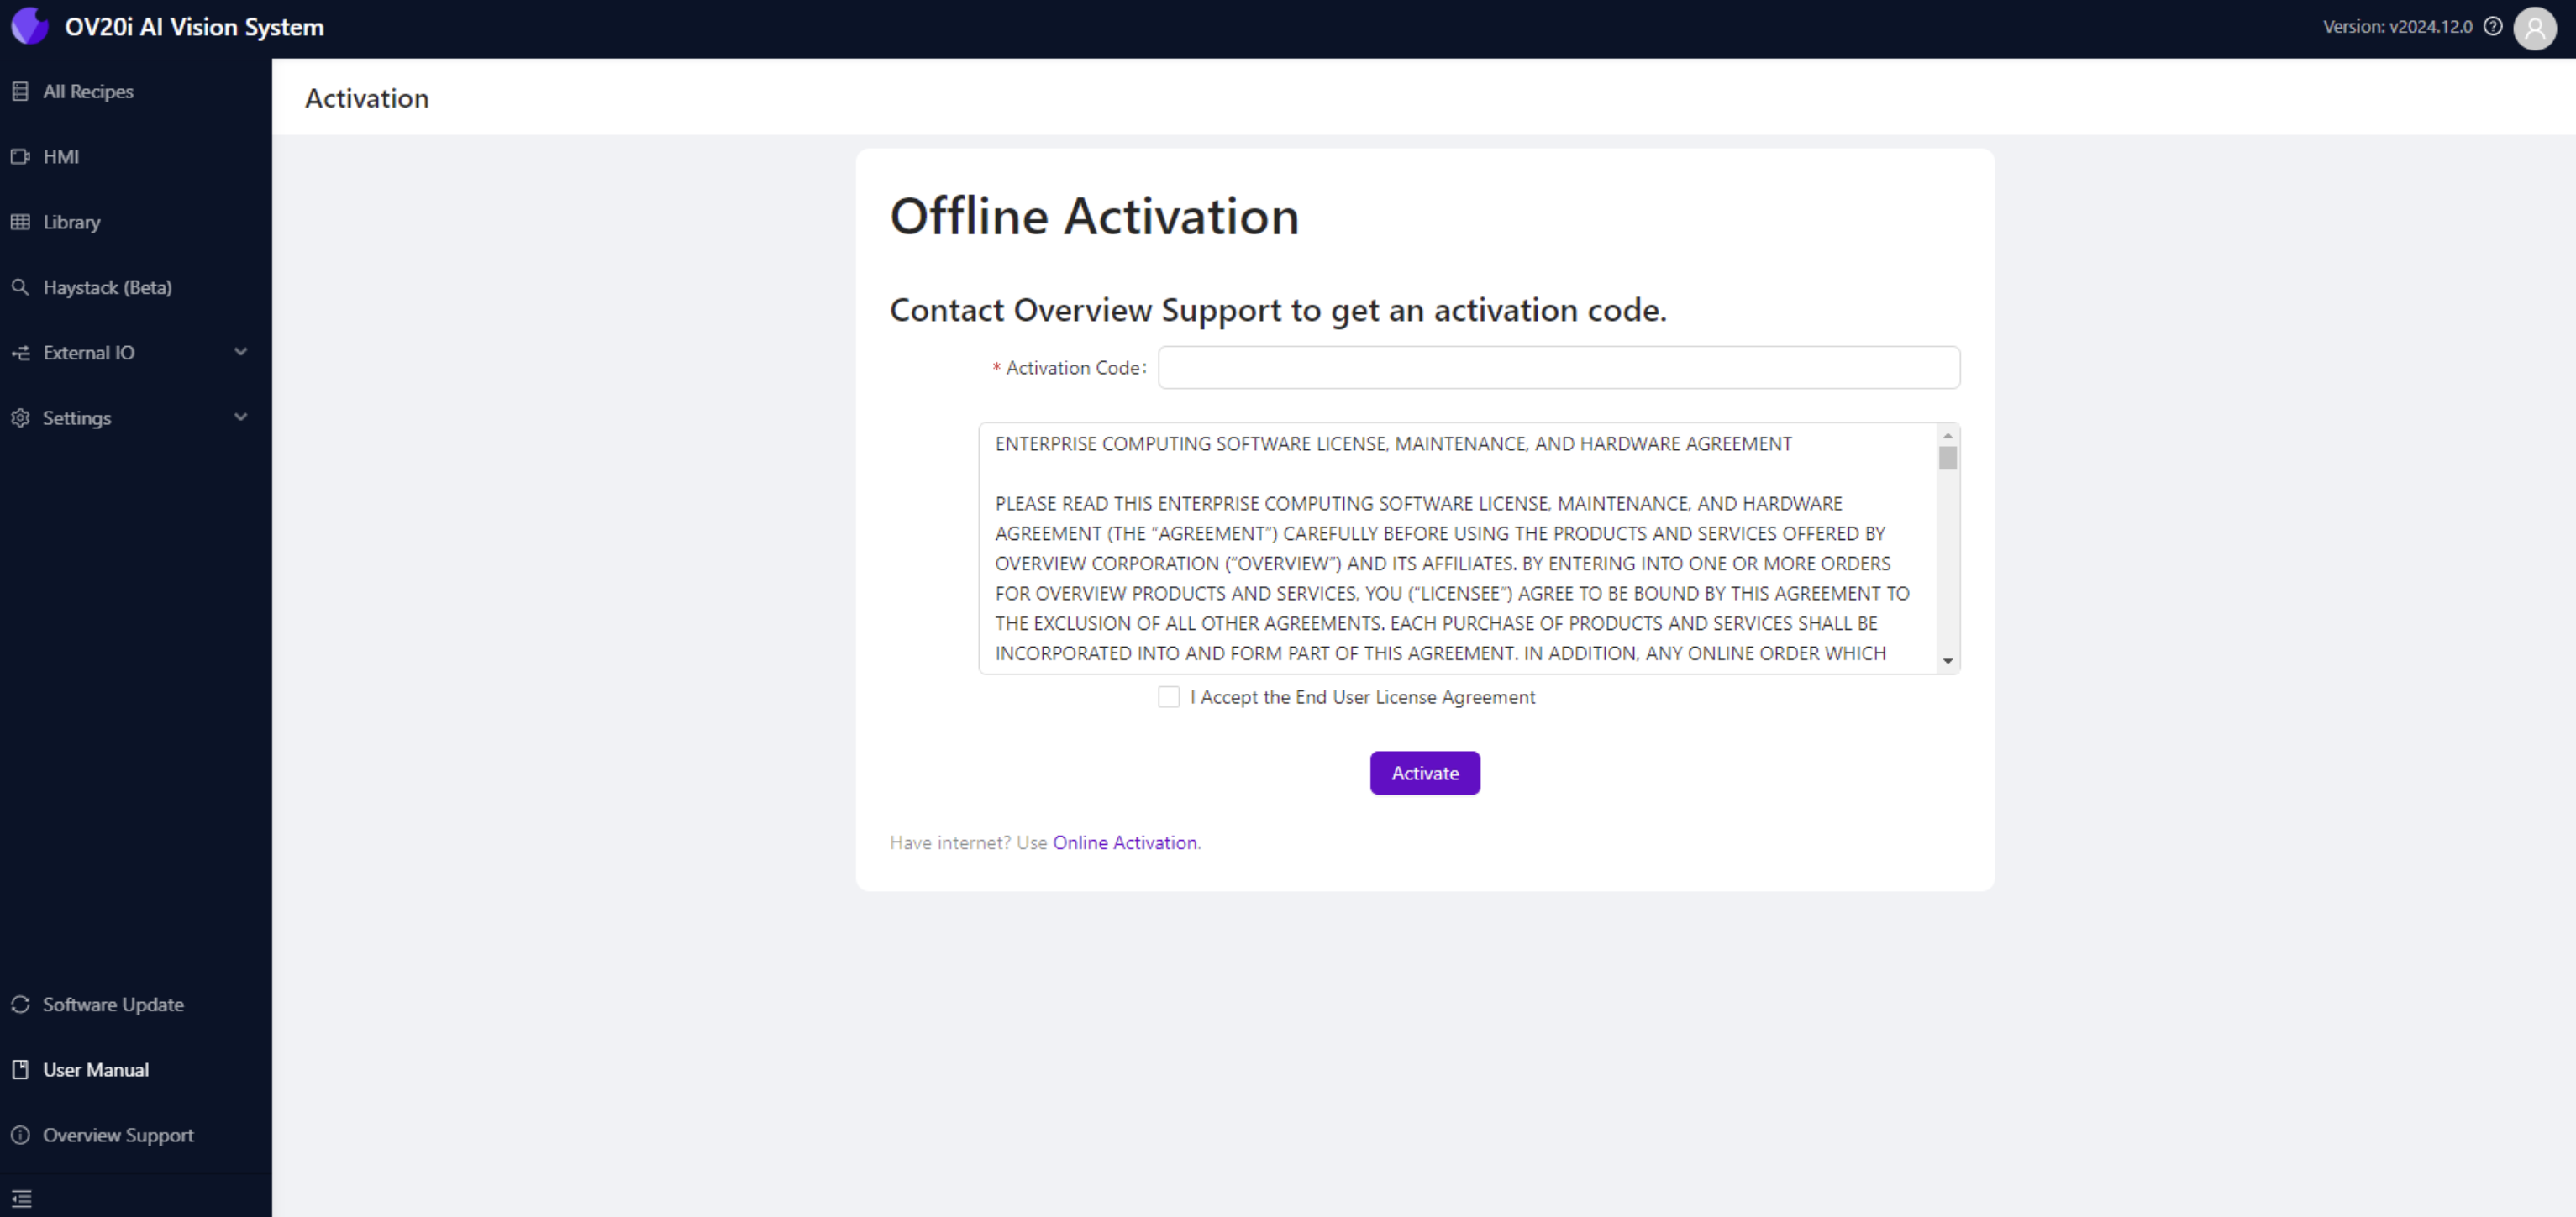
Offline Activation (Computer Connected to Internet)
- At the bottom of the Product Activation page, click Offline Activation
- Enter the Activation Code provided by Overview Support
- Accept the End User License Agreement
- Click Activate
Was this article helpful?