AI-POWERED DOCS
What do you want to know?
Step 1: Image Settings (OV10i)
Before the AI can inspect anything, the camera needs to capture a clean, consistent image. This step configures how the camera takes photos.
Remember the waterfall: Everything downstream depends on these settings. If you change image settings later, you'll need to recapture your template image, redo alignment, and potentially retrain your AI model. Get it right now.
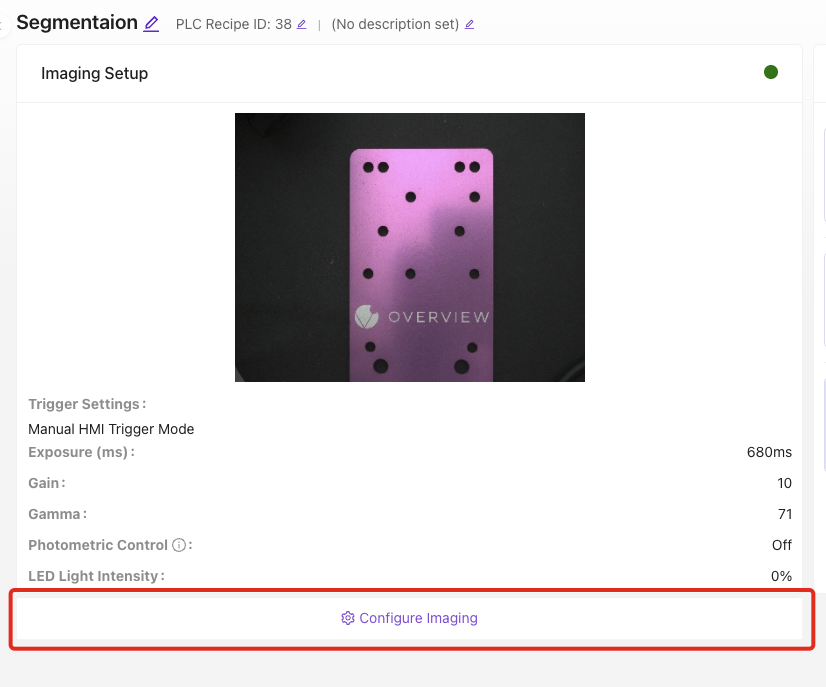
Open imaging setup
In your recipe editor, click Configure Imaging. Place your part in the camera's field of view. You'll see the current camera view with your settings applied.
The settings that matter most
Focus
The OV10i has software-controlled motorized focus. Adjust via the slider in the imaging panel until edges look crisp and sharp. Use a target with clear edges (like a ruler or the part itself) as your reference.
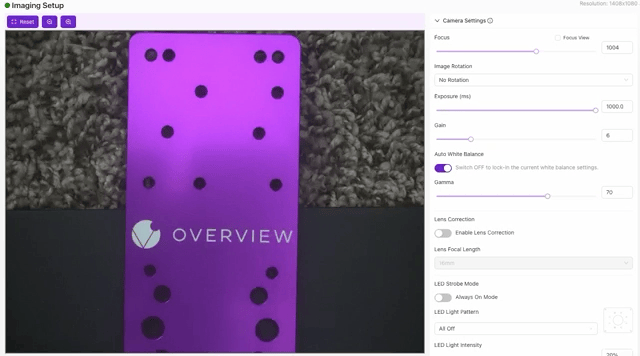
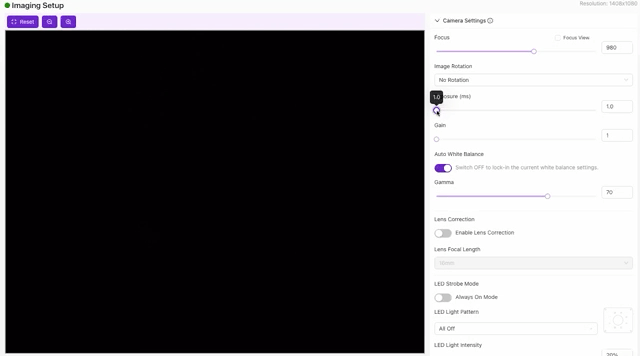
Exposure (ms)
How long the sensor is exposed to light per capture.
- Higher exposure = brighter image, but more motion blur if the part is moving
- Lower exposure = sharper image, but darker (may need more lighting)
- Start in the middle and adjust until the image looks properly lit without blur
Gain
Digital brightness boost (like ISO on a regular camera).
- Higher gain = brighter but noisier (grainy)
- Lower gain = cleaner but needs good physical lighting
- Rule of thumb: Fix brightness with lighting and exposure first. Use gain as a last resort.
Lens Distortion Correction
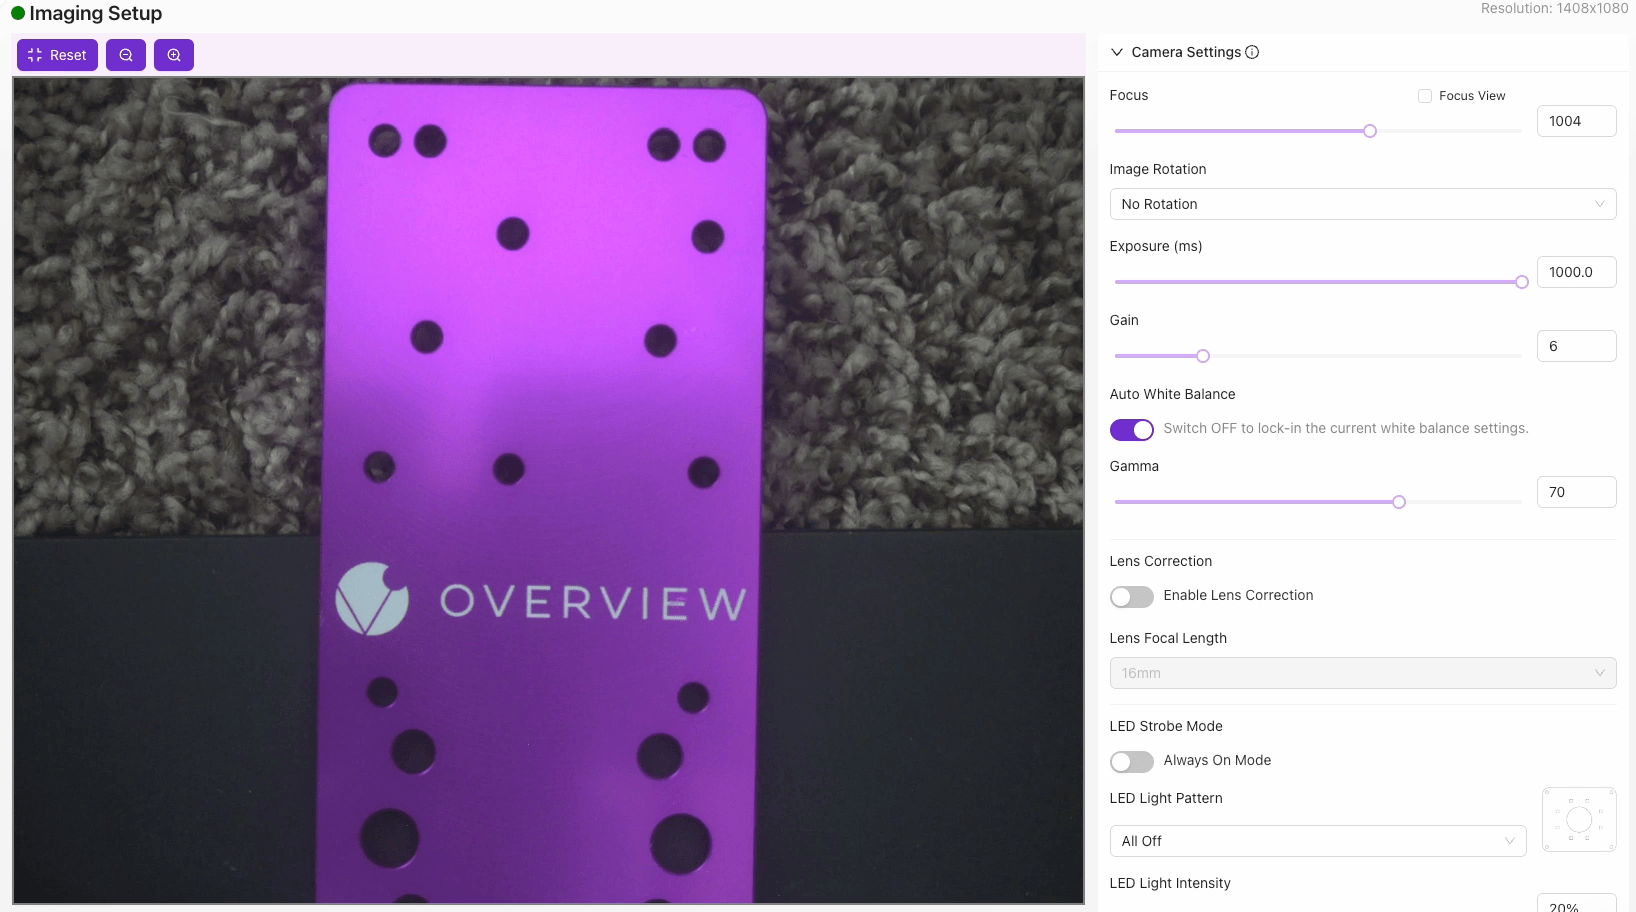
Wide-angle lenses (especially 4-6mm) bend straight lines near the edges of the frame. This setting corrects that distortion so the AI sees accurate geometry.
Use it when: You're using a wide-angle lens (4-6mm) and need accurate alignment or edge detection. The aligner (Step 2) depends on straight edges, so uncorrected distortion can cause unreliable alignment.
Skip it when: You're using a longer focal length lens (12mm+) where barrel distortion is minimal and straight lines already appear straight near the edges of the frame.
If you skip this now and enable it later, you'll need to redo alignment and everything after it.
LED Settings
The OV10i has built-in LED lighting you can control directly from the imaging panel:
- Strobe Mode: Off (continuous) or On (flash only during capture, which reduces heat and saves power)
- Light Pattern: Which LEDs are active. Adjust to reduce glare on shiny surfaces
- Light Intensity: Start low and increase until the image is well-lit without hot spots
Other useful settings
| Setting | What it does | When to adjust |
|---|---|---|
| White Balance | Adjusts color temperature | Auto for variable lighting, manual for consistent setups |
| Gamma | Adjusts mid-tone brightness | When image is too dark in shadows but highlights are fine |
| Image Rotation | Rotates the image 0 or 180 degrees | When the camera is mounted upside down |
| Photometric Control | Multiple captures with different LED angles, combined | For detecting subtle surface defects on reflective parts |
A good rule of thumb: if you cannot clearly see the defect or feature in the camera image, the AI will not be able to learn it either. Zoom in on the areas you plan to inspect and confirm that the details you care about are visible and consistent across multiple captures.
If defects are rare and slowing down your data collection, use the Defect Creator Studio to generate photorealistic synthetic defect images from a single good part image. Getting image settings right first ensures the synthetic images match your real production conditions.
Verify before moving on
-
Review the camera view and capture several test images
-
Check that every image is:
- Sharp (not blurry)
- Well-lit (no dark areas or hot spots)
- Consistent (each capture looks similar to the last)
- The part fills most of the frame
-
Click Save Imaging Settings
If you change image settings after capturing a template, you must recapture the template and redo alignment. Your regions of interest (ROIs) and trained models may also need to be redone. This is the waterfall principle in action. Finalize image settings before moving to the next step.
Image settings checklist
Before moving on, confirm:
- Focus is sharp: edges look crisp in the camera view
- Exposure is set: image is properly lit without motion blur
- Gain is minimal: brightness comes from lighting, not digital boost
- Lens distortion correction enabled (if using wide-angle lens)
- LED settings configured: no glare or hot spots
- Captured images show consistent results shot to shot
- Settings saved
Image looks good? Move to Step 2: Alignment.