AI-POWERED DOCS
What do you want to know?
Connect to Tulip
Tulip is a no-code MES / connected-frontline-operations platform. The OV20i camera bridges to Tulip through Node-RED running on the camera — the same flow editor you use for PLC, MQTT, and other I/O integrations. Tulip can:
- Trigger an inspection from an operator button or app event.
- Receive the per-ROI and global pass/fail results plus capture metadata.
- Switch the active recipe when the operator scans a part barcode or selects a different product.
- Display the live image (with bounding-box overlays) inside a Tulip app for the operator to see what the AI saw.
This guide walks through each of those four integration points end-to-end.
Architecture
┌────────────────────────────┐               ┌──────────────────────────────┐
│            TULIP           │               │           OV20i              │
│                            │               │                              │
│  ┌──────────────────┐      │   HTTP/MQTT   │   ┌──────────────────────┐   │
│  │ Operator Button  │──────┼───trigger─────┼──▶│ Node-RED HTTP IN     │──▶│
│  │ in Tulip App     │      │               │   │ /trigger             │   │
│  └──────────────────┘      │               │   └──────────────────────┘   │
│                            │               │              │               │
│  ┌──────────────────┐      │               │              ▼               │
│  │ Tulip Connector  │◀─────┼─── results ───┼─── All Block Outputs         │
│  │ Function (HTTP)  │      │               │   (image_url, pass/fail,     │
│  └──────────────────┘      │               │    per-ROI classes)          │
│                            │               │              │               │
│  ┌──────────────────┐      │               │              ▼               │
│  │ Image Widget     │◀─────┼── live-feed ──┼─── http://CAMERA_IP/live-feed│
│  │ (iframe URL)     │      │  (HMI w/ ROI  │   (shows bounding boxes      │
│  └──────────────────┘      │    overlays)  │    on the captured image)    │
│                            │               │                              │
│  ┌──────────────────┐      │               │   ┌──────────────────────┐   │
│  │ Recipe Selector  │──────┼─── HTTP ──────┼──▶│ /pipeline/activate   │   │
│  │ (barcode / btn)  │      │               │   │ {id: <recipe_id>}    │   │
│  └──────────────────┘      │               │   └──────────────────────┘   │
└────────────────────────────┘               └──────────────────────────────┘
The bridge in the middle is always Node-RED running inside the camera's IO Block — which is where you build all four integrations.
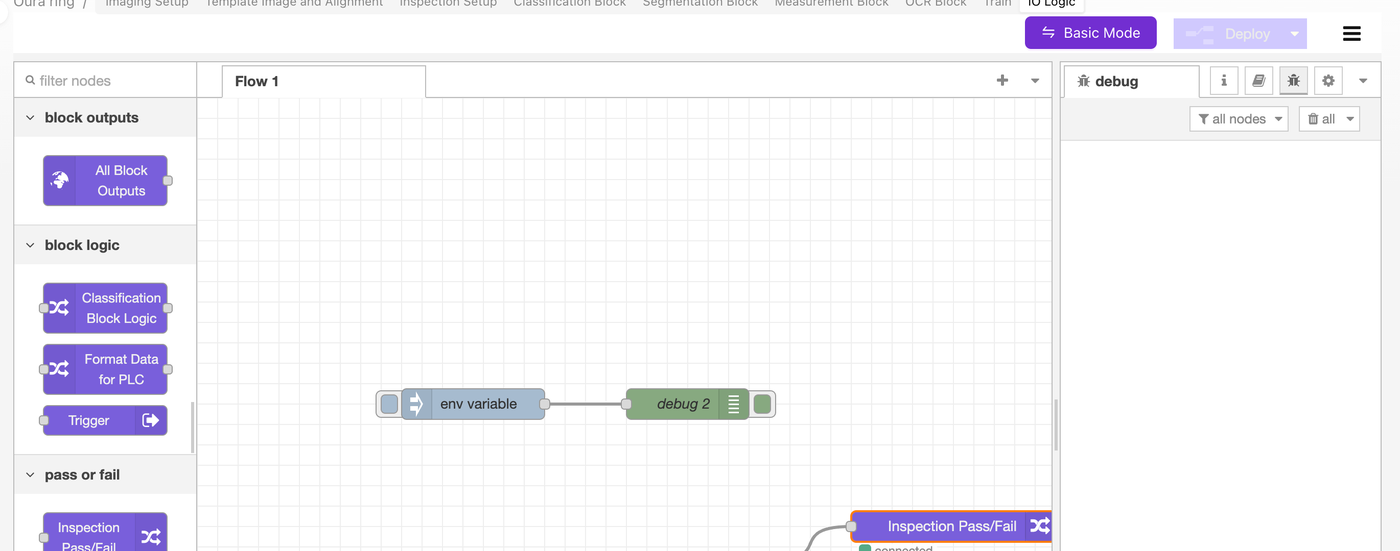
Hard-coding your Tulip Connector URL into the Node-RED flow ties the flow to one deployment. Define a TULIP_ENDPOINT environment variable in System Settings → Environment Variables, then read it from your HTTP Request nodes with ${TULIP_ENDPOINT}. This lets you export the same flow and re-import it on every camera in the line. See Environment Variables for the full pattern.
Choose your transport: HTTP or MQTT
| Option | When to use | Notes |
|---|---|---|
| HTTP (recommended for most Tulip deployments) | Tulip Connector Functions natively call HTTP endpoints. The simplest way to trigger from a Tulip widget button. | Works without any extra infrastructure. Tulip → camera and camera → Tulip both use plain POST. |
| MQTT | Your plant already runs an MQTT broker (Sparkplug B, IT/OT broker, etc.) and the Tulip Edge Connector is configured to talk to it. | Lower-latency for high-volume signaling. Requires a broker. |
| OPC UA | You're running a Tulip Edge MC instance with the OPC UA Connector. | The OV20i ships with OPC UA Node-RED blocks pre-installed. |
The rest of this guide uses HTTP in the examples — it's what most Tulip deployments default to. The same patterns apply to MQTT (replace HTTP IN / HTTP Request nodes with MQTT in / MQTT out nodes).
1. Trigger the camera from a Tulip app
A Tulip operator presses a button → Tulip's Connector Function calls an HTTP endpoint that the camera's Node-RED is listening on → Node-RED triggers a capture.
Node-RED side: receive the trigger
In the camera's IO Block (Advanced Mode → Node-RED), build:
[ HTTP IN: POST /trigger ]──▶[ Trigger node ]──▶[ HTTP Response: 200 ok ]
- Drag in an http in node from the network category.
- Method:
POST - URL:
/trigger
- Method:
- Wire it into the OV-specific Trigger node (under block logic in the OV palette). The Trigger node fires the camera's capture pipeline.
- Add an http response node so Tulip's Connector gets a
200 OKback immediately (don't make Tulip wait for the AI inference — let the result flow back asynchronously, see Section 2). - Click Deploy.
The endpoint is now live at http://<CAMERA_IP>/node-red/trigger (Node-RED's HTTP root is mounted under /node-red/).
Tulip side: call the trigger from a button
In your Tulip account:
- Go to Apps → Connectors and create a new HTTP Connector if you don't have one.
- Set the Host to your camera's IP and the Port to
80(or443if you've enabled HTTPS). - Create a new Connector Function called
Trigger Camera:- Method:
POST - Endpoint:
/node-red/trigger - No body or input parameters needed for a basic trigger — the camera uses the active recipe.
- Method:
- Save and test the Connector Function. You should see a 200 response and the camera should capture an image.
- In your Tulip app, add a Button widget. In its action, choose Run Connector Function → Trigger Camera.
When the operator taps the button, the camera fires.
If you want to send a serial number or part ID with each trigger, change the Tulip Connector Function to accept inputs (e.g., serial_number) and put them in the request body. On the camera side, your HTTP IN node receives them as msg.payload and you can stash them on a flow variable so the result-sending flow (Section 2) can attach them to the inspection report.
2. Send results back to Tulip
After the camera captures, the All Block Outputs node fires with the full inspection result. The pattern:
[ All Block Outputs ]──▶[ Function: format for Tulip ]──▶[ HTTP Request: POST to Tulip ]
Build the flow
- Wire a function node downstream of the All Block Outputs node.
- The function consolidates per-ROI results into a single global pass/fail and trims the payload to what Tulip actually needs:
// Read the camera's full inspection payload
const p = msg.payload || {};

// Consolidate per-ROI classifier predictions into a global pass/fail
const preds = p.classification?.predictions || [];
const allPass = preds.length > 0 && preds.every(r => r.predicted_class === 'pass');

// Optional: count segmentation defects (e.g., for thresholded fail)
const defectPixels = (p.segmentation?.blobs || [])
  .reduce((s, b) => s + (b.pixel_count || 0), 0);

// Build a flat object for Tulip (Tulip Connector Functions like flat fields)
msg.payload = {
  result: allPass ? "pass" : "fail",
  inspection_id: p.inspection_id || null,
  timestamp: new Date().toISOString(),
  image_url: p.image_url || null,            // see Section 4 for displaying this in Tulip
  defect_pixel_count: defectPixels,
  per_roi: preds.map(r => ({
    roi: r.roi_name,
    class: r.predicted_class,
    confidence: r.confidence,
  })),
  // If you stashed a serial number from the trigger (see Section 1), add it:
  // serial_number: flow.get('lastSerial') || null,
};

// Set headers for the outbound HTTP request
msg.headers = { 'Content-Type': 'application/json' };
msg.method = 'POST';
return msg;
- Wire it into an http request node:
- Method:
POST(or usemsg.methodfrom the function above) - URL:
${TULIP_ENDPOINT}(read from the env var) or hard-coded Tulip Connector URL - Return:
a UTF-8 string(or JSON if your Tulip endpoint returns JSON)
- Method:
- Wire a debug node after the HTTP request so you can inspect Tulip's response while testing.
- Click Deploy.
Tulip side: receive the results
In Tulip:
- Create an HTTP Connector Function in the receive direction — a webhook endpoint, or use Tulip's Tables API to write results into a Tulip Table.
- Configure your Tulip app's logic to react to the inbound payload (e.g., update a status indicator, log to a Table, increment a counter).
For Tulip Tables specifically, the pattern is to POST to https://<your-tulip-instance>.tulip.co/api/v3/tables/<table_id>/records with the result, serial_number, timestamp fields. Use a Tulip API token in the Authorization header — store the token as a credential on the HTTP Connector, not in the Node-RED flow.
3. Change recipes from Tulip
Operators often need to switch to a different recipe when product type changes (barcode scan, dropdown, dispatch). The camera exposes a built-in HTTP endpoint that activates a recipe by ID.
Find the recipe ID
- Open the recipe in Recipe Editor.
- Look at your browser address bar:
/recipes/15/editor→ the ID is15.
Build the recipe-switch flow
[ HTTP IN: POST /change-recipe ]──▶[ Function: format request ]──▶[ HTTP Request: POST localhost:5001/pipeline/activate ]──▶[ HTTP Response ]
- HTTP IN node:
POST /change-recipe. Tulip will call this with a body like{ "id": 15 }. - Function node — pass the recipe ID through to the camera's internal API:
const recipeId = msg.payload?.id;
if (!recipeId) {
  msg.statusCode = 400;
  msg.payload = { error: "missing 'id' field" };
  return msg;
}
msg.headers = { 'Content-Type': 'application/json' };
msg.payload = JSON.stringify({ id: recipeId });
msg.method = 'POST';
return msg;
- HTTP Request node:
- Method:
POST - URL:
localhost:5001/pipeline/activate - Return:
a parsed JSON object
- Method:
- HTTP Response node so Tulip's Connector Function gets a status code back.
Inside Node-RED on the camera, the recipe-switch endpoint is localhost:5001/pipeline/activate — that's the camera-internal admin API. You're proxying Tulip's request through Node-RED to the local API. Don't try to call port 5001 directly from outside the camera; it's only exposed to in-camera flows.
For older firmware (pre-v18.92), the URL was http://[CAMERA_IP]/edge/pipeline/activate. If you're on older firmware and localhost:5001 doesn't respond, fall back to the v17/v18 URL. Update the camera firmware to v18.92+ to use the modern path.
Tulip side: call the recipe switch
- Add a Connector Function
Switch Recipeon the same HTTP Connector. - Method:
POST, Endpoint:/node-red/change-recipe. - Add an input parameter
recipe_id(number). - Set the request body to
{ "id": $recipe_id }. - In your Tulip app, wire a Barcode Scanner trigger or a Dropdown widget to call this function with the matching recipe ID.
Operator scans a barcode → Tulip looks up the recipe ID for that part → Connector Function calls the camera → camera switches recipes in under a second.
4. Show the live image (with bounding boxes) in Tulip
Tulip's Image Widget can display any URL that returns an image. The OV20i has a built-in HMI URL that returns the most recent capture with bounding-box and ROI overlays drawn on top:
http://<CAMERA_IP>/live-feed

To embed it in a Tulip app:
- Add an Image Widget to your Tulip step.
- Set the Image URL to a Tulip variable that you populate from the inspection result, or to a static URL if every camera has its own dashboard step.
- The simplest pattern: hard-code
http://<CAMERA_IP>/live-feedand let it auto-refresh on each capture (Tulip's image widget refreshes when its URL or a query param changes — append a?t={{timestamp}}to force-refresh).
If you want the raw capture (no bounding boxes), use image_url from the msg.payload instead — that's a per-capture URL pointing to the saved image in the camera's library.
If you have several cameras on the same line, each with its own IP, store the camera URL in a Tulip variable per app step and let the operator pick which station to view. The Image Widget switches instantly when the variable changes.
Reference flow (importable Node-RED JSON)
The flow below combines all four integrations: trigger HTTP IN, result-sending HTTP Request, recipe switcher, and a debug node. Copy the JSON, open Node-RED → hamburger menu → Import, and paste.
[
  {
    "id": "tulip_trigger_in",
    "type": "http in",
    "name": "POST /trigger",
    "url": "/trigger",
    "method": "post",
    "x": 160, "y": 100, "wires": [["tulip_trigger_fire"]]
  },
  {
    "id": "tulip_trigger_fire",
    "type": "trigger-camera",
    "name": "Trigger camera",
    "x": 380, "y": 100, "wires": [["tulip_trigger_resp"]]
  },
  {
    "id": "tulip_trigger_resp",
    "type": "http response",
    "name": "200 ok",
    "statusCode": "200",
    "x": 580, "y": 100, "wires": []
  },
  {
    "id": "tulip_results_format",
    "type": "function",
    "name": "Format for Tulip",
    "func": "const p = msg.payload || {};\nconst preds = p.classification?.predictions || [];\nconst allPass = preds.length > 0 && preds.every(r => r.predicted_class === 'pass');\nmsg.payload = {\n  result: allPass ? 'pass' : 'fail',\n  timestamp: new Date().toISOString(),\n  image_url: p.image_url || null,\n  per_roi: preds.map(r => ({roi: r.roi_name, class: r.predicted_class, confidence: r.confidence}))\n};\nmsg.headers = {'Content-Type':'application/json'};\nmsg.method = 'POST';\nreturn msg;",
    "x": 380, "y": 200, "wires": [["tulip_results_send"]]
  },
  {
    "id": "tulip_results_send",
    "type": "http request",
    "name": "POST to Tulip",
    "method": "POST",
    "url": "${TULIP_ENDPOINT}",
    "ret": "obj",
    "x": 600, "y": 200, "wires": [["tulip_results_debug"]]
  },
  {
    "id": "tulip_results_debug",
    "type": "debug",
    "name": "Tulip response",
    "x": 800, "y": 200, "wires": []
  },
  {
    "id": "tulip_recipe_in",
    "type": "http in",
    "name": "POST /change-recipe",
    "url": "/change-recipe",
    "method": "post",
    "x": 160, "y": 300, "wires": [["tulip_recipe_format"]]
  },
  {
    "id": "tulip_recipe_format",
    "type": "function",
    "name": "Format request",
    "func": "const id = msg.payload?.id;\nif (!id) { msg.statusCode = 400; msg.payload = {error:'missing id'}; return msg; }\nmsg.headers = {'Content-Type':'application/json'};\nmsg.payload = JSON.stringify({id});\nmsg.method = 'POST';\nreturn msg;",
    "x": 380, "y": 300, "wires": [["tulip_recipe_call"]]
  },
  {
    "id": "tulip_recipe_call",
    "type": "http request",
    "name": "/pipeline/activate",
    "method": "POST",
    "url": "localhost:5001/pipeline/activate",
    "ret": "obj",
    "x": 600, "y": 300, "wires": [["tulip_recipe_resp"]]
  },
  {
    "id": "tulip_recipe_resp",
    "type": "http response",
    "name": "to Tulip",
    "x": 800, "y": 300, "wires": []
  }
]
You'll still need to wire the All Block Outputs node into tulip_results_format (it's not in the JSON above because that node is OV-specific and already exists on every flow).
Troubleshooting
| Symptom | Cause / fix |
|---|---|
Tulip Connector returns connection refused | Camera and Tulip Edge Device aren't on the same network, or the camera firewall is blocking port 80. Both must be reachable from each other; ping the camera from the Tulip Edge Device first. |
| Trigger HTTP IN never fires | Forgot to Deploy in Node-RED after adding the node, or the URL has a typo (must start with /, not /node-red/). |
| Recipe switch returns 404 | Wrong endpoint for your firmware. Pre-v18.92 uses /edge/pipeline/activate from the camera IP; v18.92+ uses localhost:5001/pipeline/activate from inside Node-RED. |
/live-feed shows a black image in Tulip | The camera hasn't taken a capture yet, or the image hasn't been refreshed. Append ?t={{Date.now()}} to force the Image Widget to re-fetch. |
| Tulip gets a 200 but no result body | The camera fires the trigger and immediately returns 200 — the result comes back asynchronously via the result-sending flow (Section 2). Make sure that flow is wired and deployed. |
| Per-ROI results are noisy / Tulip just wants pass/fail | That's why the Function node consolidates everything into a single `result: "pass" |
What's next
- Environment Variables — keep
TULIP_ENDPOINTand other deployment-specific config out of the flow. - Connect to PLC (EtherNet/IP & PROFINET) — for parallel PLC integration alongside Tulip.
- Overview Node-RED Custom Blocks — reference for the OV-specific palette nodes (Trigger, All Block Outputs, etc.).
- Setting Up Outputs (Step 5) — where Node-RED fits into the broader pass/fail flow.