AI-POWERED DOCS
What do you want to know?
Auto-Integration Builder
Problem it solves: Setting up factory integrations (PLC communication, email alerts, data logging) requires Node-RED expertise you might not have.
What it does: Generates complete, production-ready Node-RED flows from plain English descriptions. No Node-RED knowledge required. Just describe what you want, and the AI writes all the logic for you.
Getting started
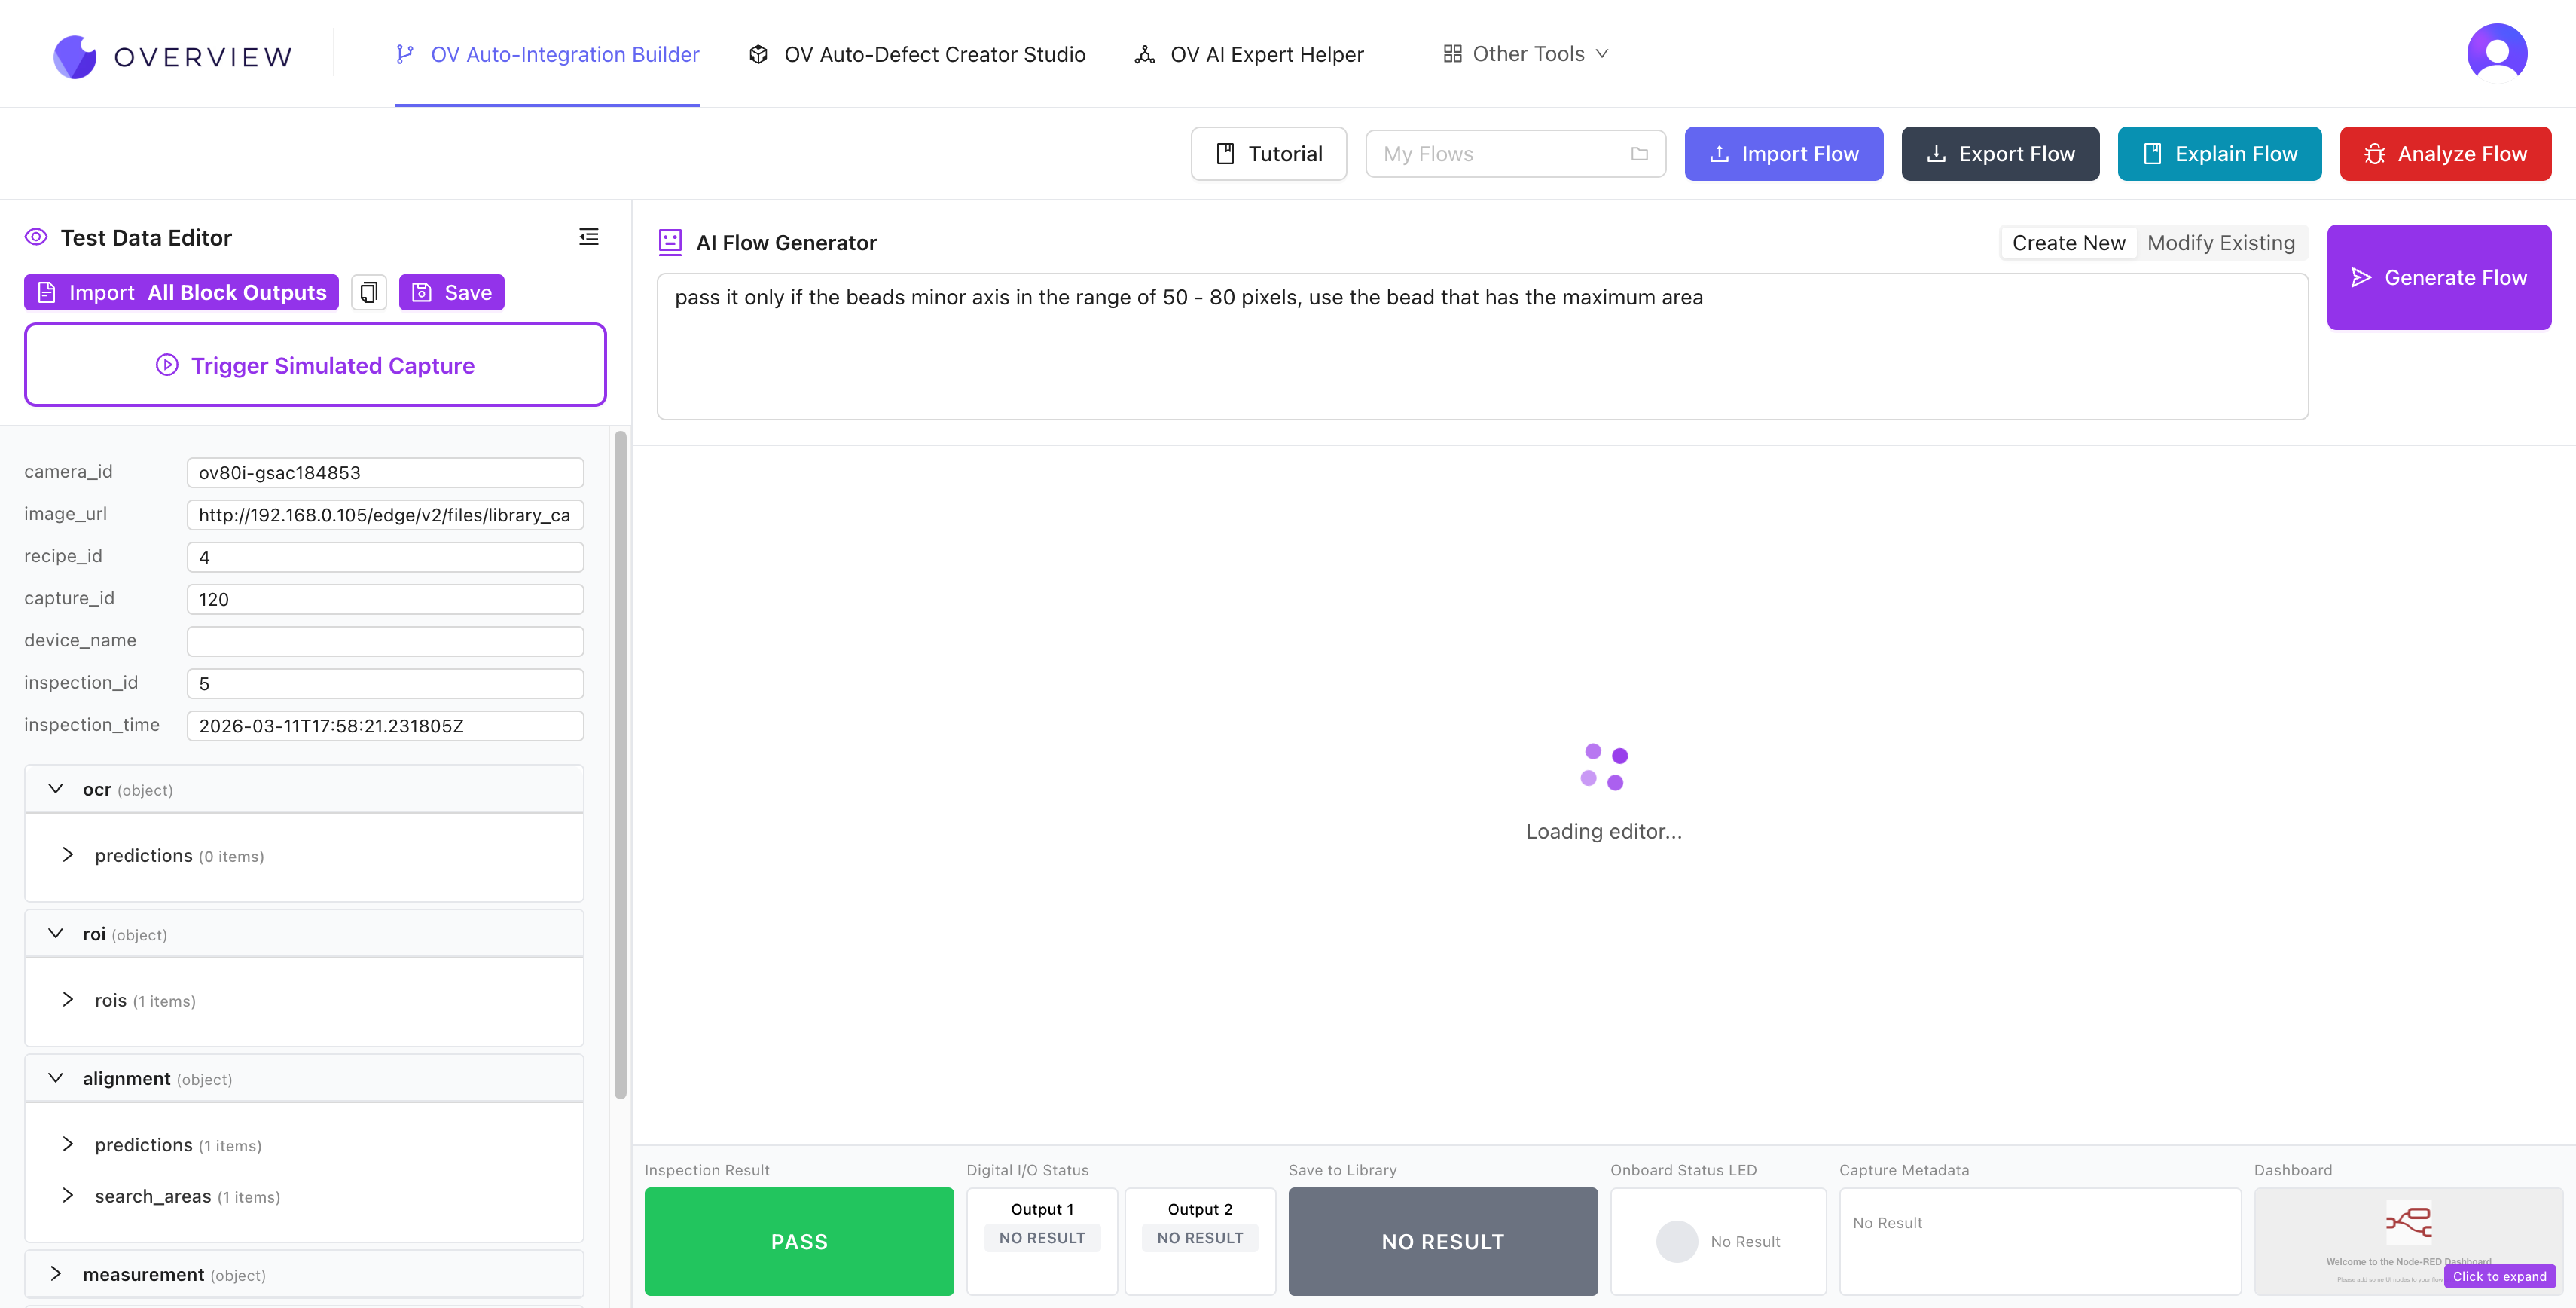
- Open tools.overview.ai and select Auto-Integration Builder
- Import your camera's data. Click Import All Block Outputs in the left panel to load your camera's actual inspection data (JSON). This tells the AI what data fields are available (blobs, classifications, measurements, confidence scores). If you don't have a camera connected yet, click Load Example Data to start with sample data.
- Describe your flow in the AI Flow Generator text box. For example: "Check if gaps are detected, if yes then fail, otherwise pass" or "Send an email when 3 failures happen in a row"
- Click Generate Flow and the AI builds a complete Node-RED flow
- Test it with your imported data. Results appear in real-time at the bottom: Inspection Result, Digital I/O Status, Save to Library, Onboard Status LED, Capture Metadata, and Dashboard panels.
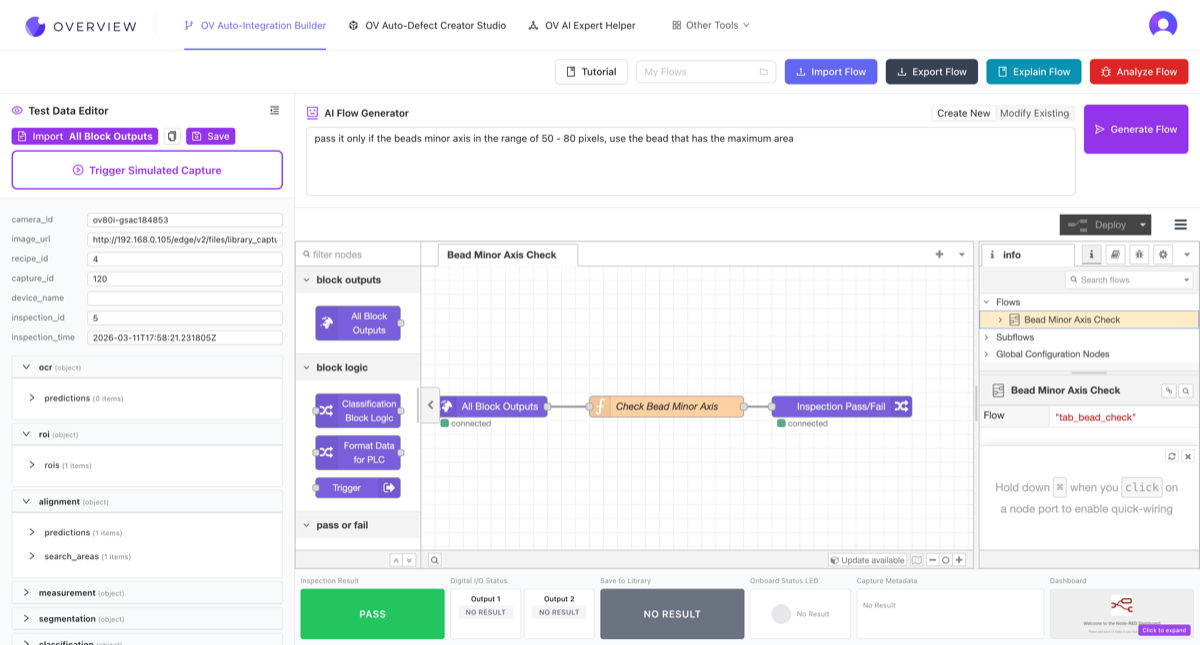
The interface
The Integration Builder has four main areas:
- Top toolbar: Tutorial button, My Flows dropdown (save/load flows), Import Flow, Export Flow, Explain Flow (AI explains what the current flow does), and Analyze Flow (AI checks for issues).
- Left panel (Test Data Editor): Load your camera's inspection data to test flows against real values.
- Center (Node-RED canvas): The visual flow editor where you can see and manually adjust the generated flow.
- Bottom status bar: Real-time test results showing Inspection Result (pass/fail), Digital I/O outputs, Save to Library status, LED state, Capture Metadata, and a Dashboard preview.
Writing effective prompts
The more detail, the better. Include thresholds, pass/fail conditions, and what outputs to trigger. Vague prompts produce vague results.
| Quality | Example prompt |
|---|---|
| Good | "Pass if blob count is 5 AND average confidence is above 0.85" |
| Good | "Turn on Output 1 when it fails, send email after 3 consecutive failures" |
| Bad | "Check for defects" (too vague) |
Modify Mode
Already have a flow? Use Modify Mode to describe what you want changed. The AI updates the flow while preserving your existing logic. For example: "Change the threshold to 0.9" or "Add an email notification on failure."
Export to your camera
The toolbar includes Import Flow and Export Flow buttons for moving flows between the builder and your camera:
To export a flow to your camera:
- Click Export Flow in the toolbar to download the flow as a JSON file
- On your camera, go to the IO Block and click Advanced Mode to open Node-RED
- Click the hamburger menu (three horizontal lines) in the top-right corner of Node-RED
- Select Import, paste the JSON or select the downloaded file, then click Import
To import a flow from your camera into the builder:
- On your camera's Node-RED editor, click the hamburger menu and select Export
- Click Copy to clipboard or Download the JSON
- In the Integration Builder, click Import Flow and paste or drag the JSON into the editor
You do not need to know Node-RED to use the Integration Builder. Describe what you want in plain English, and the AI handles the rest. The generated flows use the same Node-RED format your camera uses natively.
See it in action
Where it fits in the workflow: You'll use the Integration Builder during Step 5: Setting Up Outputs to configure factory communication.