AI-POWERED DOCS
What do you want to know?
Other Tools
The tools.overview.ai dashboard also provides six utility tools for common tasks:
Optics Calculator
Problem it solves: You need to figure out where to mount the camera, which lens to use, or whether your setup can detect a specific defect size before you physically install anything.
What it does: Five built-in calculators that answer the most common optics questions for OV camera installations. Select your camera model (OV10i/OV20i or OV80i) and the calculator automatically uses the correct sensor specifications.
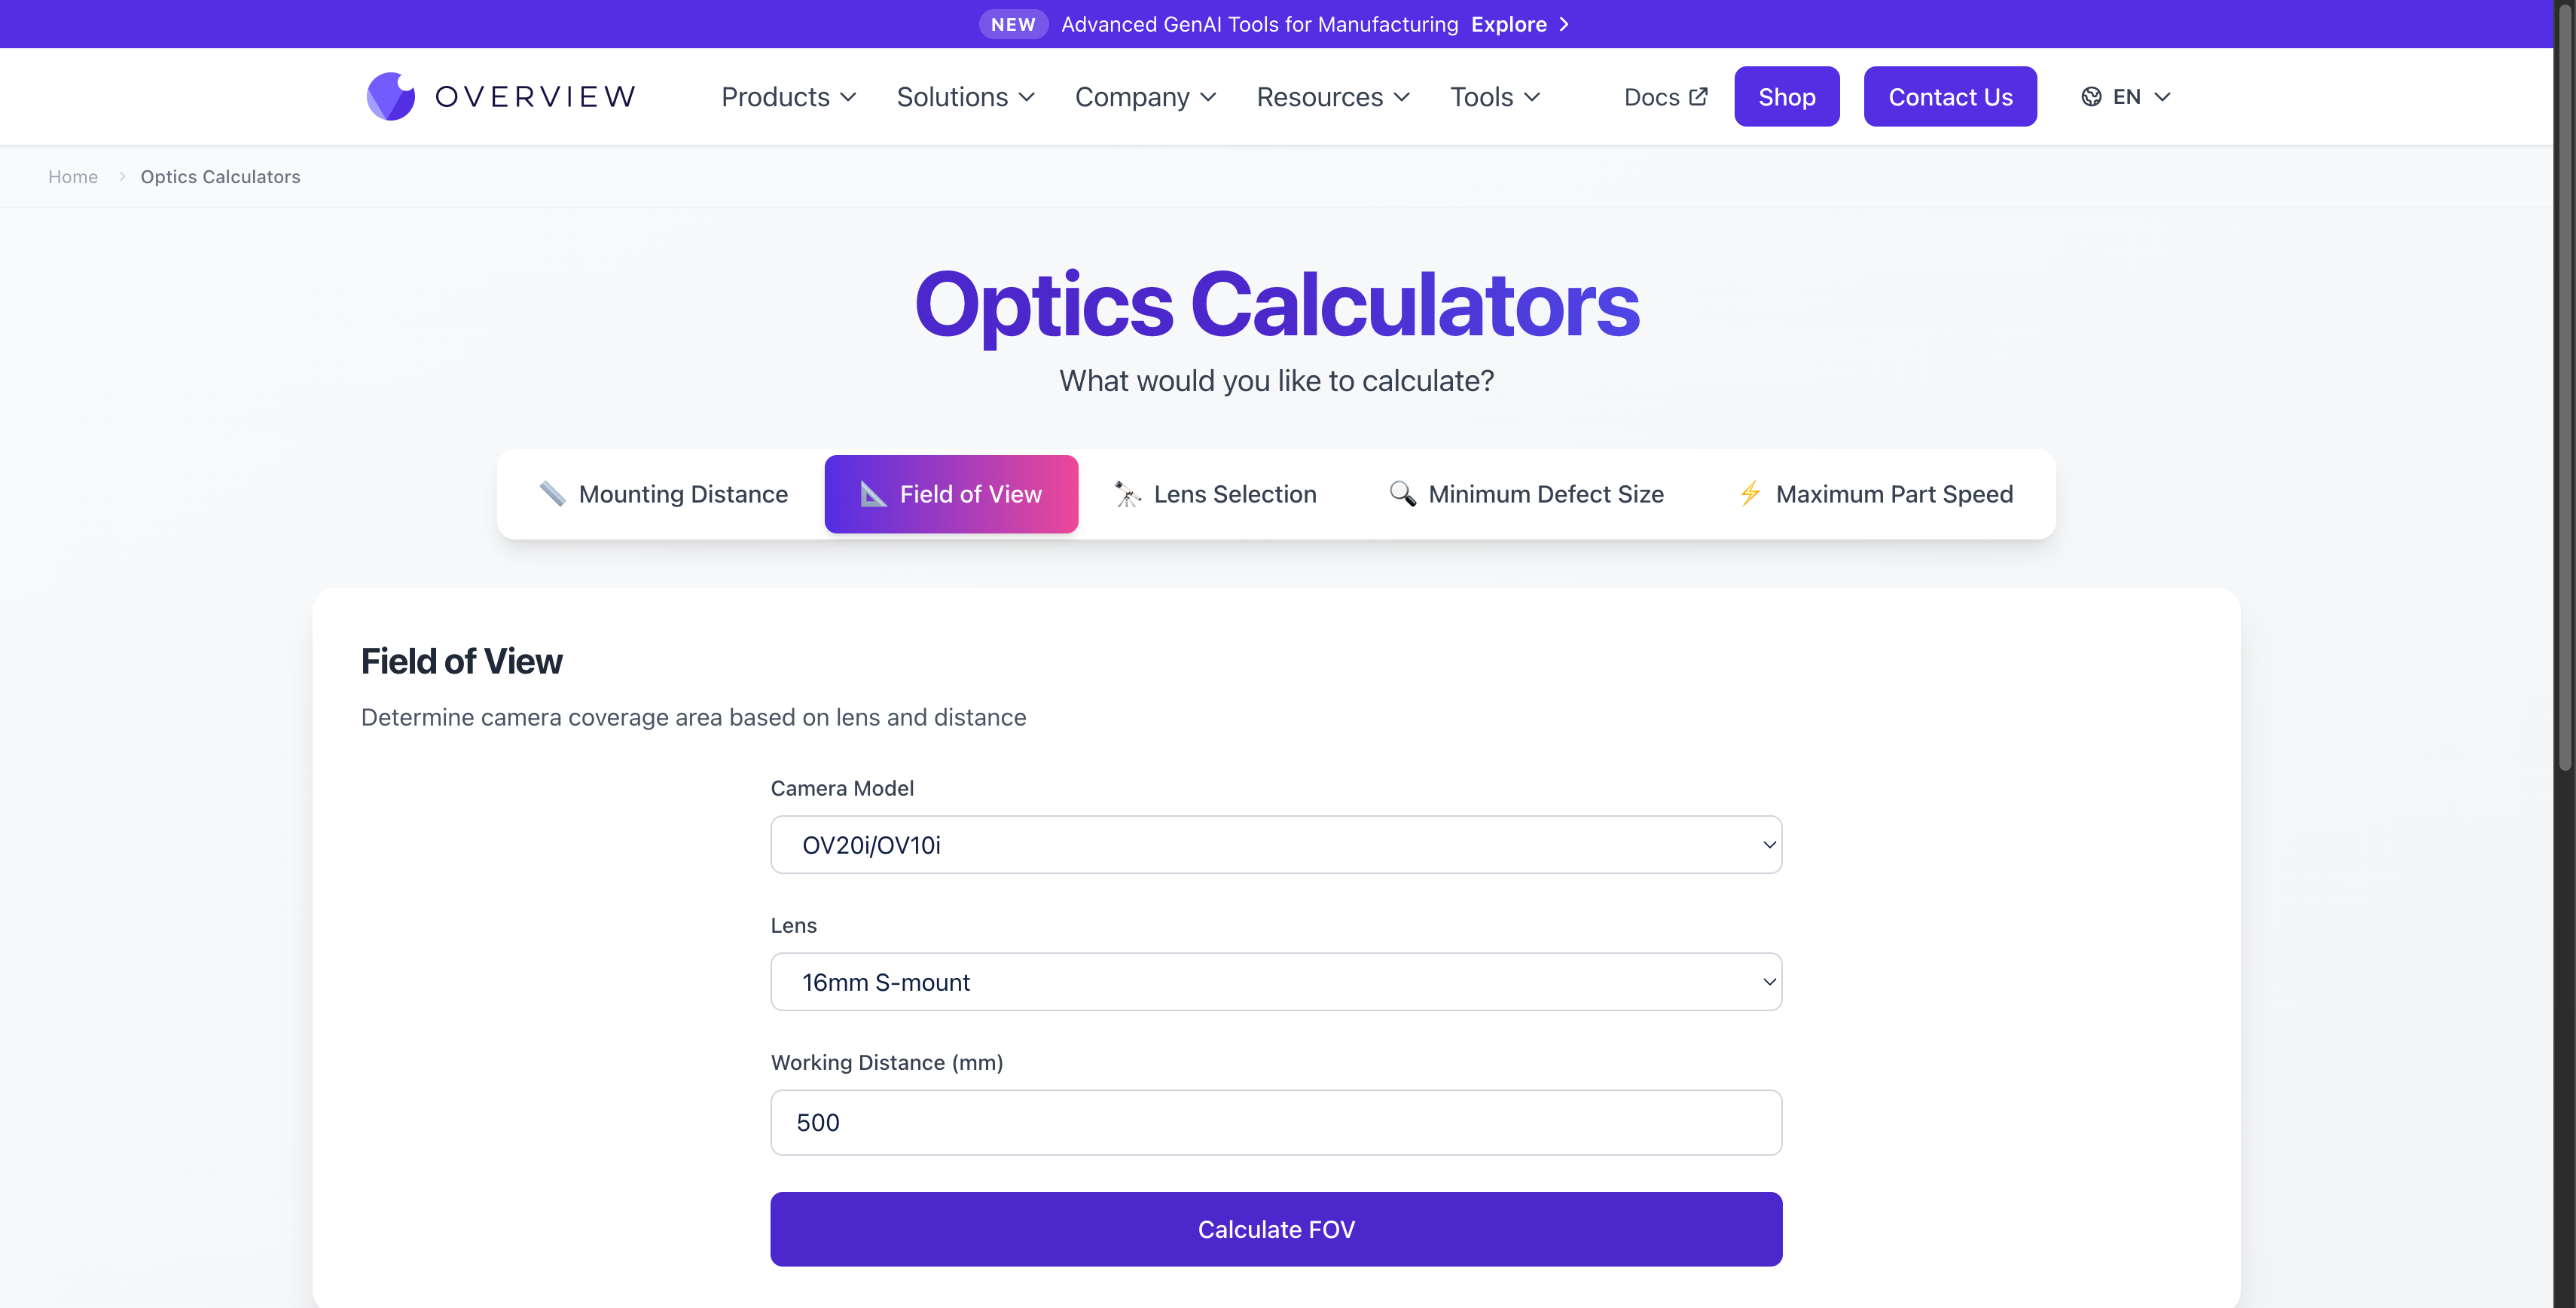
Available calculators:
| Calculator | What it answers | Inputs |
|---|---|---|
| Mounting Distance | "How far should the camera be from the part?" | Camera model, target field of view (mm) |
| Field of View | "How large an area will the camera see?" | Camera model, lens, working distance (mm) |
| Lens Selection | "Which lens do I need?" | Camera model, mounting distance (mm), required field of view (mm) |
| Minimum Defect Size | "What is the smallest defect my setup can detect?" | Camera model, field of view (mm) |
| Maximum Part Speed | "How fast can parts move on the line?" | Camera model, inspection type (discrete/continuous), field of view (mm), motion blur tolerance (mm) |
How to use it:
- Open overview.ai/tools/calculators
- Click the calculator mode that matches your question
- Select your camera model from the dropdown
- Fill in the required parameters
- Click the Calculate button to see results
Results include calculated values plus spatial resolution (pixels per millimeter), so you can verify that your setup provides enough detail for the defects you need to detect.
Run the Minimum Defect Size calculator before mounting your camera. If the smallest defect you need to catch is 0.5 mm but the calculator shows your setup can only resolve 1 mm, you need a different lens or shorter working distance. Catching this early saves hours of troubleshooting later.
The OV10i/OV20i uses S-mount lenses. Available options: 6mm, 8mm, 12mm, 16mm (default), and 25mm. The OV80i uses C-mount lenses with different focal length options.
Link: overview.ai/tools/calculators
Metadata Viewer
Problem it solves: You have an image saved from the camera and need to verify what settings were active when it was captured, or you need to extract the AI prediction results embedded in the image file.
What it does: Reads the EXIF metadata embedded in JPEG images saved by OV cameras. OV cameras embed rich metadata into every captured image, including inspection results, AI predictions, and camera system information.
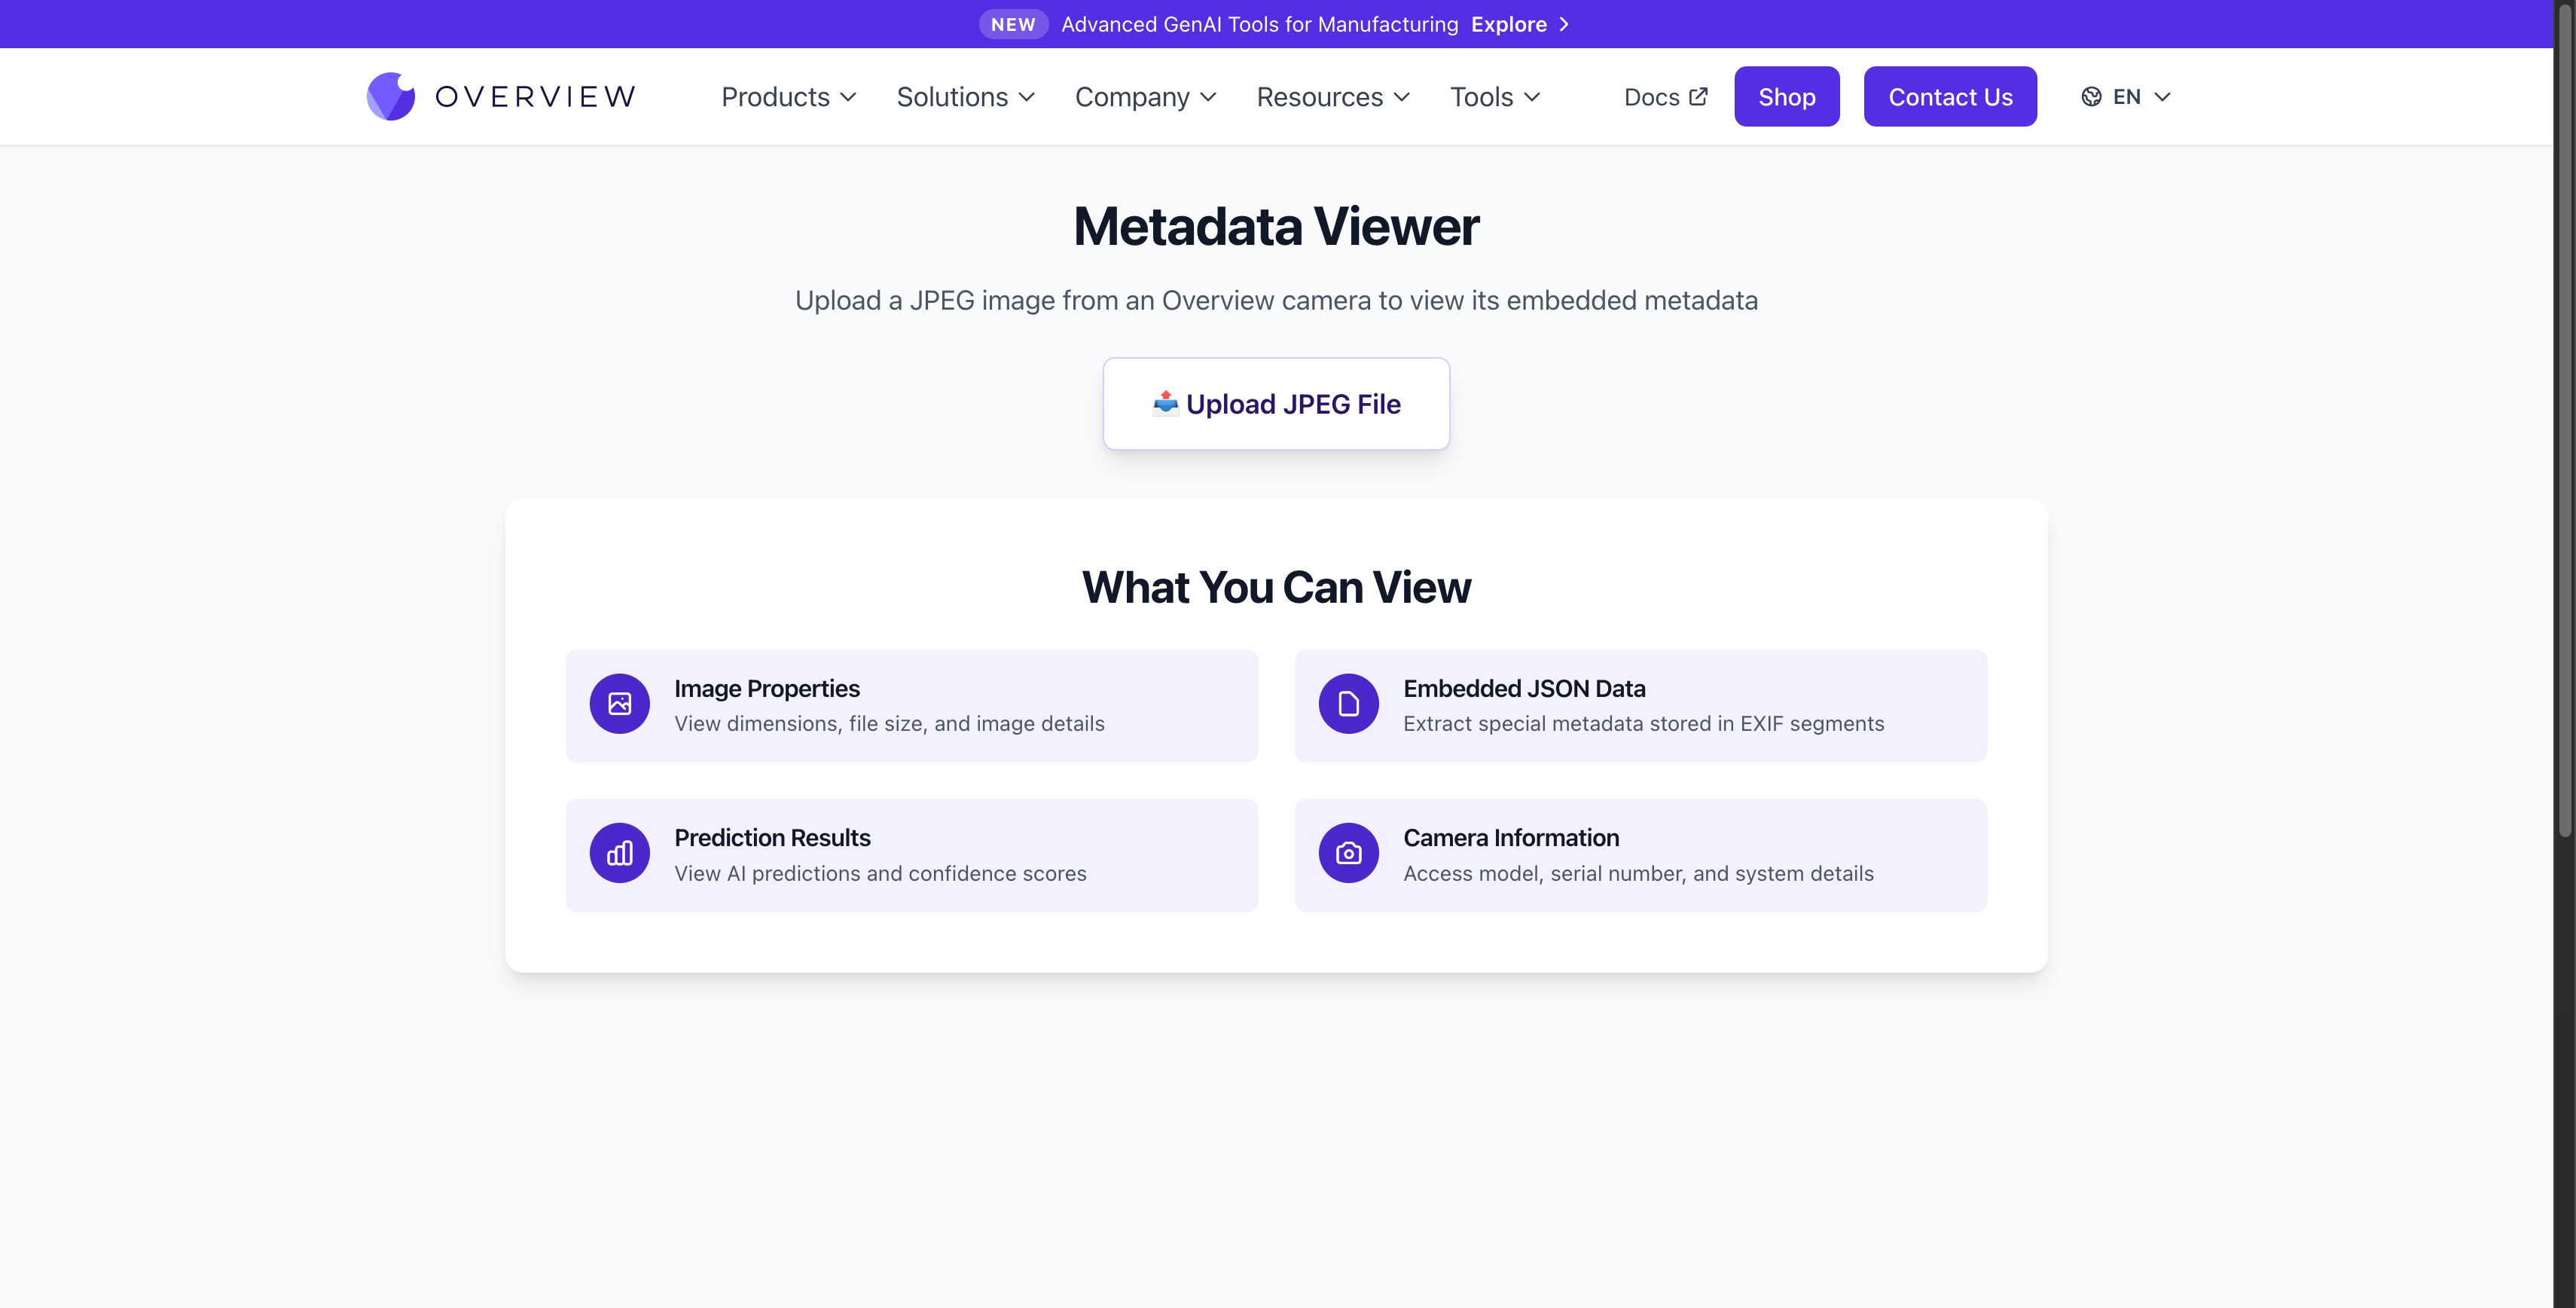
What you can extract:
| Category | Details |
|---|---|
| Image Properties | Dimensions, file size, format, color space |
| Embedded JSON Data | Custom metadata stored in EXIF segments by the OV camera |
| Prediction Results | AI classification labels, confidence scores, pass/fail outcomes |
| Camera Information | Camera model, serial number, firmware version, system details |
How to use it:
- Open overview.ai/tools/exif-viewer
- Click Upload JPEG File and select a JPEG image captured by an OV camera
- The tool parses the file and displays all embedded metadata organized by category
When your AI model makes an unexpected prediction, upload the saved image to the Metadata Viewer to see exactly what confidence scores and labels the model assigned. This is faster than scrolling through the camera's inspection history.
The Metadata Viewer is designed specifically for JPEG images captured by OV cameras. Standard photos from phones or other cameras will show basic EXIF data but won't have the embedded JSON, prediction results, or camera information fields.
Link: overview.ai/tools/exif-viewer
Recipe Upload
Problem it solves: You need an Overview support agent to review your recipe and help troubleshoot issues with your inspection setup.
What it does: Uploads your OV camera recipe file so an Overview support agent can analyze your configuration and provide guidance. Recipes are exported from the camera as .zip files containing your full inspection configuration: image settings, alignment, ROIs, AI models, and output logic. Once uploaded, the support team can review your setup and help identify issues or suggest improvements.
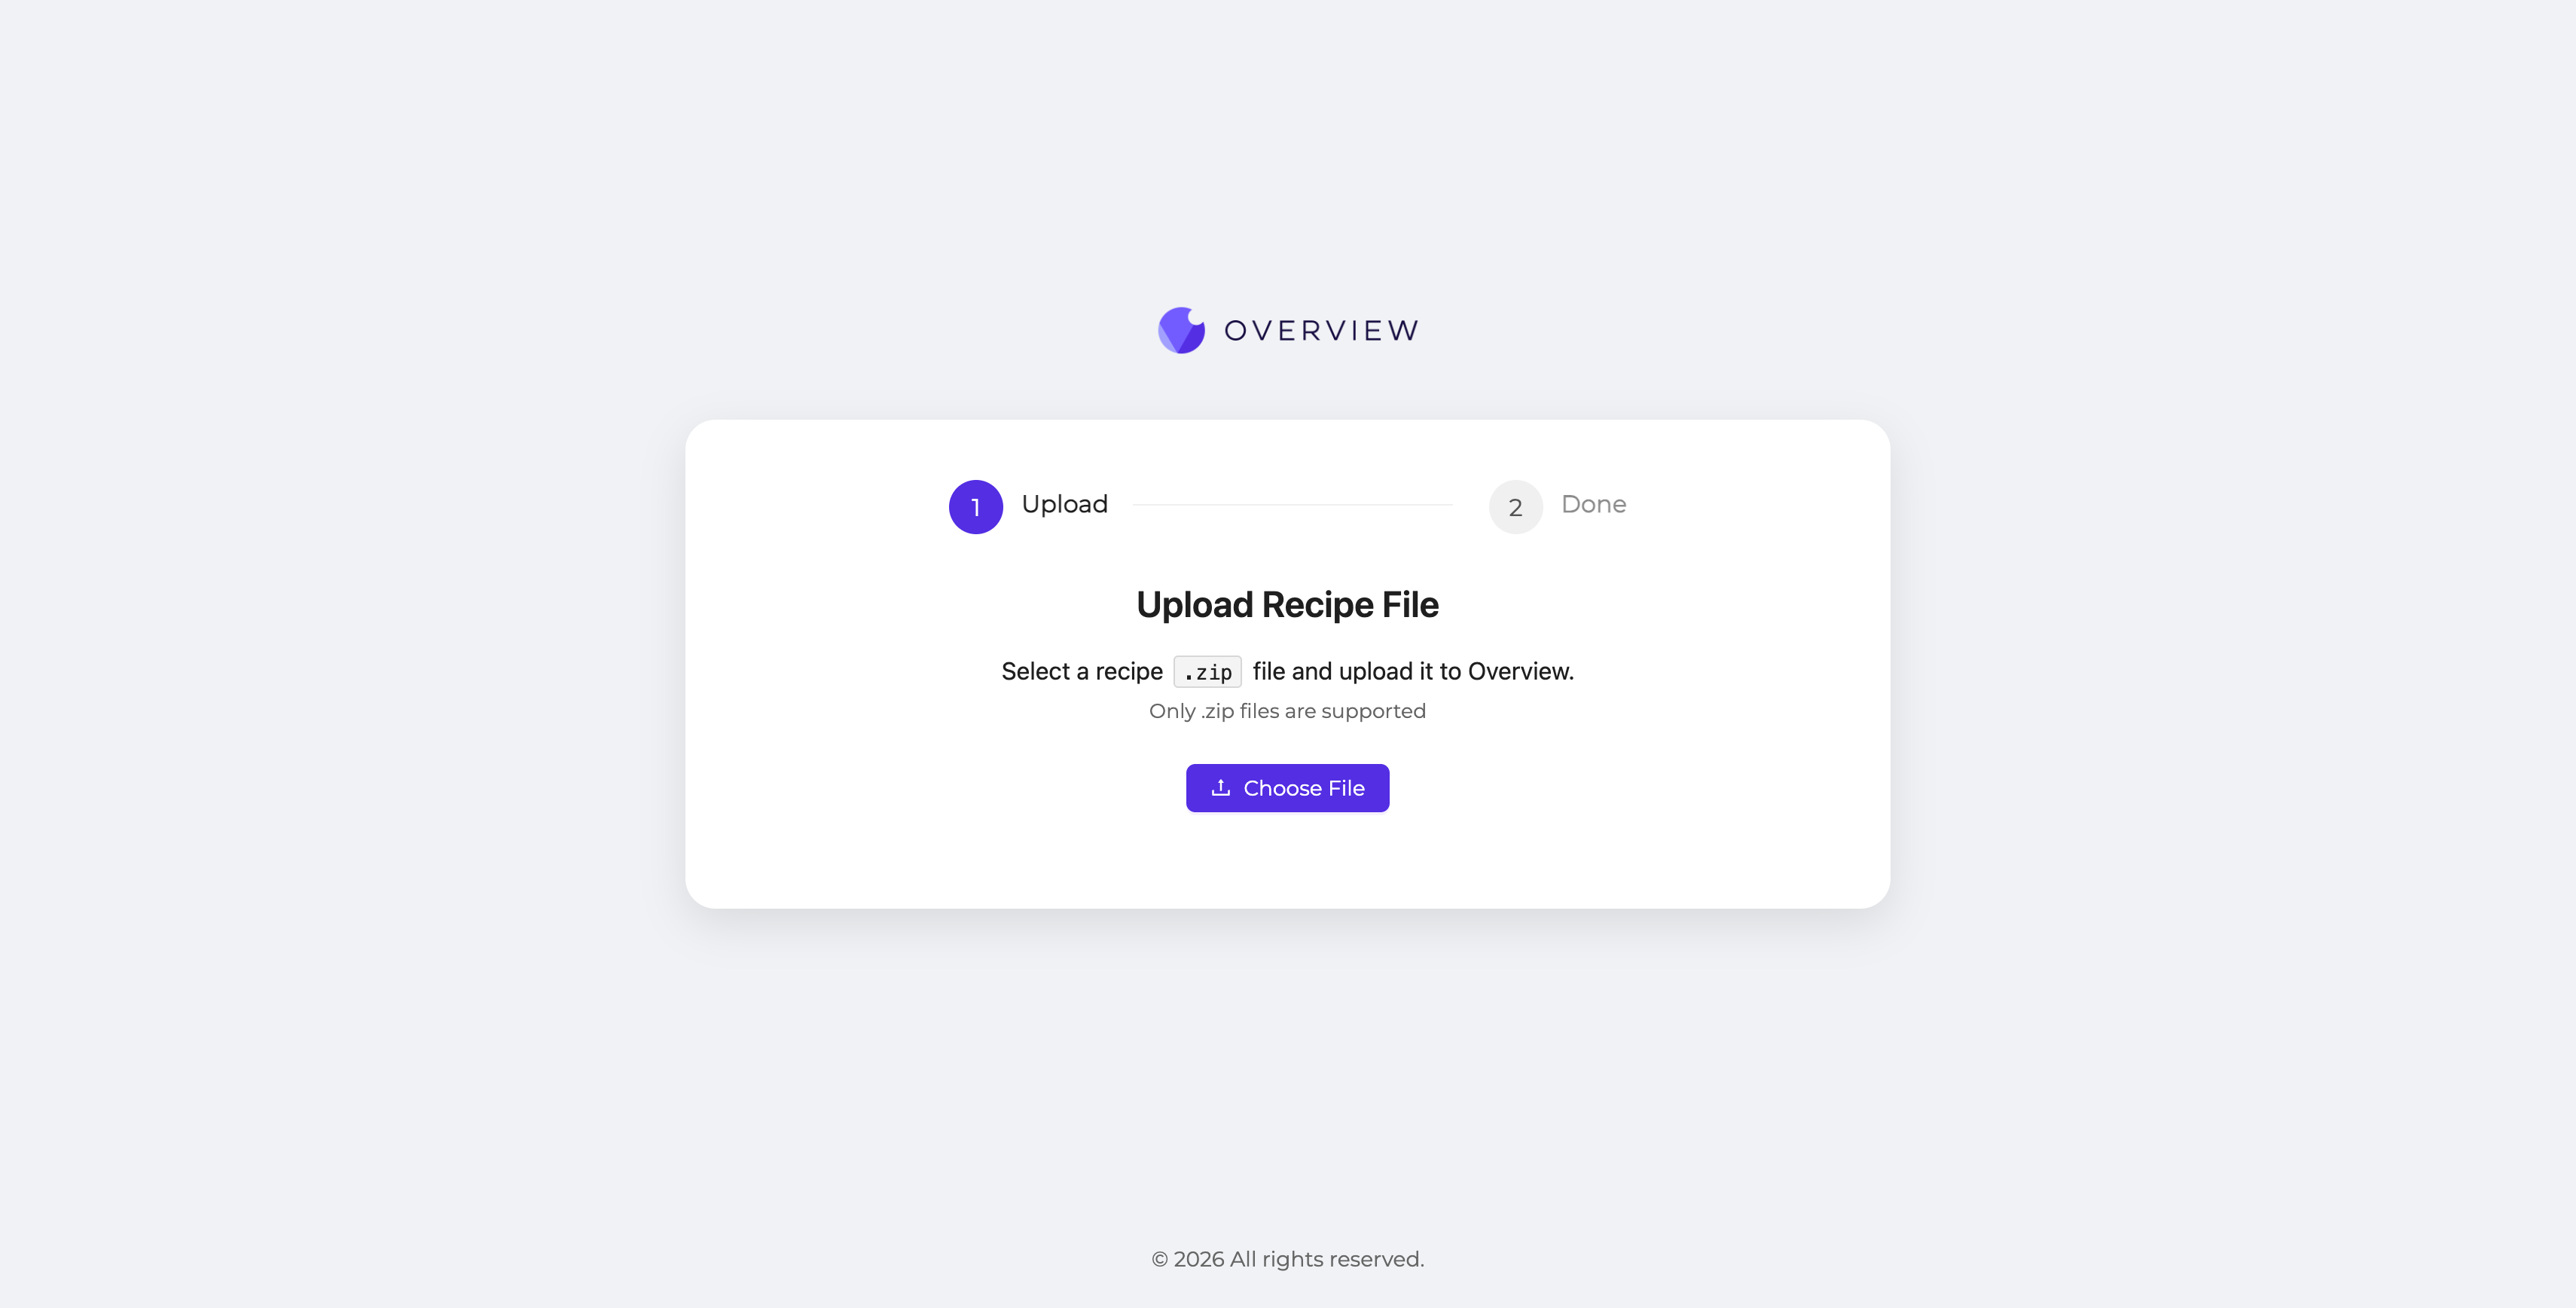
How to use it:
- Export a recipe from your camera (in the camera UI, go to the recipe and use the export option to download a
.zipfile) - Open upload.overview.ai
- Click Choose File and select the
.ziprecipe file - The tool uploads the recipe to Overview for support review
The tool only accepts .zip recipe files exported directly from an OV camera. Other file formats will be rejected.
If your inspection isn't performing as expected and you've already tried adjusting settings yourself, upload your recipe here and contact Overview support. Having your recipe on file lets the support team see your exact configuration and provide specific recommendations rather than general advice.
Link: upload.overview.ai
Firmware Updates
Problem it solves: You need to update your camera's firmware to get the latest features, bug fixes, or performance improvements.
What it does: Provides a secure, verified download process for OV camera firmware update packages. The process uses email verification to ensure only authorized users can download firmware.

How to use it:
- Open updates.overview.ai
- Step 1 (Email): Enter your email address and click Continue
- Step 2 (Release): Select the firmware version for your camera model
- Step 3 (Verify): Enter the verification code sent to your email
- Step 4 (Download): Download the firmware package
After downloading, follow the firmware update instructions in your camera's settings to apply the update.
Always export your recipes before applying a firmware update. While updates are designed to preserve your configuration, having a backup ensures you can restore your setup if anything unexpected happens.
Firmware downloads require an internet connection. The camera itself does not need internet access for the update, only the computer downloading the firmware package.
Link: updates.overview.ai
Log Analyzer
Problem it solves: Something is wrong with your camera and you need to diagnose the issue, but the camera UI doesn't give you enough detail.
What it does: AI-powered diagnostic tool that analyzes log files exported from your OV camera. Upload a log archive and the tool parses system logs, identifies errors, flags performance issues, and provides actionable recommendations.

How to use it:
- Export logs from your camera (in the camera UI, go to Settings and download the diagnostic log package as a
.zipfile) - Open logs.overview.ai and click Log Analyzer in the navigation
- Click or drag the
.ziplog file into the upload area - The tool analyzes the logs and presents findings
If you're working with Overview support on a technical issue, upload your logs here first. The analysis provides a structured summary that helps the support team diagnose your issue faster.
The tool accepts a single .zip file containing the diagnostic logs exported from your camera. Unzipped or individual log files are not supported.
Link: logs.overview.ai
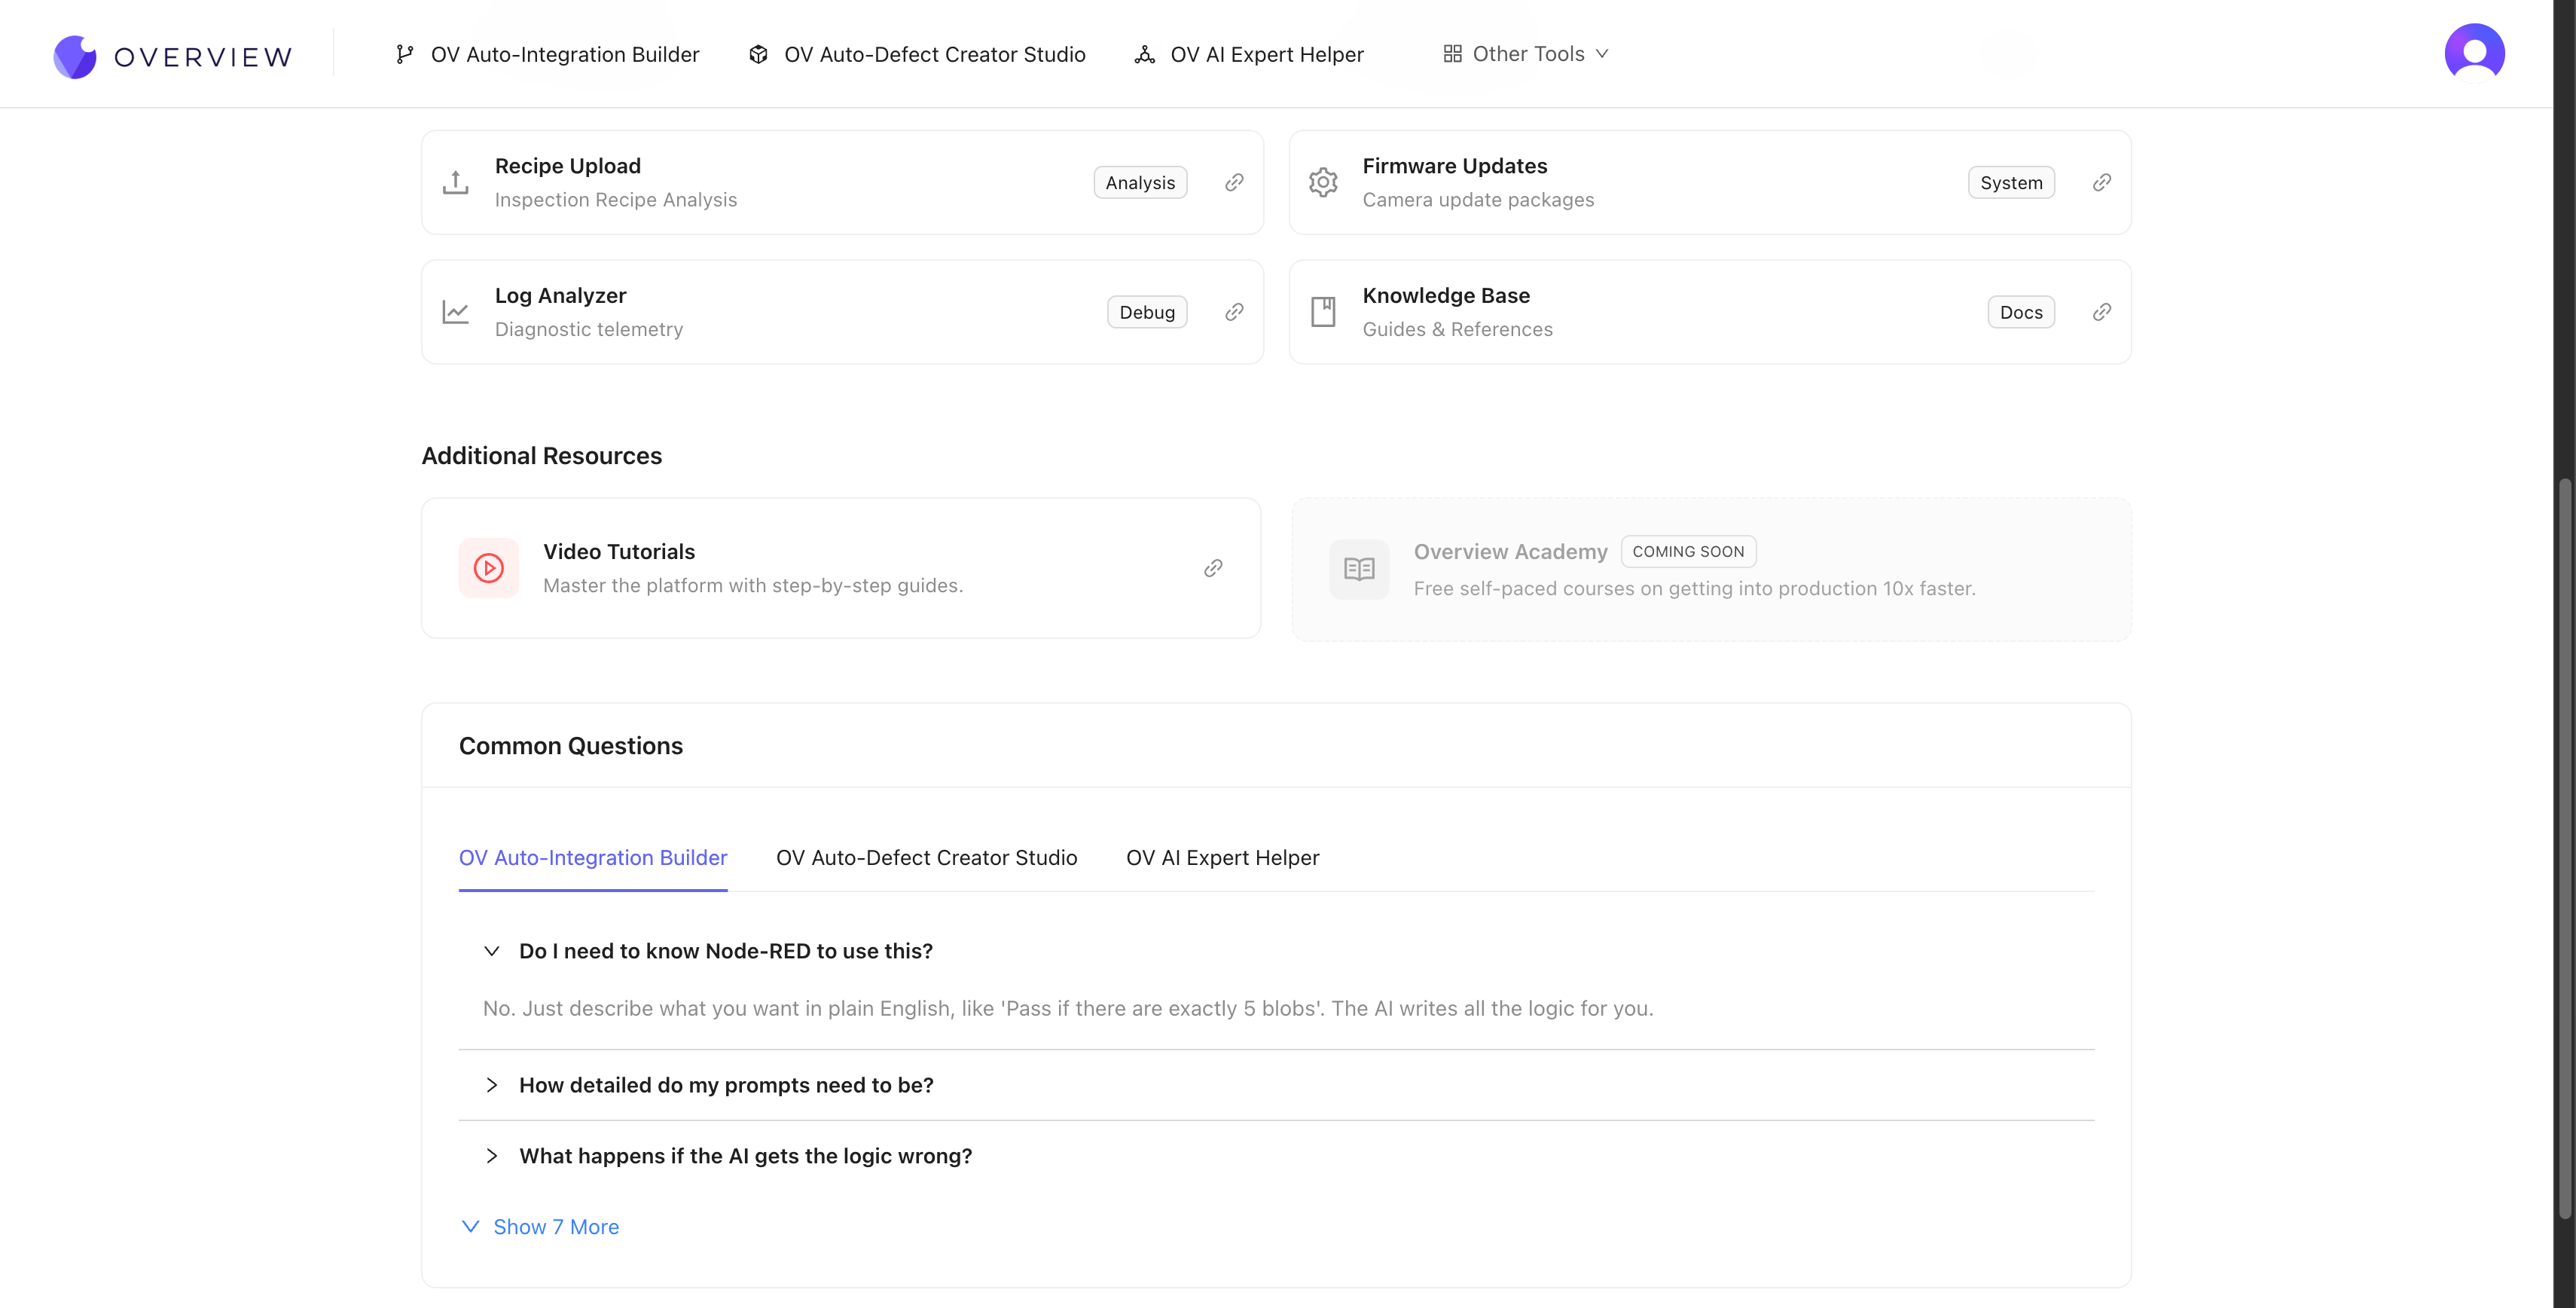
Knowledge Base
Problem it solves: You need to find documentation for a specific feature, reference guide, or troubleshooting procedure.
What it does: Links directly to the full OV camera documentation site with guides, references, and tutorials for all camera models (OV10i, OV20i, OV80i).
The Knowledge Base includes:
- Getting Started guides for each camera model
- Step-by-step setup workflows from mounting to production
- Reference documentation for all camera features
- Troubleshooting guides for common issues
- API reference for advanced integrations
Link: docs.overview.ai