AI-POWERED DOCS
What do you want to know?
Build a Recipe from Scratch
A recipe is one complete inspection: how the camera captures the image, what it checks, how it decides pass or fail, and what it tells the line.
The recipe editor is a six-step wizard, and the order is deliberate. Each step builds on the one before it, and each has its own page:
| Step | What you decide | Page |
|---|---|---|
| 1. Imaging | How the image is captured | Step 1: Imaging |
| 2. Triggering | What makes the camera capture | Step 2: Triggering |
| 3. Tools | What gets checked | Alignment, then Inspection Tools |
| 4. Judgment | How tool results become pass or fail | Step 4: Judgment |
| 5. Outputs | What the line is told | Step 5: Outputs |
| 6. Finish up | Review and activate | Step 6: Finish up |
Want to see all six working together first? The kit tray example walks one real job from start to finish.
Everything downstream is built on the image. If you change focus, exposure or lighting after training a tool, you must recapture your examples and retrain. Settle the image before you draw a single region.
Before you start
- The camera is mounted, wired and reachable. See Install the camera and Connect to the interface
- The camera is in Setup mode, not Production
- You have real parts to hand, including bad ones. You cannot train a tool to catch a defect you cannot show it
Create the recipe
From All Recipes, click New recipe. Give it a name that will still mean something to someone else at 3 a.m. The camera assigns a PLC recipe ID automatically; you can change it on Step 5.
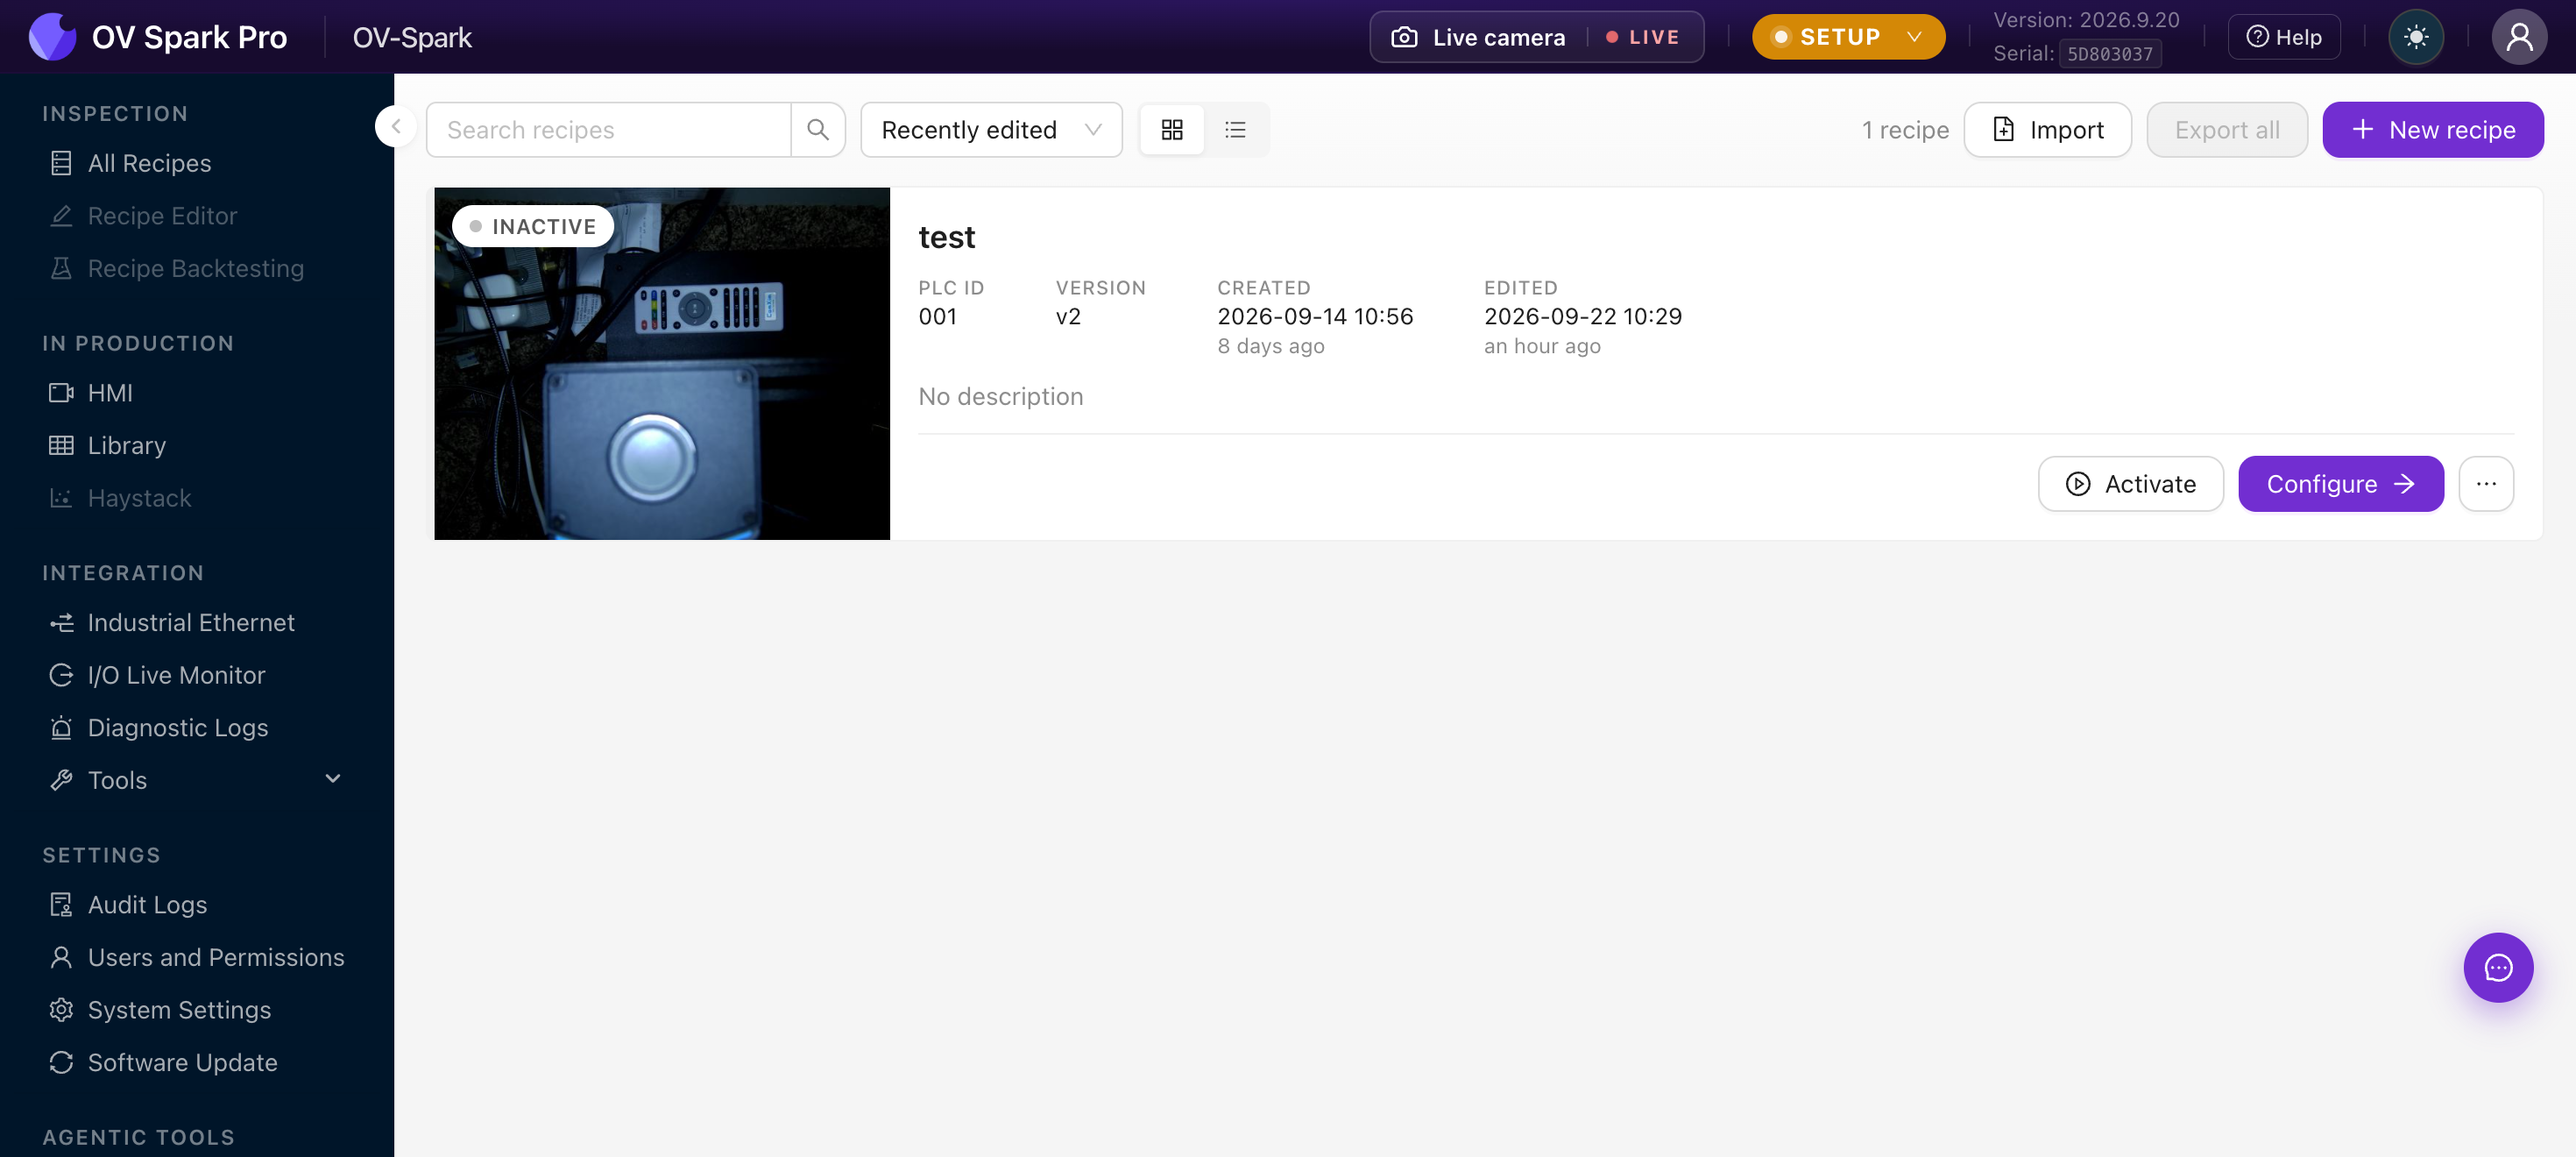
The editor opens on Step 1. The steps run across the top, and a blocker chip in the header always shows what is still missing.
Tools: the home of a recipe
The Tools step is where a recipe lives. It lists every check the camera runs on each part, and it is where you will spend most of your time, both building the recipe and coming back to improve it.
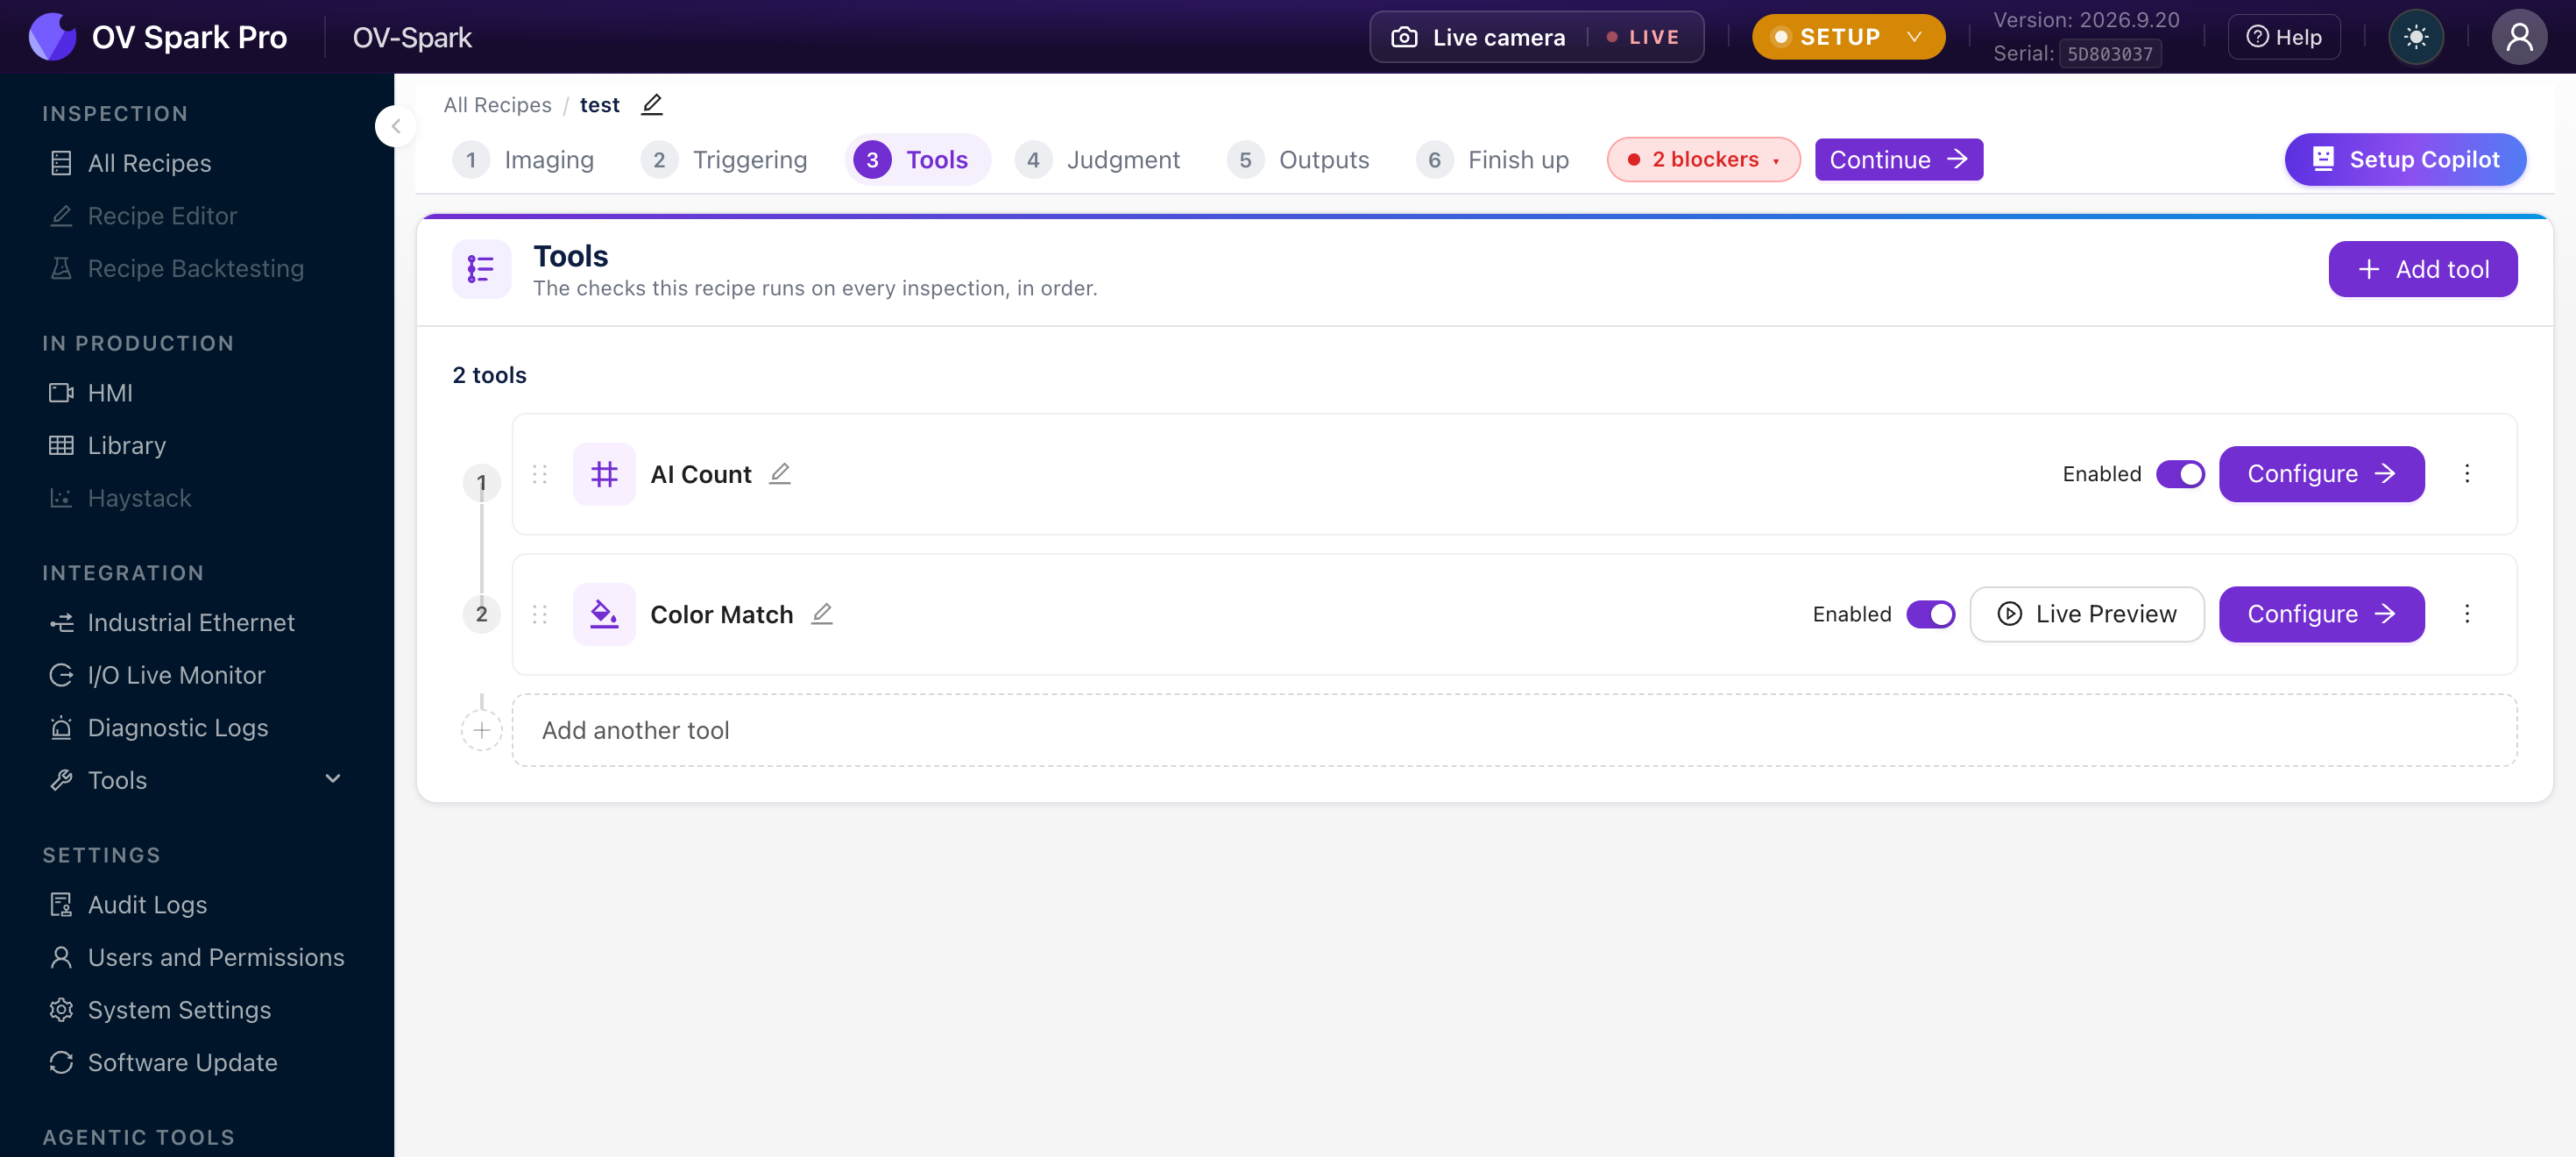
Click Add tool and pick from the catalog. Tools run in order, top to bottom. Each has an Enabled toggle, so you can park a tool without losing its training, and Configure to open its own setup.
- Add Alignment first, unless a fixture holds the part identically every cycle. Everything after it can then follow the part. See Alignment
- Then add your checks. Work from what you are checking, not from tool names. See Inspection Tools
- Train the AI tools. Classification, Count and Segmentation learn from labelled examples, on the camera, in seconds
Label what the camera sees. If you mark an image as defective because you can see the flaw on the physical part but not in the image, you are teaching the model noise.
Validate before you trust it
Do not go straight to production.
Run it with Live Preview and the I/O Live Monitor open, so you can watch the image, the verdict, and the output signal at once.
I/O Live Monitor has Force ON and Force OFF for each output. Fire your reject gate or stack light without running an inspection. If forcing works and the recipe does not, the problem is in the recipe, not the wiring.
When it is running
- Library holds every capture, filterable by time, recipe, and judgment. Go here when someone asks why a specific part failed
- HMI is the operator screen, and runs in Production mode
Improving a recipe
When something slips through, or a good part fails:
- Find the capture in Library
- Add it to your training data with the correct label
- Retrain, then check the change in Live Preview before activating
Add examples of the failures you actually saw. Adding random extra images of parts the model already handles does not help.