AI-POWERED DOCS
What do you want to know?
Welcome to OV Spark Pro
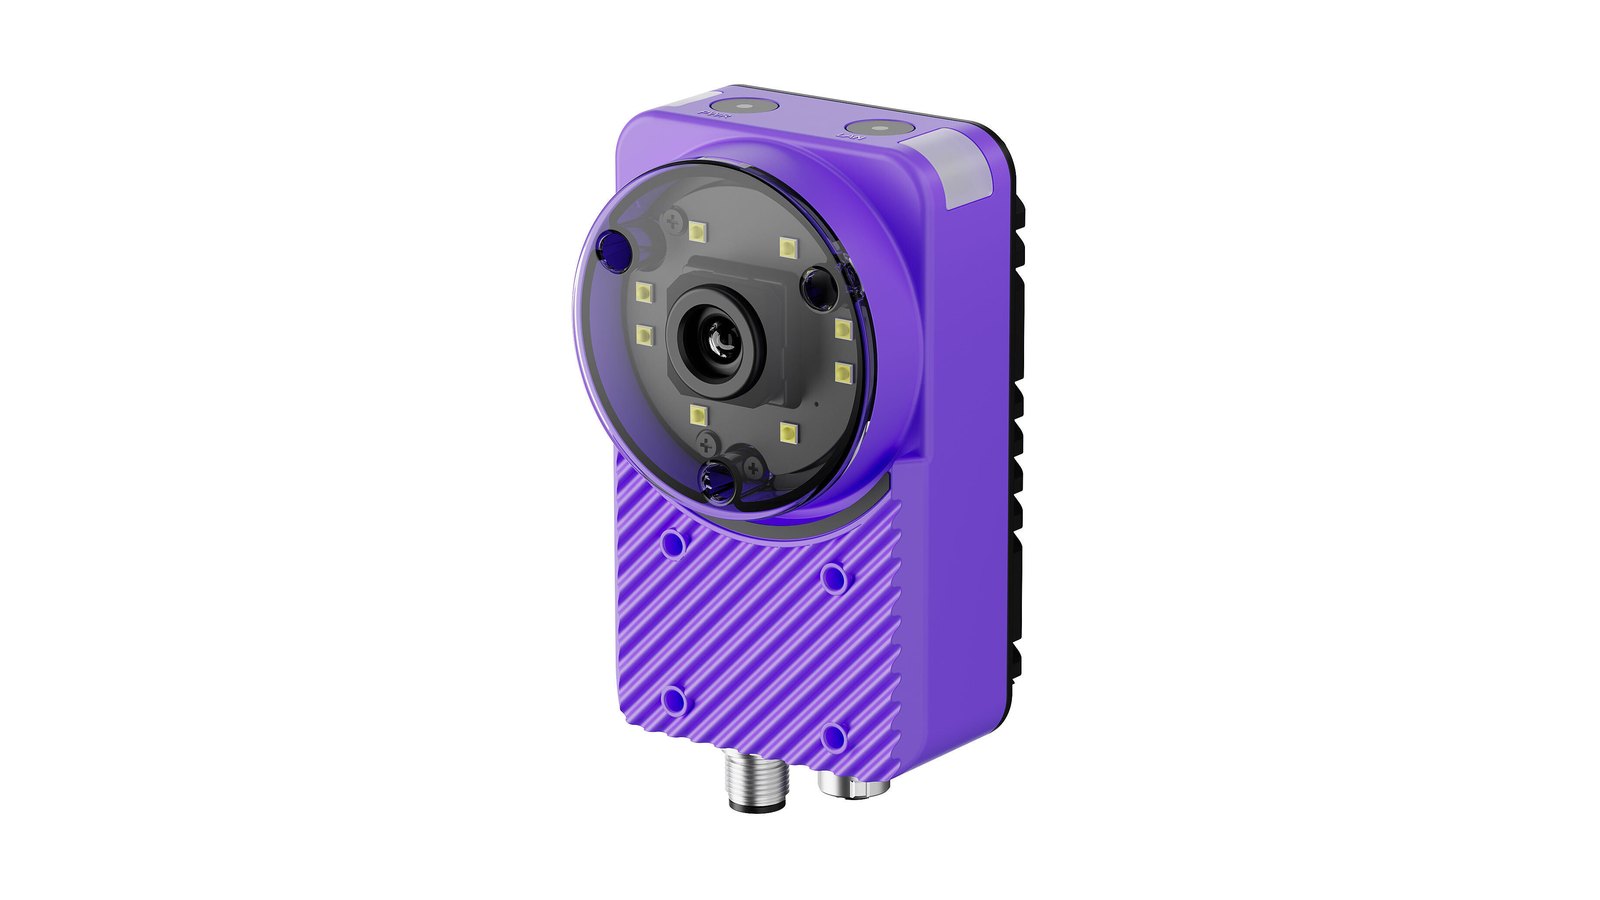
OV Spark Pro is Overview AI's compact, all-in-one agentic industrial inspection camera: a 5 MP global shutter sensor, smart focus and lighting, a 12 TOPS AI engine and Sparky, an edge copilot, in an IP66 housing. The whole inspection runs on the camera, with no PC in the cabinet.
Start here
Work through the steps below in order. Each page ends with a Continue button that takes you to the next one, so you can follow the path without coming back here.
- 1Install the camera
Mount it, wire power and I/O, and confirm the status LEDs.
You need: Camera, bracket, 24 V supply or PoE adapter, M12 cable for I/O (not required if using the PoE adapter) - 2Connect to the interface
Get the camera onto your network and open it in a browser.
You need: A laptop on the same network - 3Tour the interface
Learn where recipes, production screens and settings live.
- 4Create the recipe
Create a new recipe by following the six steps below, in the order shown.
You need: Real parts (including bad ones), external lighting (optional) - 5Step 1: Imaging
Get a sharp, evenly lit image.
- 6Step 2: Triggering
Choose a method that triggers the camera capture.
- 7Step 3a: Set up alignment tool
Add it as the first tool for the AI to dynamically track the part. Skip only if a fixture holds the part identically every cycle.
- 8Step 3b: Choose your checks
Choose a tool for your inspection. Ask Sparky if you need help choosing one.
- 9Step 4: Judgment
Decide how tool results become a global pass or fail.
- 10Step 5: Outputs
Decide the output data flowing to the PLC and the camera's output pins.
- 11Step 6: Finish up
Clear the blockers, read the summary, and activate the recipe.
- 12Connect to your PLC
Map outputs to EtherNet/IP or PROFINET.
You need: PLC access, and your controls engineer
- 13Go live on the HMI
Build the screen your operators watch.
That is 13 steps to a running inspection. After that, Library is where you review the images captured by the camera, and Troubleshooting is where to start when the line misbehaves. Not sure of a term? The Glossary has them all.
These pages describe OV Spark Pro firmware 2026.9.29. Check yours in the top bar of the camera's interface, or in Software Update.
These pages are for OV Spark Pro (2592 x 1944). If the name at the top left of your camera's interface says OV Spark without "Pro", use the OV Spark docs instead. The specifications compare the two.
What is different about OV Spark Pro
If you have used an OV10i, OV20i, or OV80i, the concepts carry over: you build a recipe, the camera captures on a trigger, an AI model makes a judgment, and the result goes out over digital I/O or a fieldbus. What changes here:
| Area | What is new |
|---|---|
| Smart focus and lighting | Closed-loop autofocus set in software, not by turning a ring, and Smart imaging, which picks focus, exposure and lighting for you. 8 programmable white LEDs are built in, so most applications need no external light |
| Optics | The same range as the rest of the family: 6 mm as standard, with 12, 16 and 25 mm lenses fitted by Overview before the camera ships |
| Sensor | 5 MP global shutter colour sensor, so moving parts stay sharp at full resolution |
| Power | The same 24 VDC supply as the rest of the range, now also Power over Ethernet through the Overview adapter |
| Environment | IP66, the most sealed housing in the range, for washdown-adjacent and dusty lines |
| AI | 12 TOPS on-device, with our edge copilot Sparky (cloud optional), and Defect Studio built into the interface via the cloud |
How the interface is organised
Five areas, on the left-hand side panel, mirror how a line actually gets built and run:
| Area | What it holds | Use it when |
|---|---|---|
| Inspection | All Recipes, Recipe Editor | Building and validating an inspection |
| In Production | HMI, Library | Running the line and reviewing captured images |
| Integration | Industrial Ethernet, Remote Storage, HTTP API, I/O Live Monitor, Diagnostic Logs | Wiring the camera into a PLC, MES or file server |
| Settings | Audit Logs, Users and Permissions, System Settings, Software Update | Administering the device |
| Agentic Tools | Sparky, Defect Studio | Getting AI help to build a recipe or generate defect samples |
As on every Overview camera, imaging comes first. If you change focus, exposure or lighting after capturing training images, you will need to recapture and retrain. Get the image right before you build the rest of the recipe.
When you need help
- Troubleshooting: start from what you are seeing and land on the likely cause
- Glossary: every term these pages and the camera use, in plain words
- Worked example: one real inspection built from start to finish
Reference
You do not need these to get started, but they are where the numbers live.
- Technical specifications: sensor, processor, power, environment, field of view
- Pinouts: the M12 12-pin connector, wire colours, and the input and output circuits
- Power over Ethernet: running the camera on a single cable
- PLC handshakes: the trigger, results and recipe switch sequences, for your controls engineer