AI-POWERED DOCS
What do you want to know?
Tour the Interface
A walk through every screen on the camera, using its own left-hand navigation. Press Next to go through them in order, or pick any screen to jump to it. Each one tells you what it is for, what you do there, and the one thing worth knowing, so you get the whole picture without opening each page.
The header
The bar across the top of every screen: live view, mode, version and help.
What you do here- Live camera opens the live view; the LIVE badge shows the stream is running
- The SETUP or PRODUCTION pill is the camera mode. Setup lets you change things; Production runs the line
- Version and Serial are what support will ask for
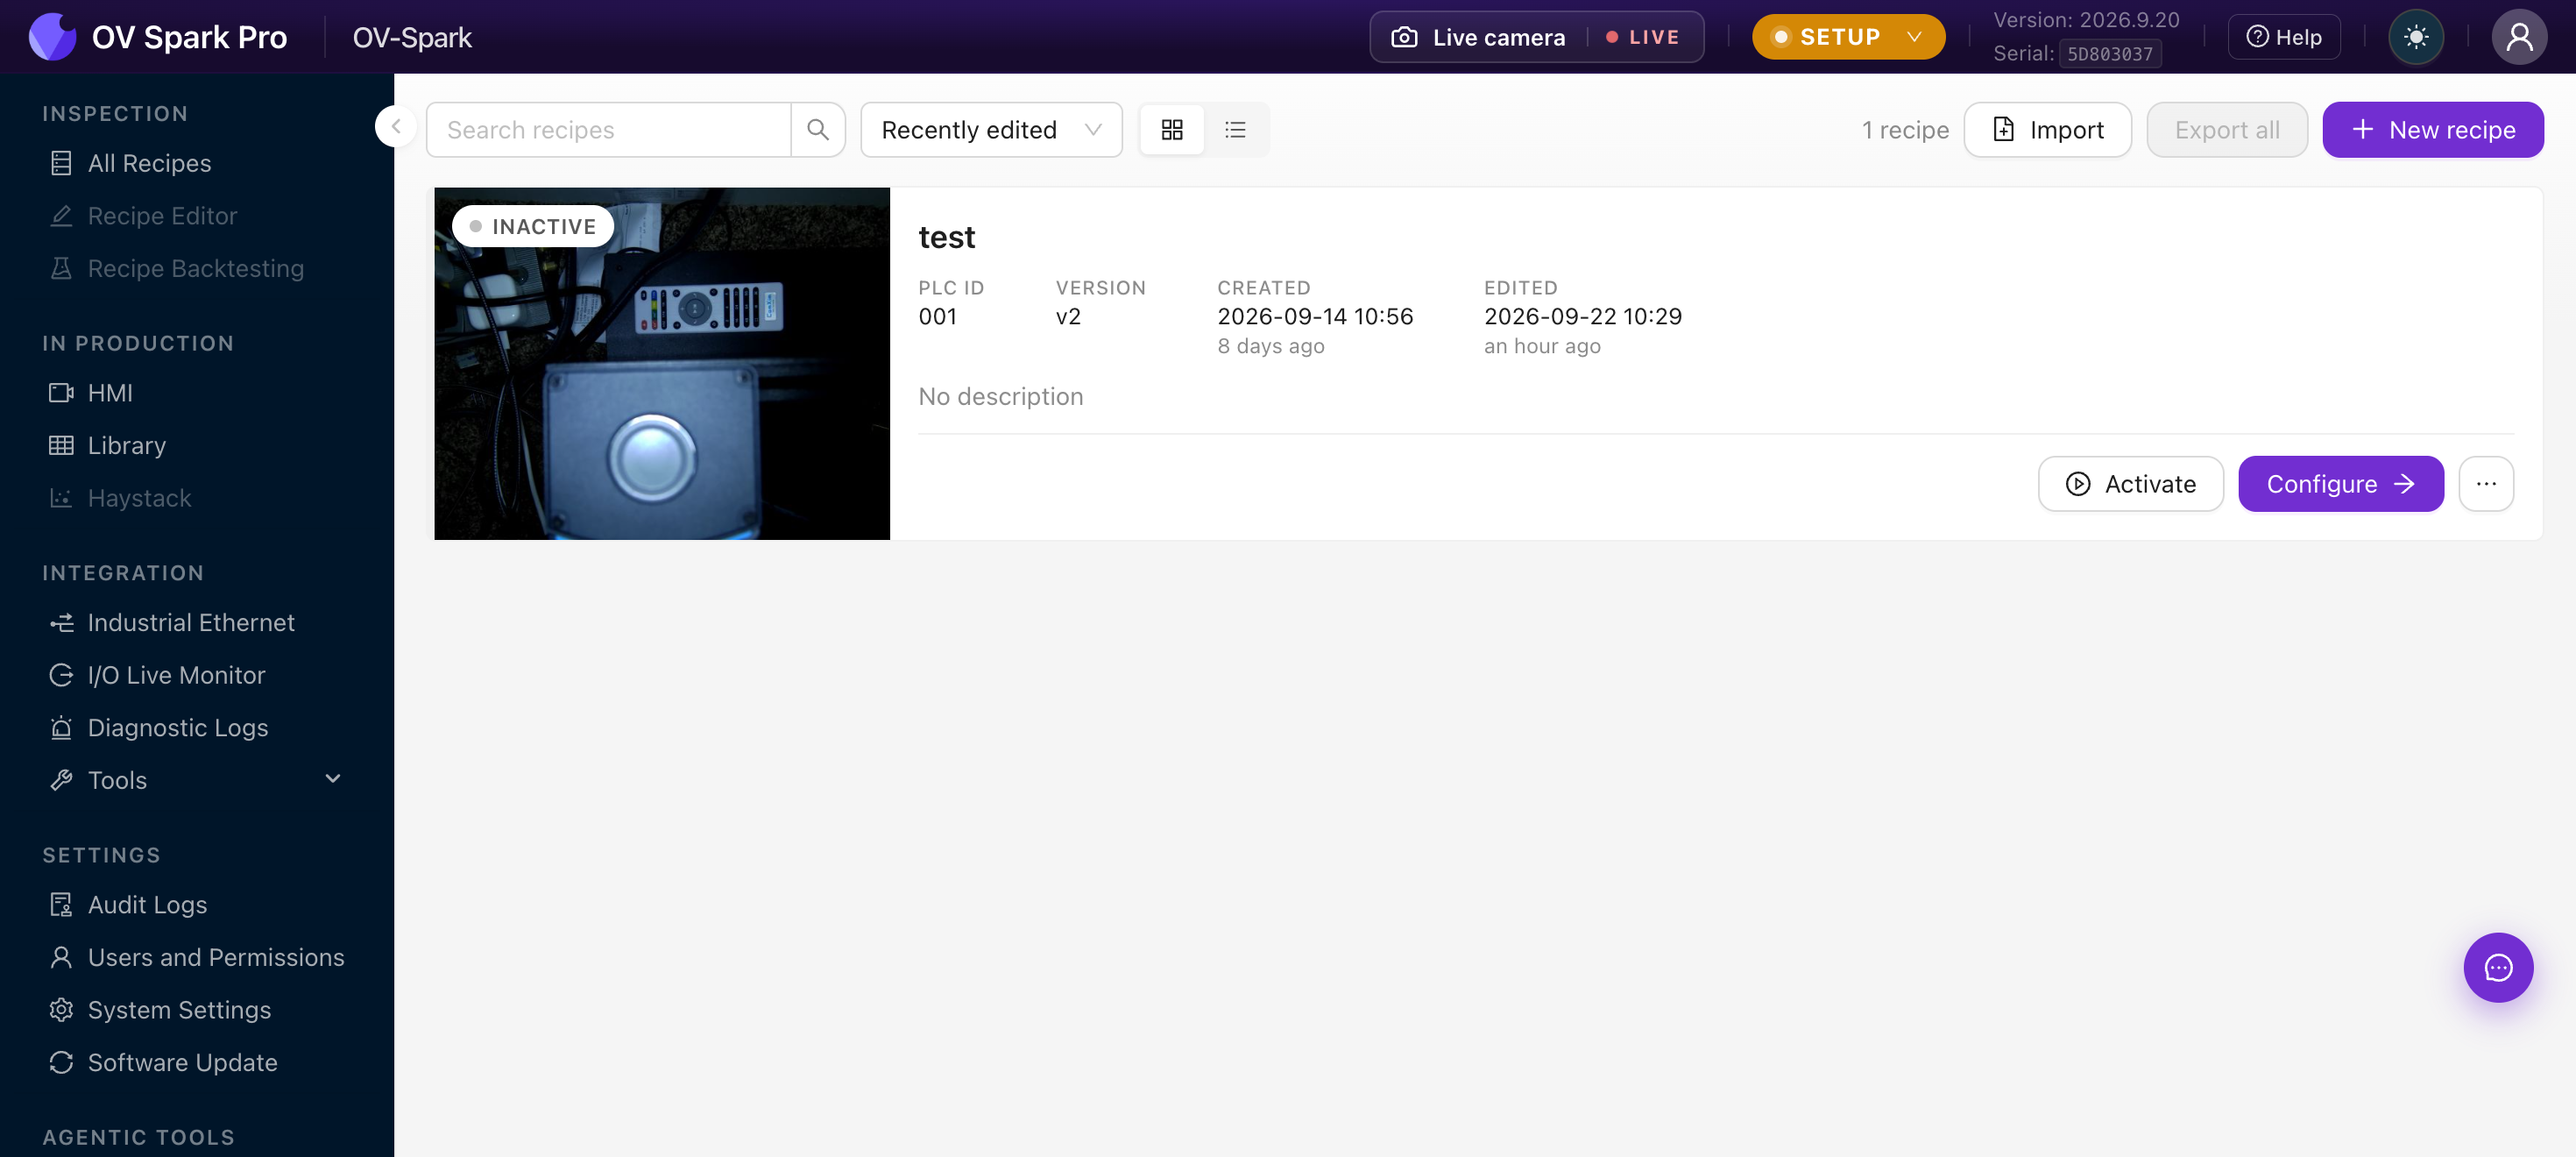
The map follows the camera's navigation on firmware 2026.9.29.
The header
Every screen shares the same header:

| # | Element | What it does |
|---|---|---|
| 1 | Live camera | Opens the live view. The LIVE badge shows the stream is running |
| 2 | SETUP / PRODUCTION | The camera's operating mode. Setup lets you change things; Production runs the line |
| 3 | Version and Serial | Firmware version and the camera's serial number |
| 4 | Help | In-product help |
| 5 | Theme and account | Light/dark toggle and your user menu |
The camera is either in Setup or Production. Some screens, notably the HMI, only run in Production. Switching modes is deliberate, so an operator cannot quietly change a recipe on a running line.
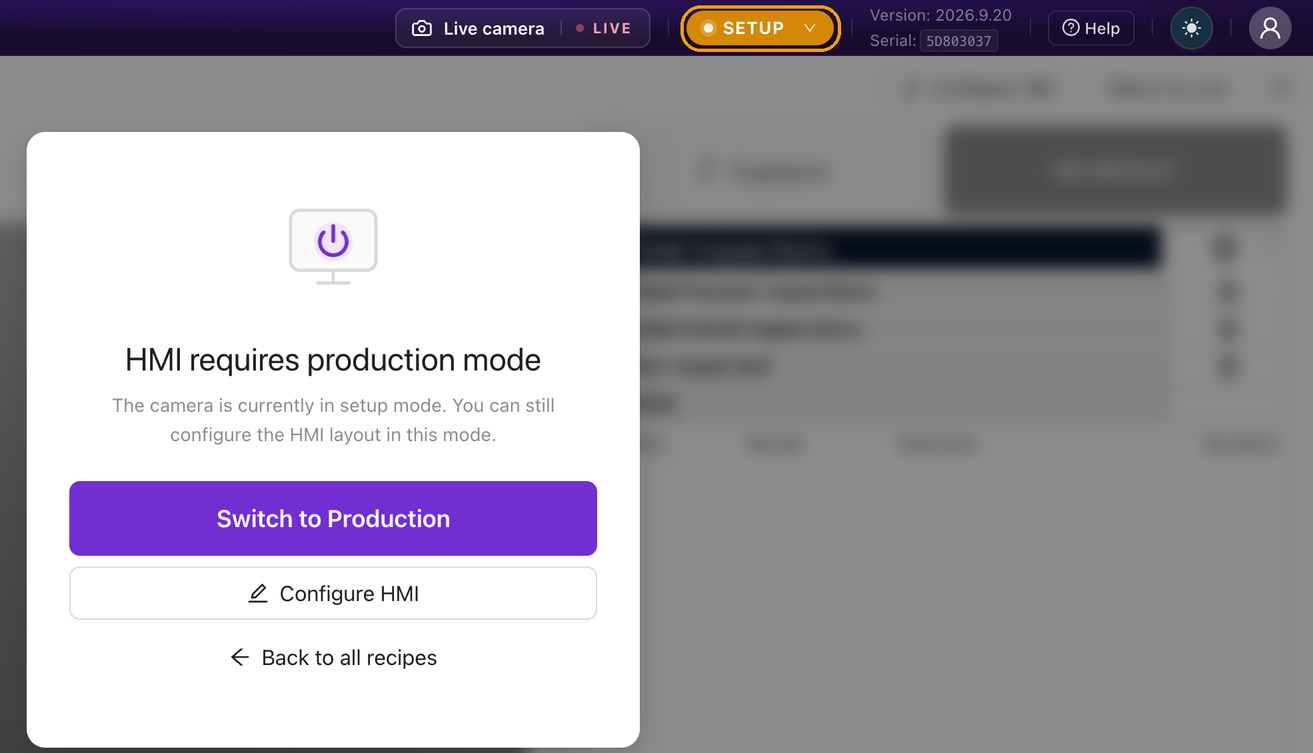
Where to spend your first hour
Most of the interface is for running and administering a camera that already works. To get your first inspection going you need just three places:
1. All Recipes, to create a recipe
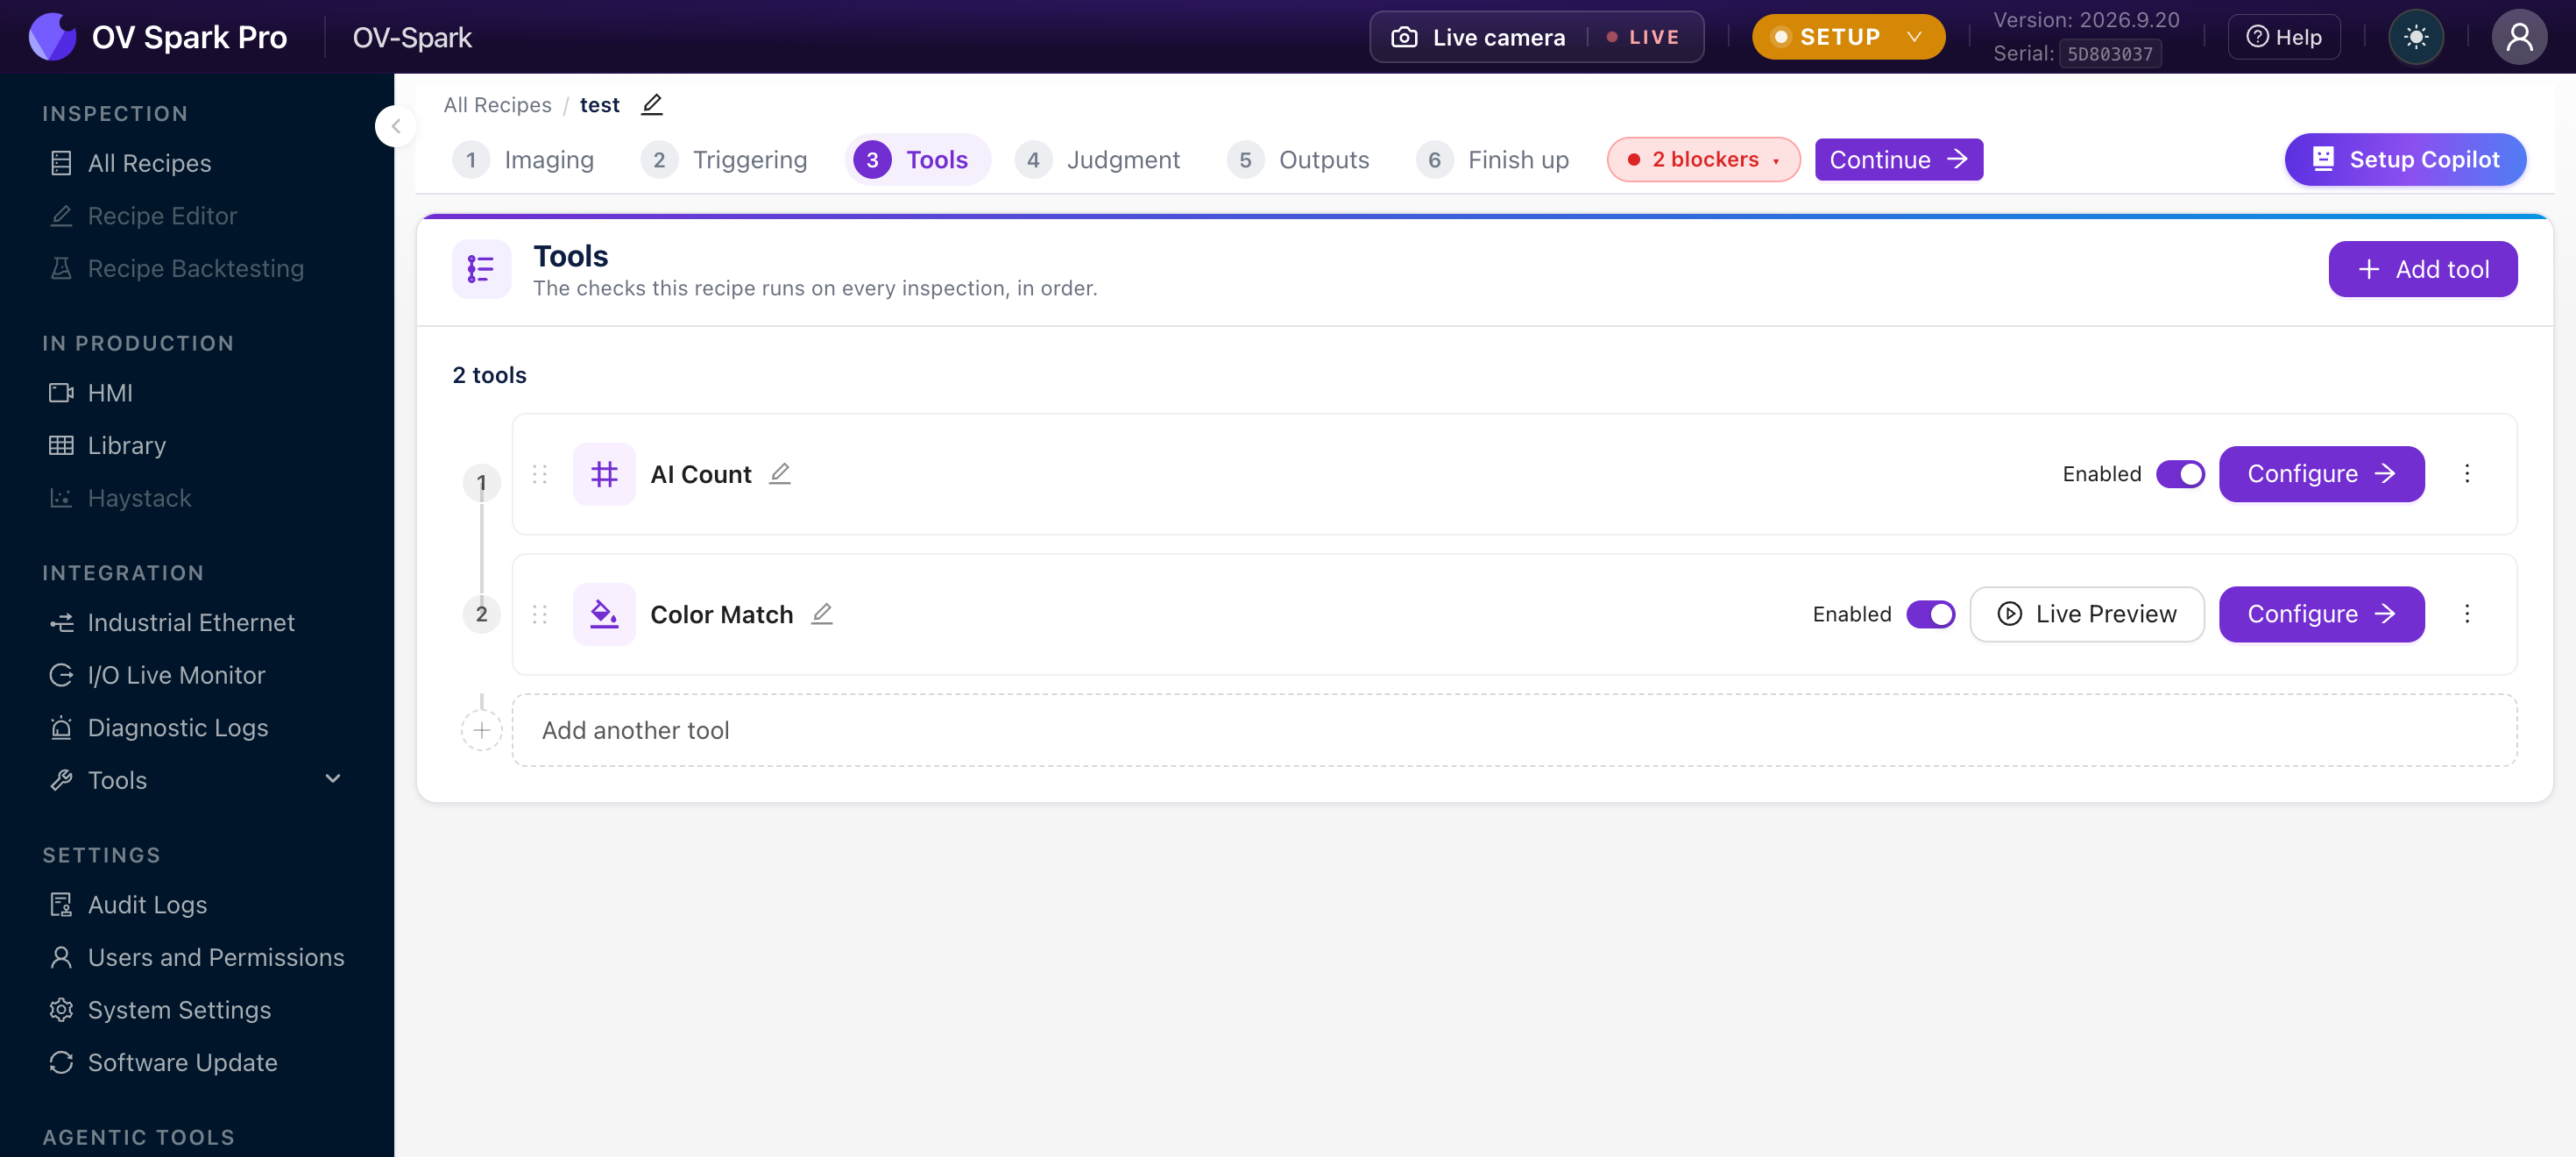
2. Recipe Editor, to build it one step at a time
3. I/O Live Monitor, to prove the signals reach the line
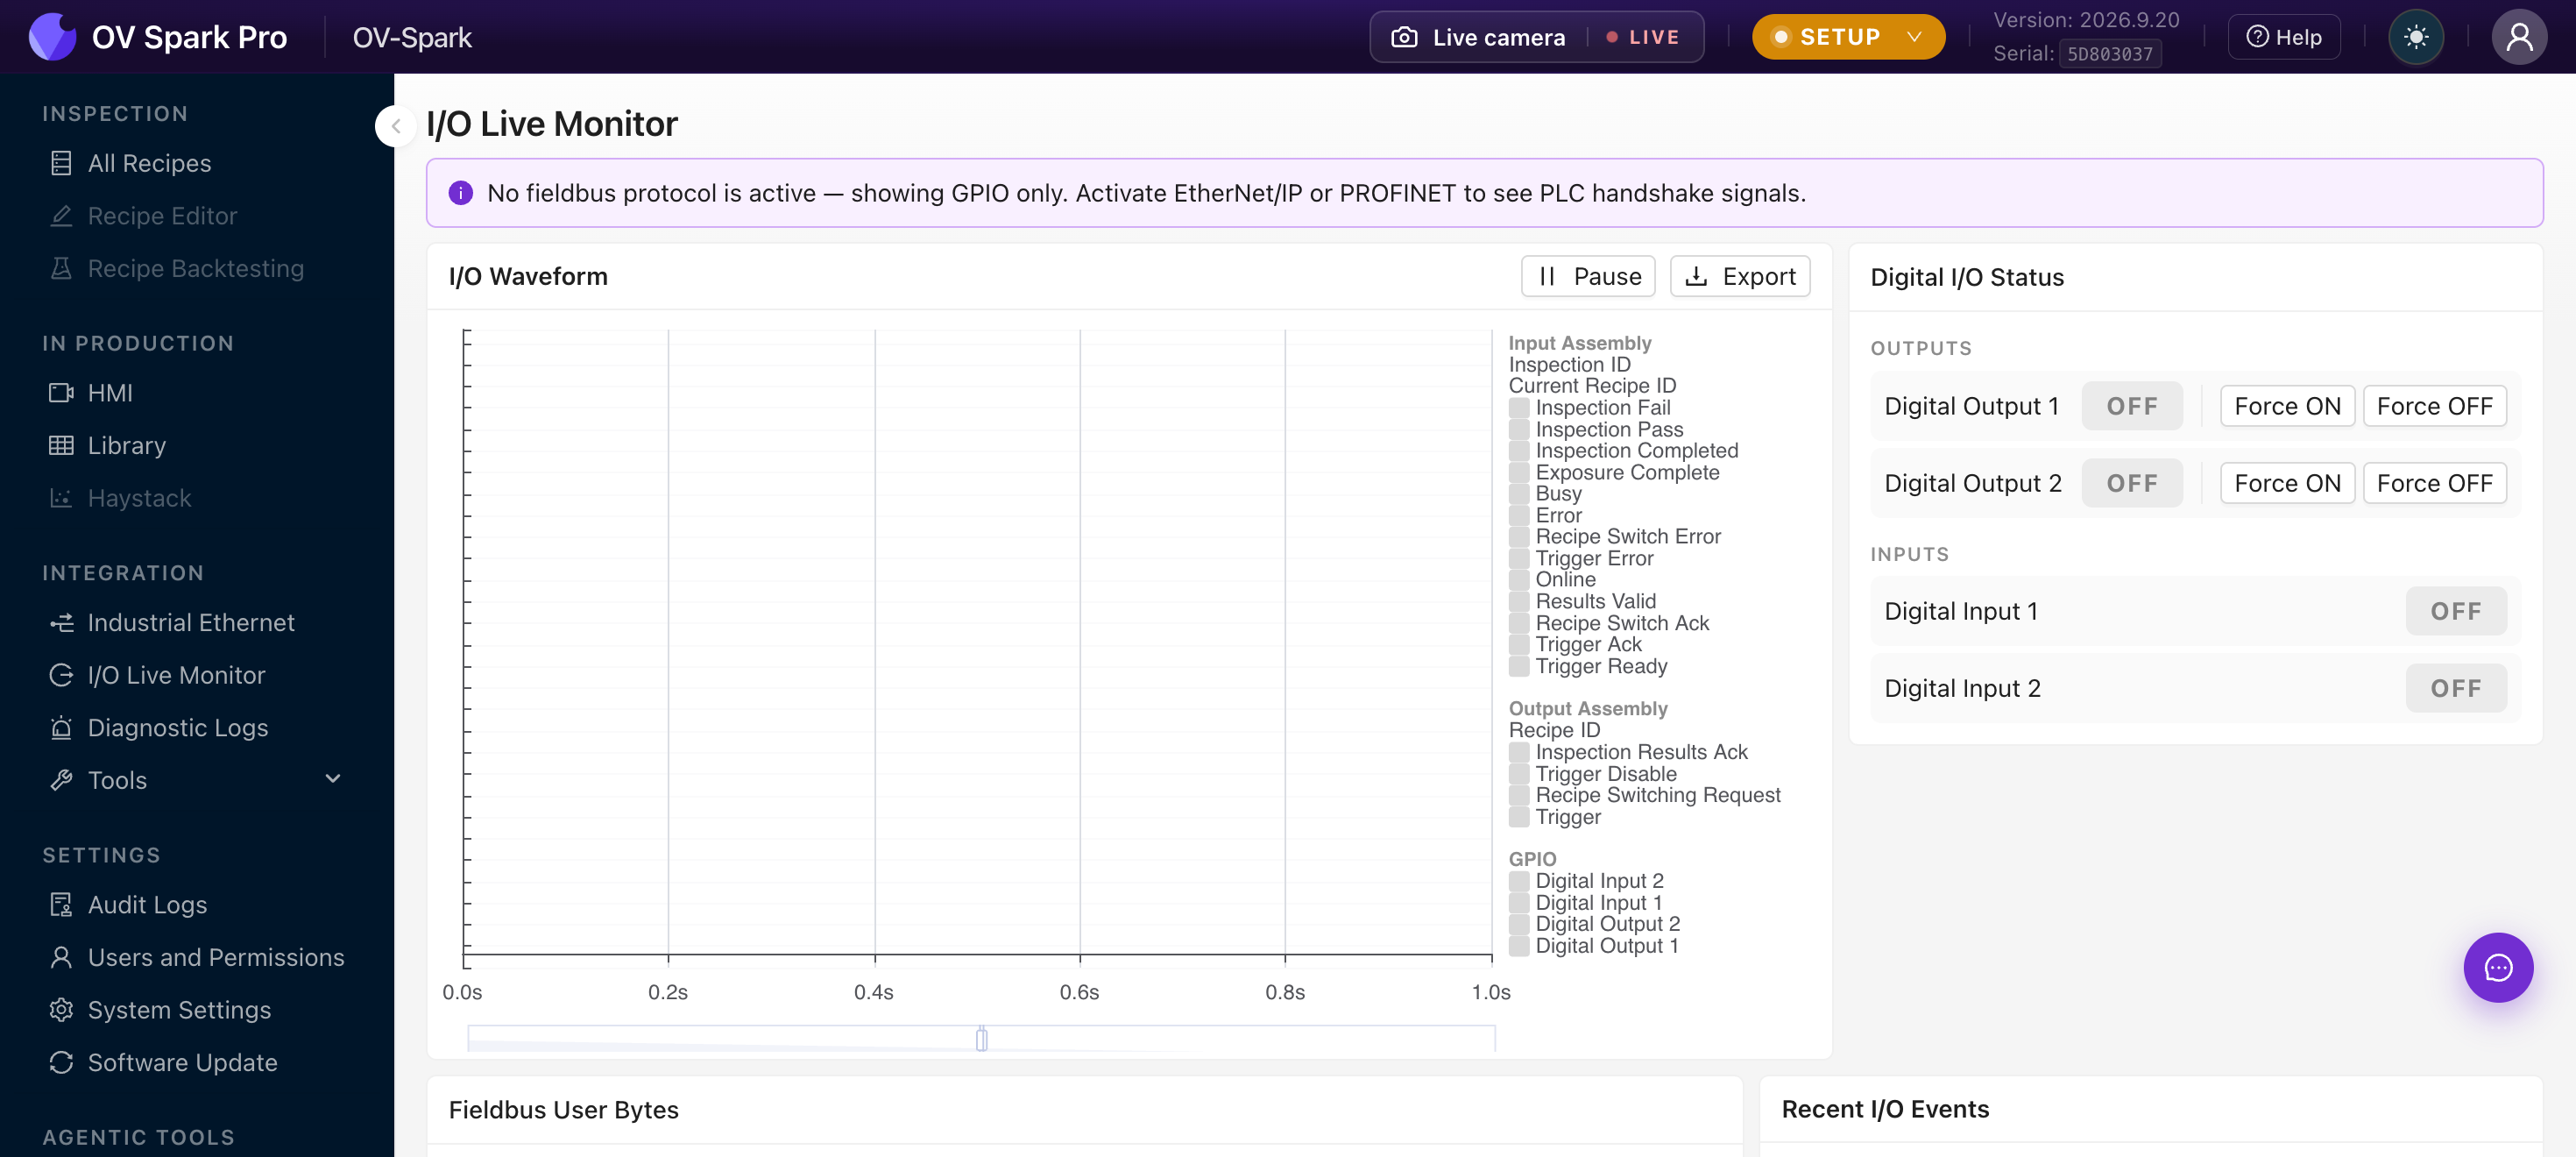
Everything else can wait until the line is running.