AI-POWERED DOCS
What do you want to know?
Step 1: Imaging
Imaging decides what the camera actually sees. Every later step is built on this image, so it is the one step worth over-investing in.
- Press Smart imaging, pick the best-looking candidate, then fine-tune by hand only if you need to
- Aim for a sharp, evenly lit image where you can see the defect with your own eyes
- Keep exposure short on a moving line, and make up light with LED brightness before gain
- Settle the image before you train anything, because changing it later means retraining
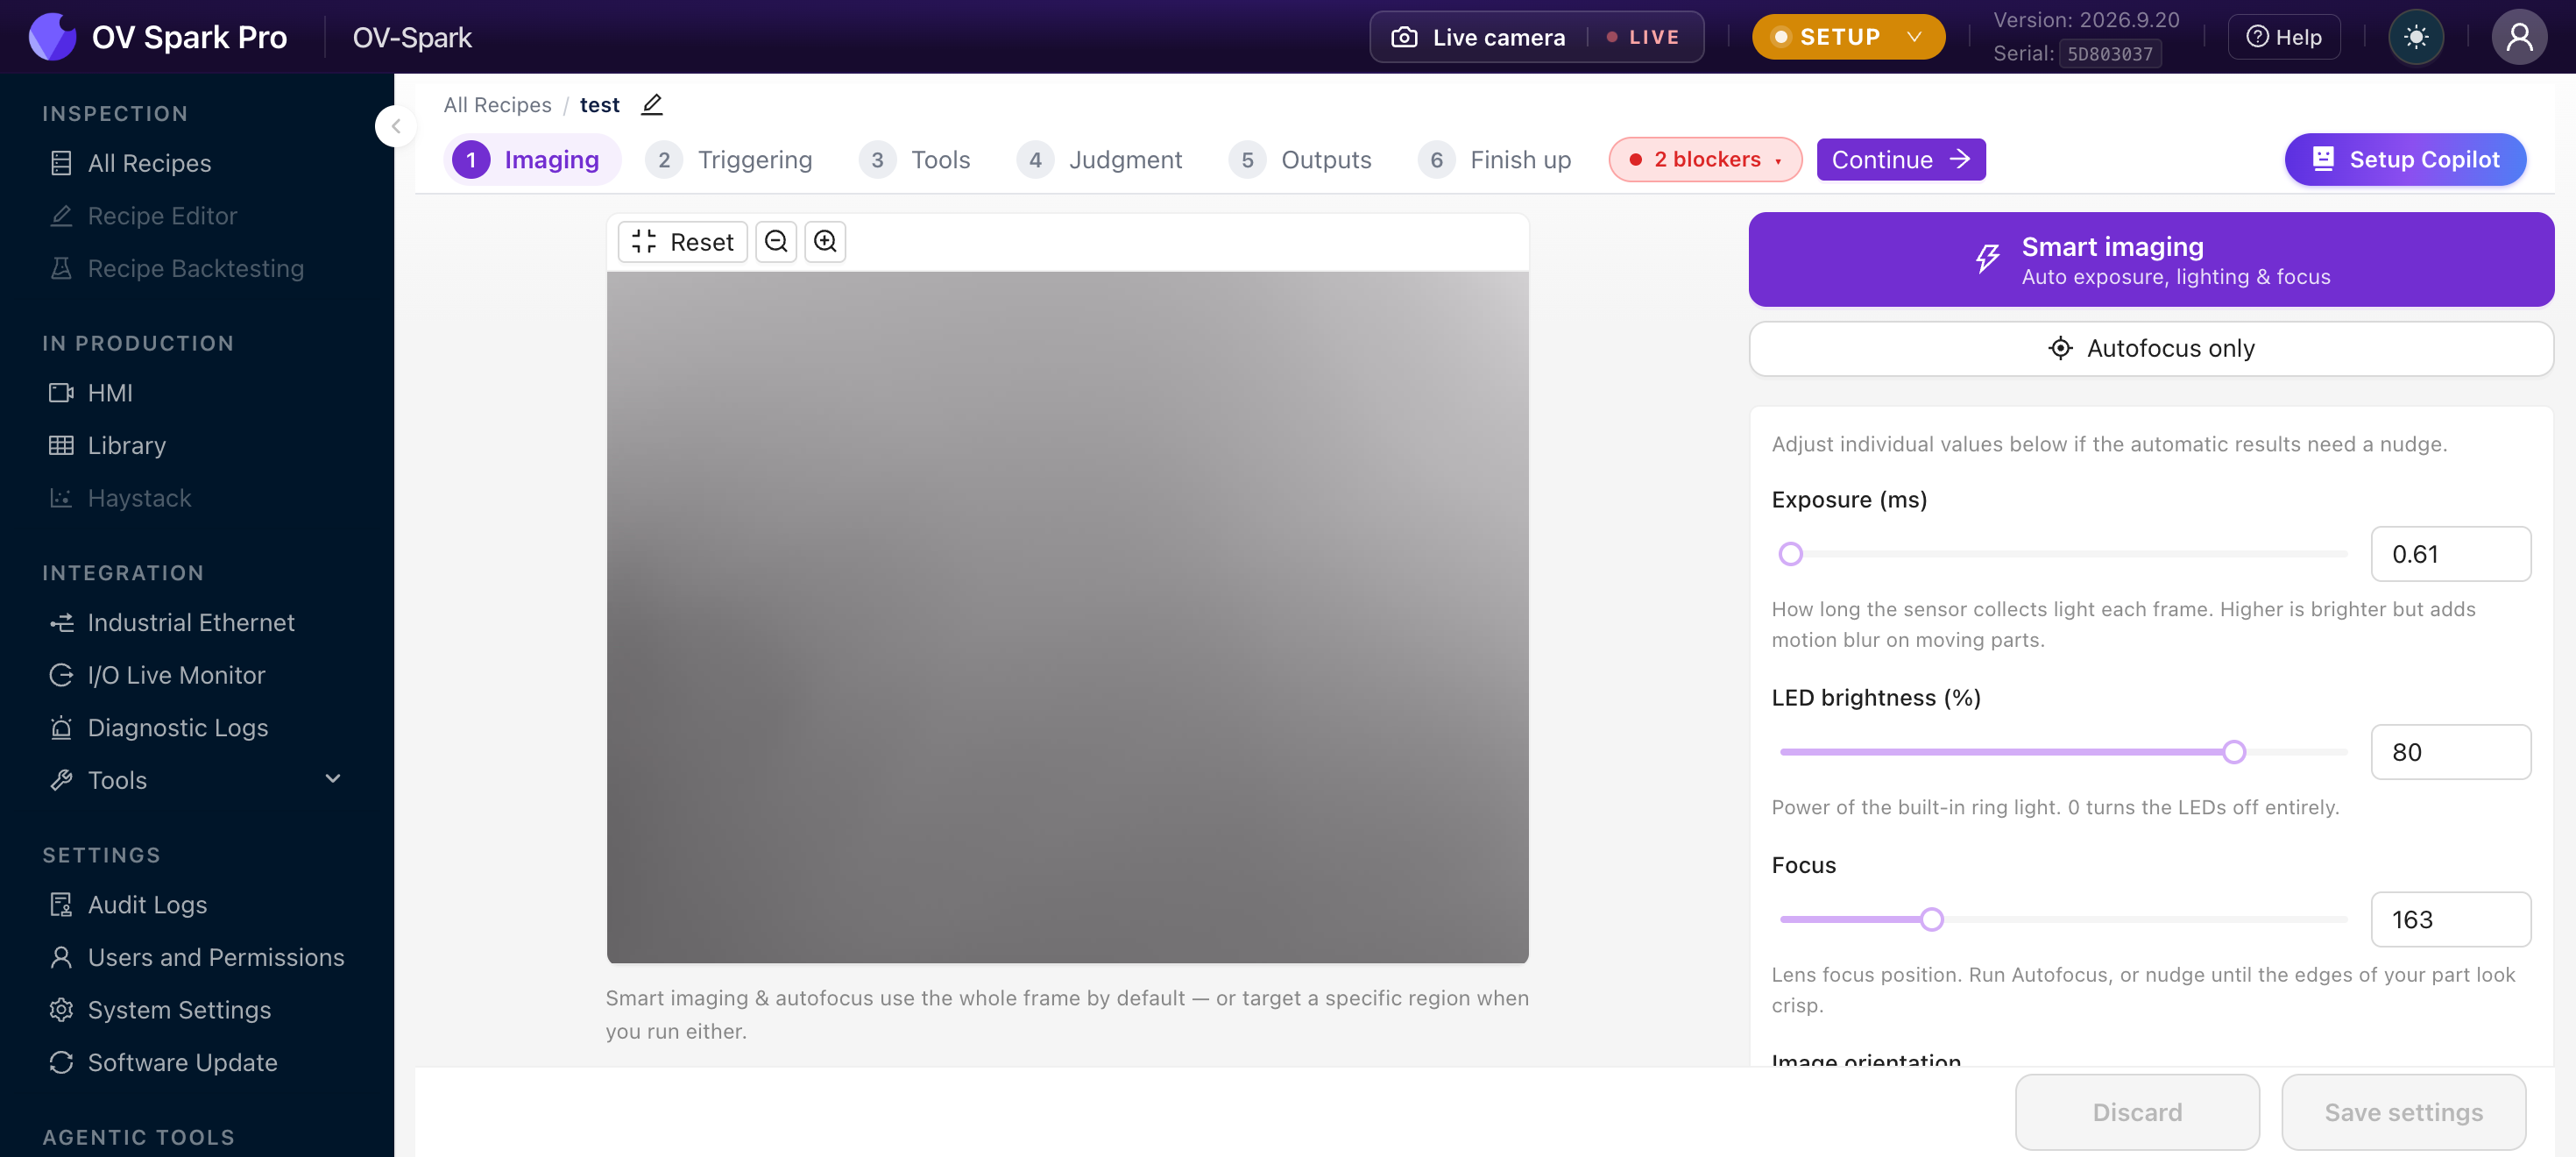
Start with the automatic buttons
| Button | What it does |
|---|---|
| Smart imaging | Sets exposure, lighting and focus together |
| Autofocus only | Runs the focus routine and leaves your exposure and lighting alone |
When you press either one, the camera asks what to optimise for: Whole frame, or Draw a region on the live view. Draw a region around the feature you are inspecting when the rest of the scene is much brighter or darker than it, or when the background sits at a different depth.
Smart imaging does not quietly change your settings. It captures a set of candidates at different exposures, with the LEDs on and off, and asks you to Choose the best-looking image. One is marked Recommended. Pick the one where your defect is clearest, then Apply these settings.
The recommended candidate is usually the best-balanced image overall. That is not always the one where a faint scratch or a low-contrast print is most visible. Look at the feature you actually care about.
Fine-tune by hand
| Setting | What it controls | Watch out for |
|---|---|---|
| Exposure (ms) | How long the sensor collects light | Longer is brighter, but a moving part blurs |
| LED brightness (%) | Power of the built-in ring light | 0 turns it off completely |
| Focus | Lens position, driven by the autofocus motor | Nudge until edges are crisp at full zoom |
| Image orientation | Rotates the image to match the mounting | Set it before drawing any region |
| Lighting mode | How the built-in LEDs behave: Off, Strobe or Always on | See below |
Lighting mode
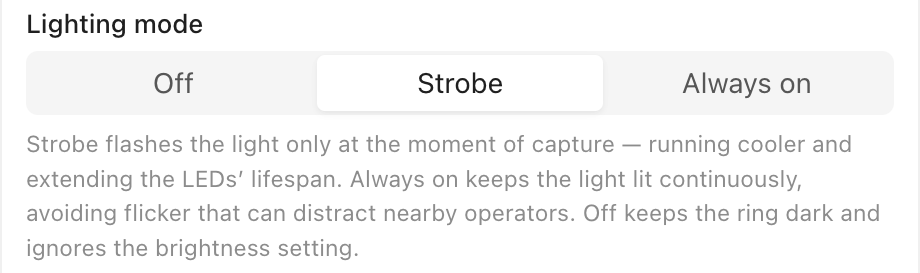
| Mode | What it does | Use it when |
|---|---|---|
| Strobe | Flashes the LEDs only at the moment of capture | Most lines. It runs cooler and extends LED life |
| Always on | Keeps the LEDs lit all the time | Flicker would distract operators working nearby |
| Off | Keeps the ring dark and ignores LED brightness | You light the part with your own external lights, or the built-in LEDs cause glare |
Both leave the ring dark, but Off keeps your brightness value for when you switch back. Use Off to try the part under external light, then return to Strobe without re-entering the setting.
OV Spark does not have the Zoom control; it is an OV Spark Pro feature. To get more detail on a small part, move the camera closer or use a longer lens.
Under Advanced settings:
| Setting | Use it when |
|---|---|
| Gain (dB) | You cannot add light and cannot lengthen exposure. It brightens the image but adds noise |
| LED ring mode | You need a different lighting pattern from the default |
| White balance mode and temperature | Colour matters, which it does for Color Match |
Automatic white balance re-adapts whenever the colour in the frame changes, which is exactly what Color Match is trying to measure. If the recipe has a Color Match tool, set a fixed white balance here first.
What a good image looks like
- Sharp: the feature has crisp edges at full zoom
- Evenly lit: no blown-out highlights and no black shadows where the feature is
- Consistent: ten captures in a row look the same
- Well filled: the part takes up most of the frame, so the AI has pixels to work with
If you cannot see the defect in the camera image yourself, the AI will not learn it either. Fix that with lighting and position now. No amount of training data rescues an image where the defect is invisible.
Moving parts
OV Spark has a global shutter, so a moving part is not skewed. It can still blur, because the part keeps moving while the sensor collects light.
The rule: the part should move less than about one pixel during the exposure. If edges look soft on a moving line, shorten the exposure and make up the lost light with LED brightness first and Gain second.
Overview's optics calculators include Max Part Speed, Field of View, Mounting Distance and Min Defect Size. Choose your camera under Camera Model.
Why this step comes first
Tools learn from the images they were trained on. Change focus, exposure, lighting, orientation or the mounting after training, and what the camera sees no longer matches what it learned. Recapture your examples and retrain.
This is why Imaging is Step 1, not a finishing touch.