AI 驱动文档
您想了解什么?
Defect Creator Studio
解决的问题: 您需要罕见缺陷的训练数据,但等待它们自然发生需要数周或数月时间。
功能说明: 从单张良品图像加上一段普通英语描述,生成逼真的合成缺陷图像。上传一个良品零件,标记缺陷应出现的位置,描述缺陷(例如 "焊缝沿线的细微裂纹"),即可在几秒内获得数十张逼真的训练图像。
入门指南
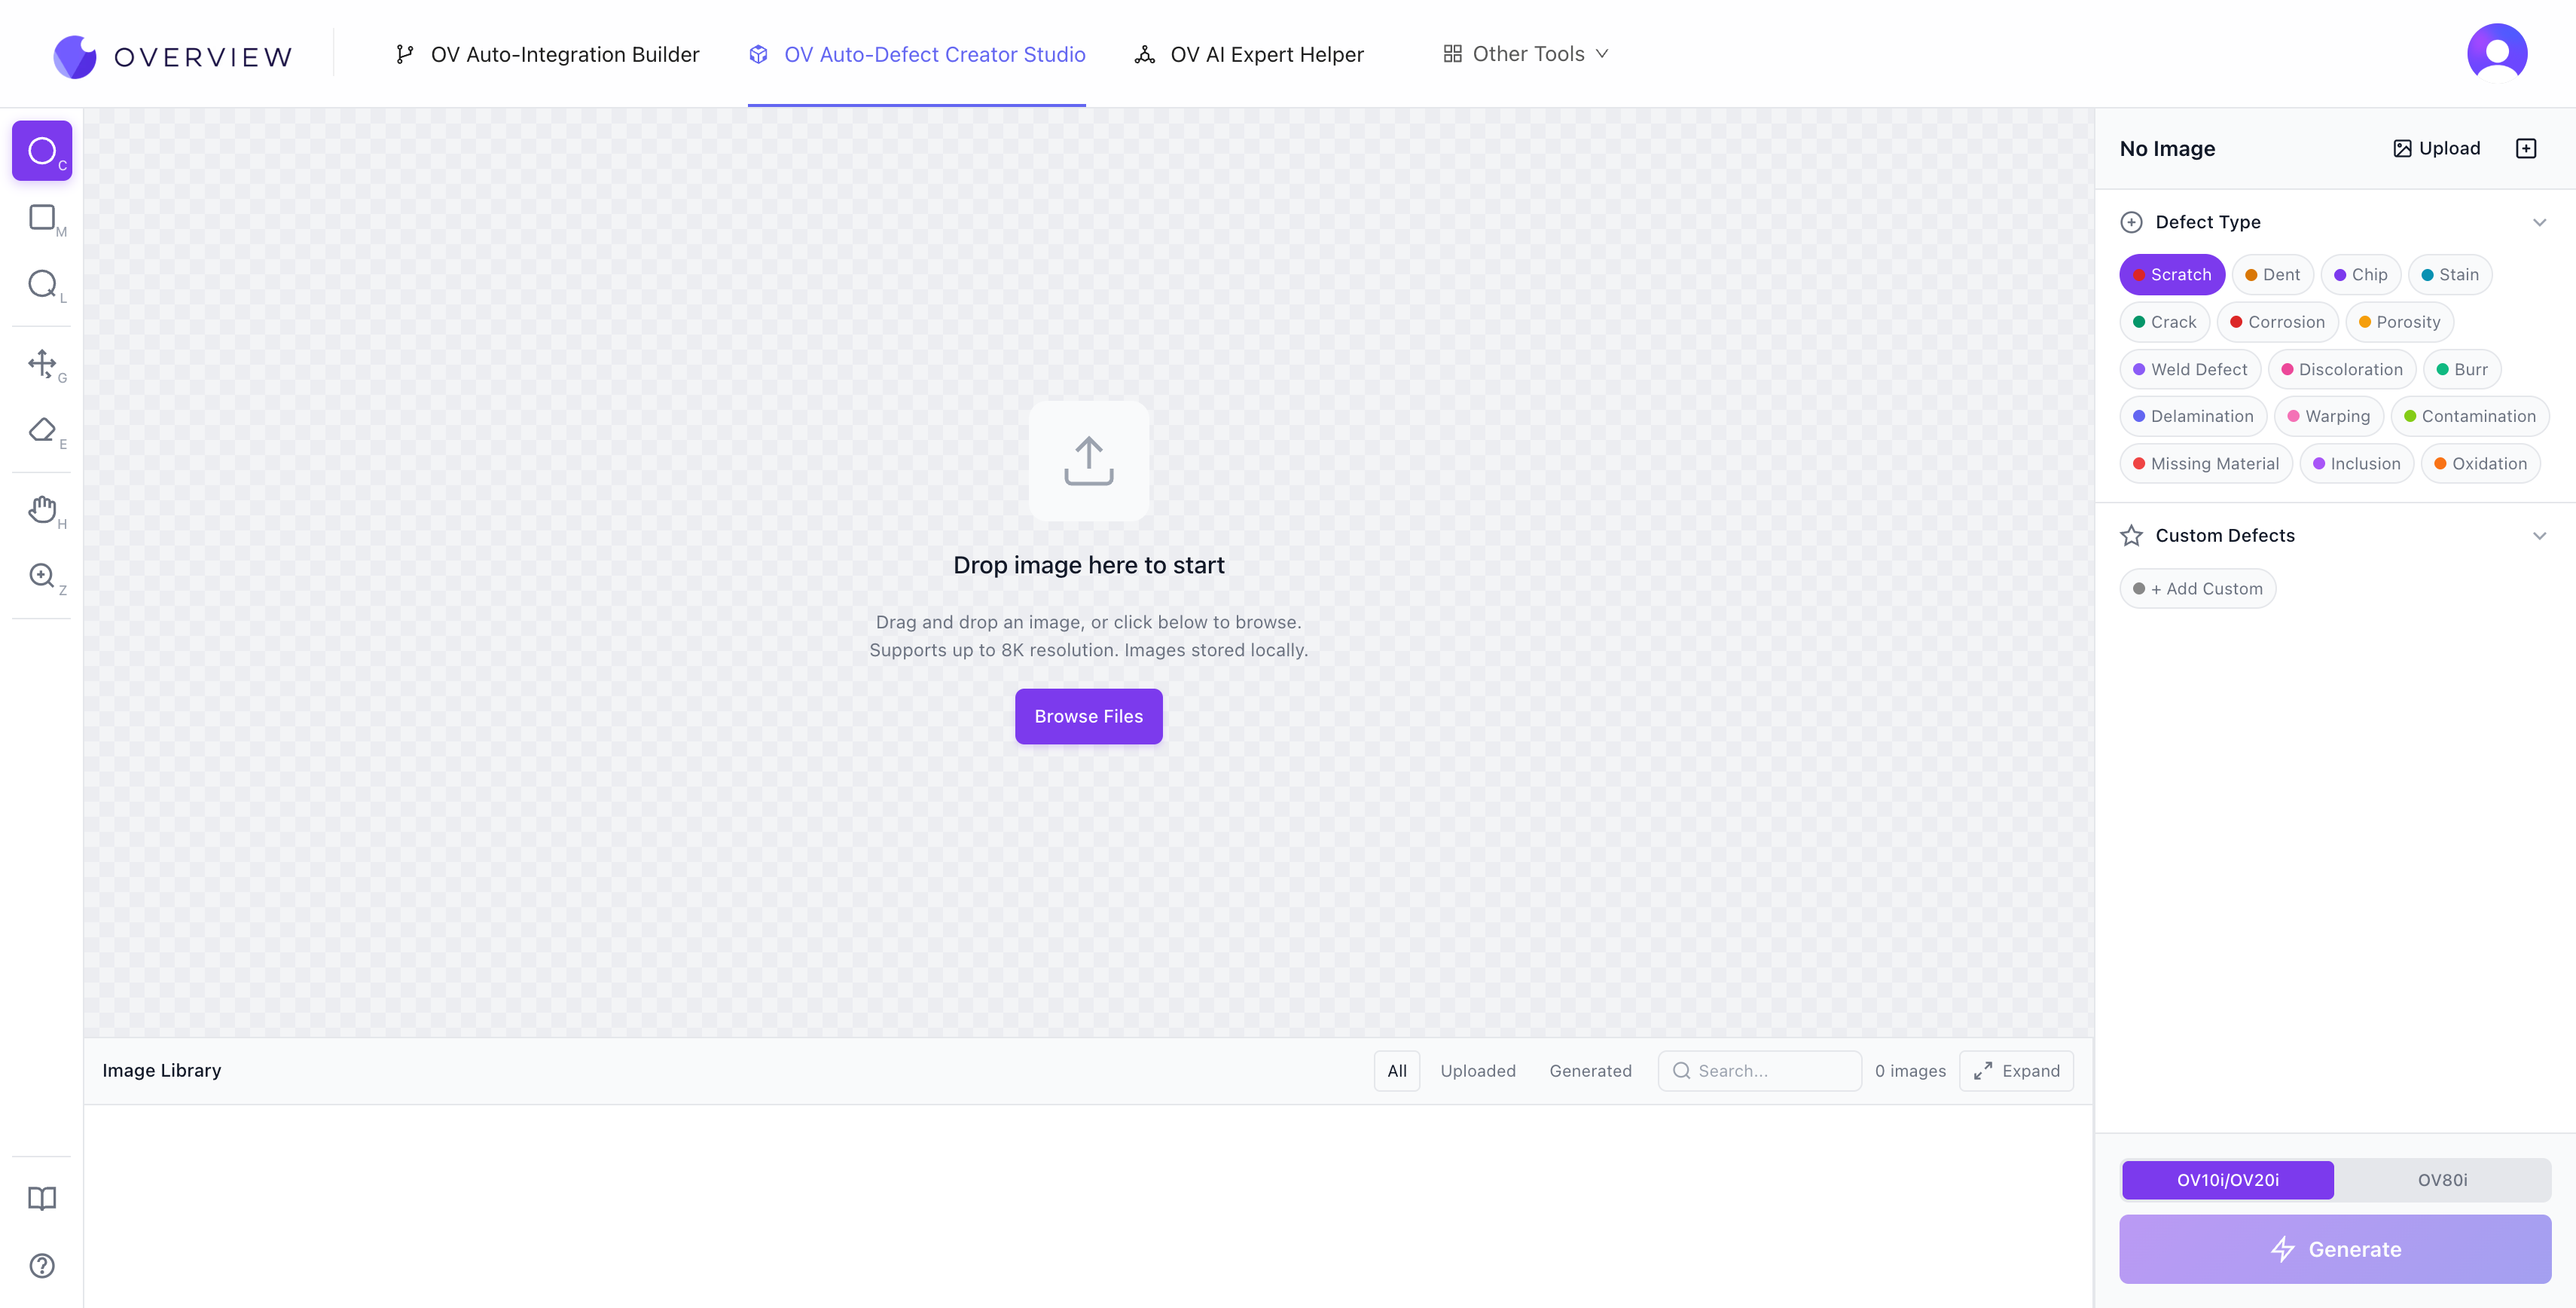
- 上传 一张光线良好、清晰的零件图像。拖放至画布,或点击 Browse Files。该工具支持最高 8K 分辨率,所有图像均本地存储在您的浏览器中。
- 选择相机目标。 在 OV10i/OV20i(1408 x 1080,4:3 宽高比)和 OV80i(3840 x 2160,16:9)之间切换。这些参数与 OV 相机的实际传感器输出相匹配。如果您的图像较大,工具会自动降采样。如果宽高比不匹配,裁剪叠加层可让您选择要保留的部分。
- 选择缺陷类型。 上传后,AI 会分析您零件的材质、形状和表面处理,然后推荐相关的缺陷类型。内置 16 种缺陷类型:Scratch(划痕)、Dent(凹陷)、Chip(缺口)、Stain(污渍)、Crack(裂纹)、Corrosion(腐蚀)、Porosity(气孔)、Weld Defect(焊接缺陷)、Discoloration(变色)、Burr(毛刺)、Delamination(分层)、Warping(翘曲)、Contamination(污染)、Missing Material(材料缺失)、Inclusion(夹杂)和 Oxidation(氧化)。您还可以使用自己的描述添加 Custom Defects。
- 标记缺陷区域。 使用注释工具精确绘制缺陷应在图像上出现的位置。
- 生成。 点击紫色的 Generate 按钮。AI 会在您标记的区域内创建逼真的缺陷。
注释工具
左侧工具栏提供七种工具,用于精确放置缺陷:
| 快捷键 | 工具 | 最适合 |
|---|---|---|
| C | Circle Marker | 圆形或点状缺陷,如凹坑、气泡、局部变色 |
| M | Rectangle Select | 带状图案,如沿边缘的划痕或面板级翘曲 |
| L | Lasso | 不规则或有机形状,如裂纹、泄漏、复杂断裂图案 |
| G | Move/Resize | 在绘制后重新定位和调整注释大小 |
| E | Eraser | 移除注释 |
| H | Pan | 在图像上导航(也可通过按住 Space 临时启用) |
| Z | Zoom | 放大至 800%,实现像素级精度 |
其他键盘快捷键:Ctrl+Z 撤销,Ctrl+Shift+Z 重做,Del 删除最后一个注释。

注释工具栏
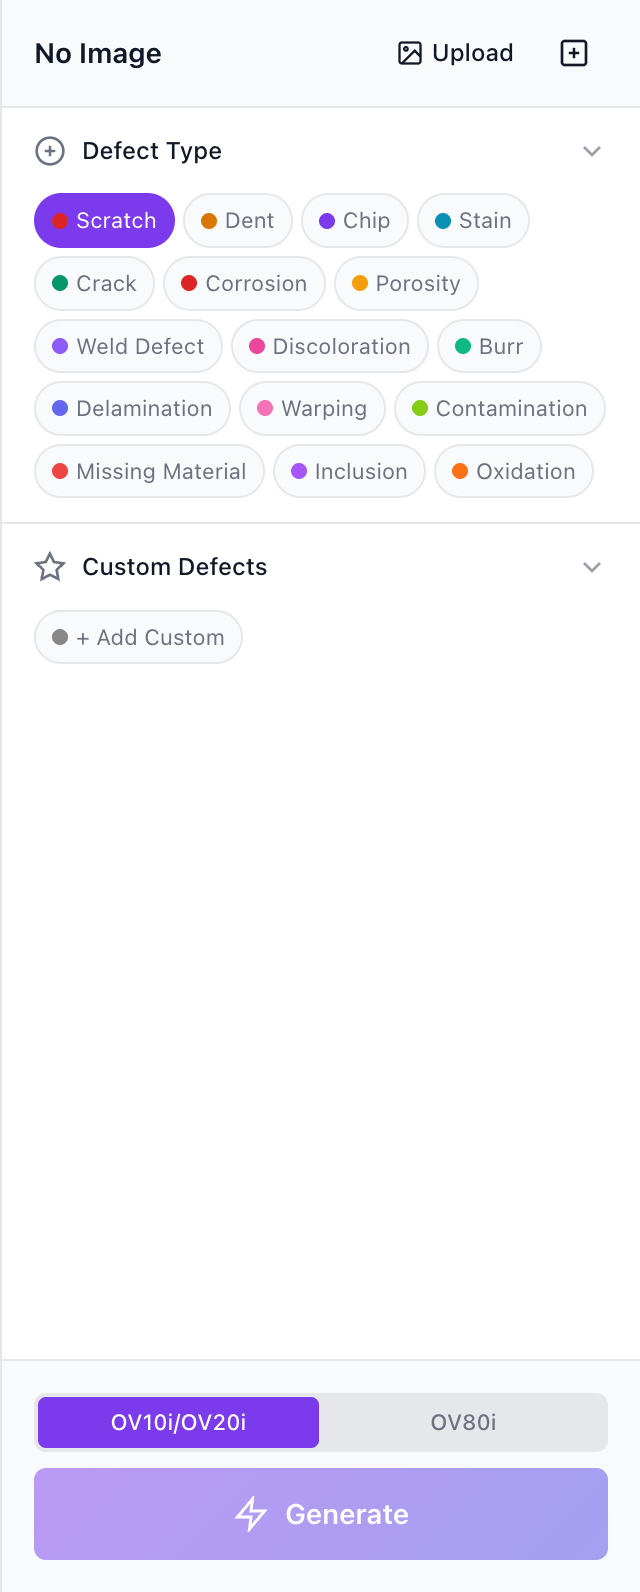
带有相机选择器和 Generate 按钮的缺陷类型面板
将每个注释视为精确的指令窗口。AI 仅在您的选择范围内生成缺陷。如果您的区域紧贴预期缺陷区,模型就能精准聚焦。包含不相关背景的宽松区域可能会导致模型将缺陷影响扩散到多余区域。
编写有效的缺陷描述
AI 将您的缺陷名称解释为自然语言指令。具体性很重要。
| 质量 | 示例 | 原因 |
|---|---|---|
| 好 | "Light horizontal transparent scratches on glossy plastic" | 包含形态、方向、表面类型和视觉表现 |
| 好 | "Fine radial crack near molded corner" | 明确说明形状、位置和材料背景 |
| 差 | "scratch" | 过于模糊,模型无法产生有用的结果 |
| 差 | "damage" | 无形态描述,无表面背景 |
先从 AI 建议的缺陷类型开始。它们在 UI 中显示较短,但在内部每一项都映射到更丰富的语义描述,帮助模型产生准确的结果。仅当您的目标未被建议涵盖时,才添加自定义缺陷。
从图像捕获(参考缺陷)
这是最强大的功能之一。使用浏览与捕获选择已上传的图像,标记真实的缺陷区域,并将其保存为可重用的参考模板。这使您能够将真实缺陷从一张图像迁移到其他图像上。
- 命名至关重要。 裁剪区域既包含缺陷也包含周围背景。AI 使用您的命名来理解哪一部分是实际的缺陷。"Bent pin on connector" 为模型提供了语义锚点,而 "defect" 则让模型无从判断。
- 迁移场景: 同一零件位于不同位置、同一生产线上的相似零件,甚至在缺陷概念仍然适用时迁移到不同的生产线(例如,一个塑料外壳上的划痕可以很好地迁移到另一个塑料外壳上)。
- 严重程度、旋转和尺寸滑块(仅适用于参考缺陷):如果没有变化,每个迁移的缺陷都将是完全相同的副本。旋转改变角度和方向。尺寸控制空间覆盖范围。严重程度控制缺陷在视觉上的显著程度。
严重程度控制
严重程度滑块控制缺陷在视觉上的显著程度。默认值刻意设置得较轻微,因为大多数真实制造缺陷都是细微的。即使在 50% 时,缺陷仍然相当不明显。在 1% 时,缺陷对人类几乎不可见,但 OV 视觉相机仍然能够检测到。这是机器视觉的关键优势之一:相机永不疲倦,可以捕捉到低于人类感知阈值的模式。
风格变化模式
位于 Change Image 按钮旁。上传图像后,AI 分析零件类型并建议制造中常见的风格修改,例如将金属表面处理从拉丝改为抛光、切换塑料颜色或更改涂层类型。您也可以添加自己的自定义风格变化。
两种有效的顺序:
- 先重塑风格,再添加缺陷。 适用于为新产品线或配色方案(尚未实际存在)生成训练数据。
- 先添加缺陷,再重塑风格。 查看同一缺陷在不同材料、表面处理和颜色变体上的表现。
零件的几何形状、方向、布局和构图保持不变。仅有目标风格属性发生变化。这一点特别有价值,因为缺陷上下文(位置、形状、严重程度)在各个变体中保持稳定,因此您的模型学习的是检测缺陷本身,而不是缺陷与表面外观的特定组合。
区域限制
- 最多 9 个常规缺陷区域(内置或基于自定义文本)
- 最多 4 个参考图像迁移缺陷
- 区域越少,通常结果越清晰。从一个精确区域开始,验证质量后再逐步添加。
队列与吞吐量
Studio 最多可并行运行 3 个生成任务。额外请求会自动排队,并在有空闲槽位时执行。使用 3 次运行批量进行快速 A/B/C 对比:提交相同配置三次,并排比较结果,选出最佳输出。对于大批量任务,可排队 10 个或更多作业,让它们在后台处理,同时您可以继续其他工作。
对比、库与下载
- 对比: 在基线图像与生成图像之间切换。对于细微缺陷,快速切换/闪烁式切换效果最佳。人类视觉系统通过运动检测变化的能力远远优于静态并排比较。
- 图像库: 底部托盘提供可滚动的胶片条,便于快速视觉浏览。展开视图增加了完整的数据集管理功能:搜索、排序、多选(Ctrl/Shift 点击)、下载单个图像、创建用于训练流水线的 ZIP 压缩包以及删除。
- 标注持久化: 在图像之间切换时,所有标注都会自动保存和恢复。切换到其他图像查看后返回,所有区域仍然完好保留在原位。
推荐工作流程
- 上传一张干净的基线图像,并确保其符合 OV80i(3840 x 2160)取景要求。良好的照明、正确的对焦和最少的背景杂乱都有帮助。
- 从 AI 建议的缺陷开始。它们已针对您的零件类型进行校准。仅当缺少目标缺陷时才添加自定义命名。
- 放置一个精确、紧凑的区域并先生成。单区域运行是最可靠的基线。
- 在每次生成后积极使用对比功能。对于细微缺陷,快速切换可以让即使是微小的差异也能在视觉上凸显出来。
- 根据所见结果调整严重程度、区域紧凑度和措辞。重复操作直至质量稳定,然后扩展到多个区域和队列批量处理。
最佳方法:首先使用最初的 3-5 张真实图像进行训练,识别 AI 表现不佳的地方,然后使用 Defect Studio 针对这些特定故障模式生成有针对性的合成样本。真实数据教会基线;合成数据填补空白。
Defect Studio 生成的图像在填补训练集空白方面非常强大,但绝不应成为训练数据的唯一来源。务必针对真实生产图像验证模型性能。
实际演示
在工作流程中的位置: 您将在第 4 步:训练您的 AI 模型期间使用 Defect Studio 来更快地构建训练数据。