AI-POWERED DOCS
What do you want to know?
Defect Creator Studio
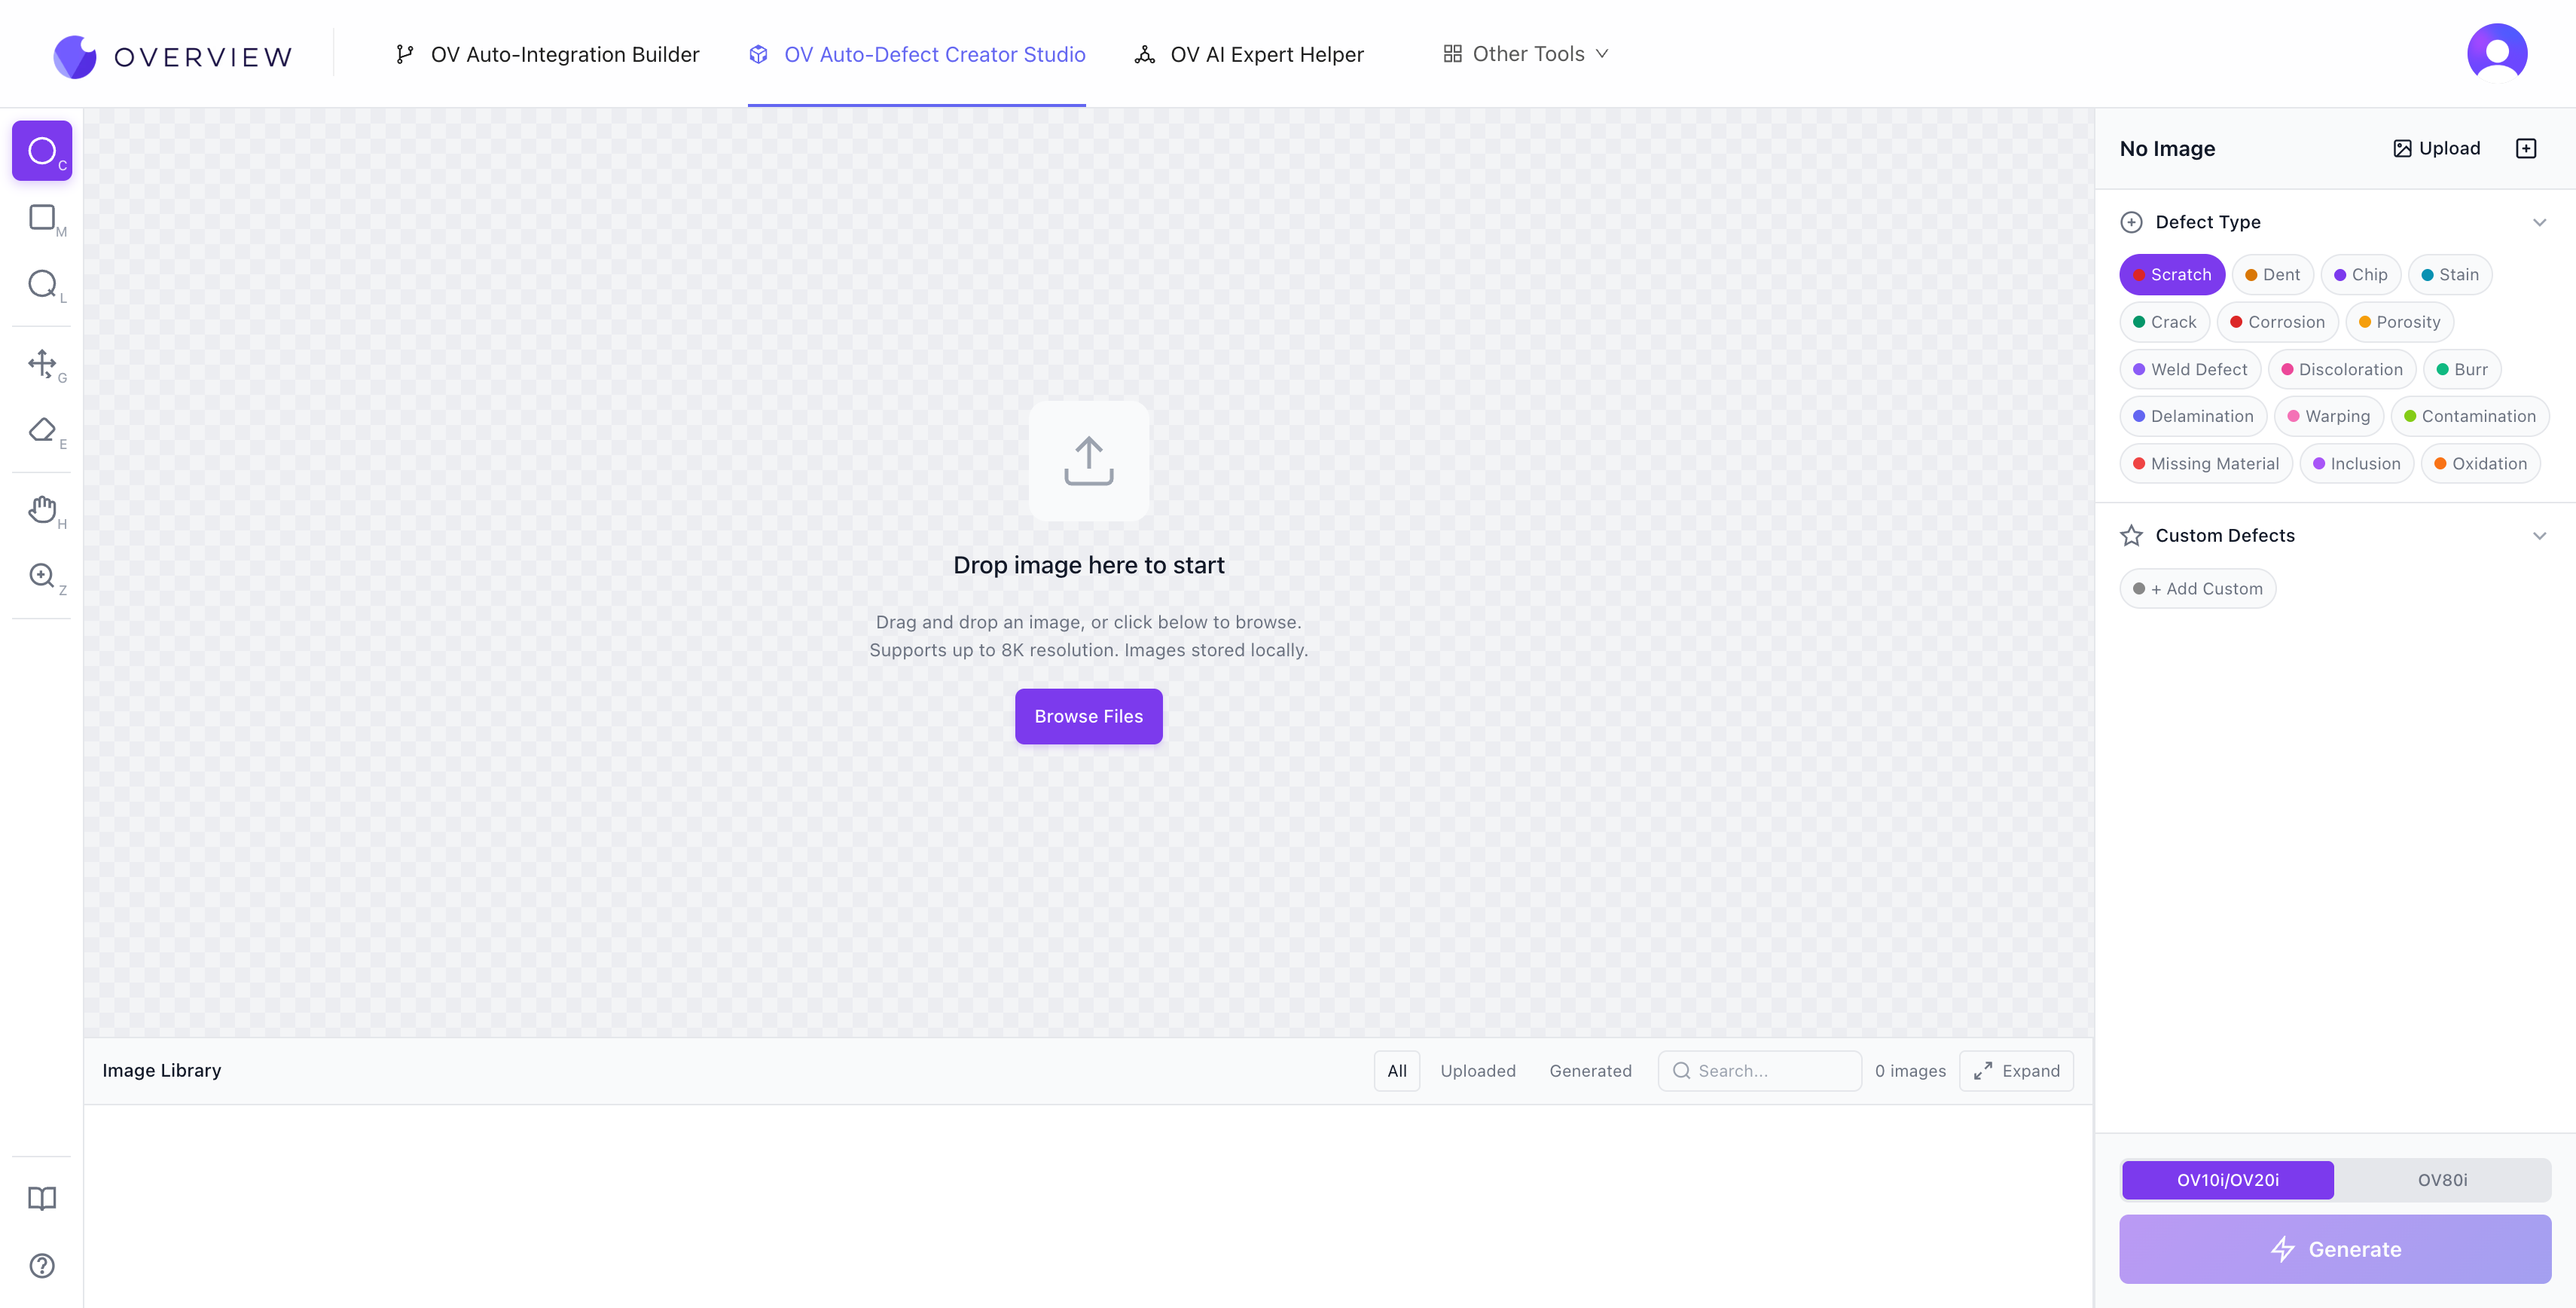
Problem it solves: You need training data for rare defects, but waiting for them to happen naturally takes weeks or months.
What it does: Generates photorealistic synthetic defect images from a single good image plus a plain English description. Upload a good part, mark where the defect should appear, describe it ("hairline crack along the weld seam"), and get dozens of realistic training images in seconds.
- Makes synthetic defect images from one good image and a plain description
- Runs in the cloud, behind a consent screen that is remembered per camera
- Use it to fill gaps after training on real parts, never instead of them
It runs in the cloud
On OV Spark Pro, Defect Studio sits under Agentic Tools in the sidebar and carries a cloud badge. The first time you open it on a given camera, a consent screen appears before anything loads.
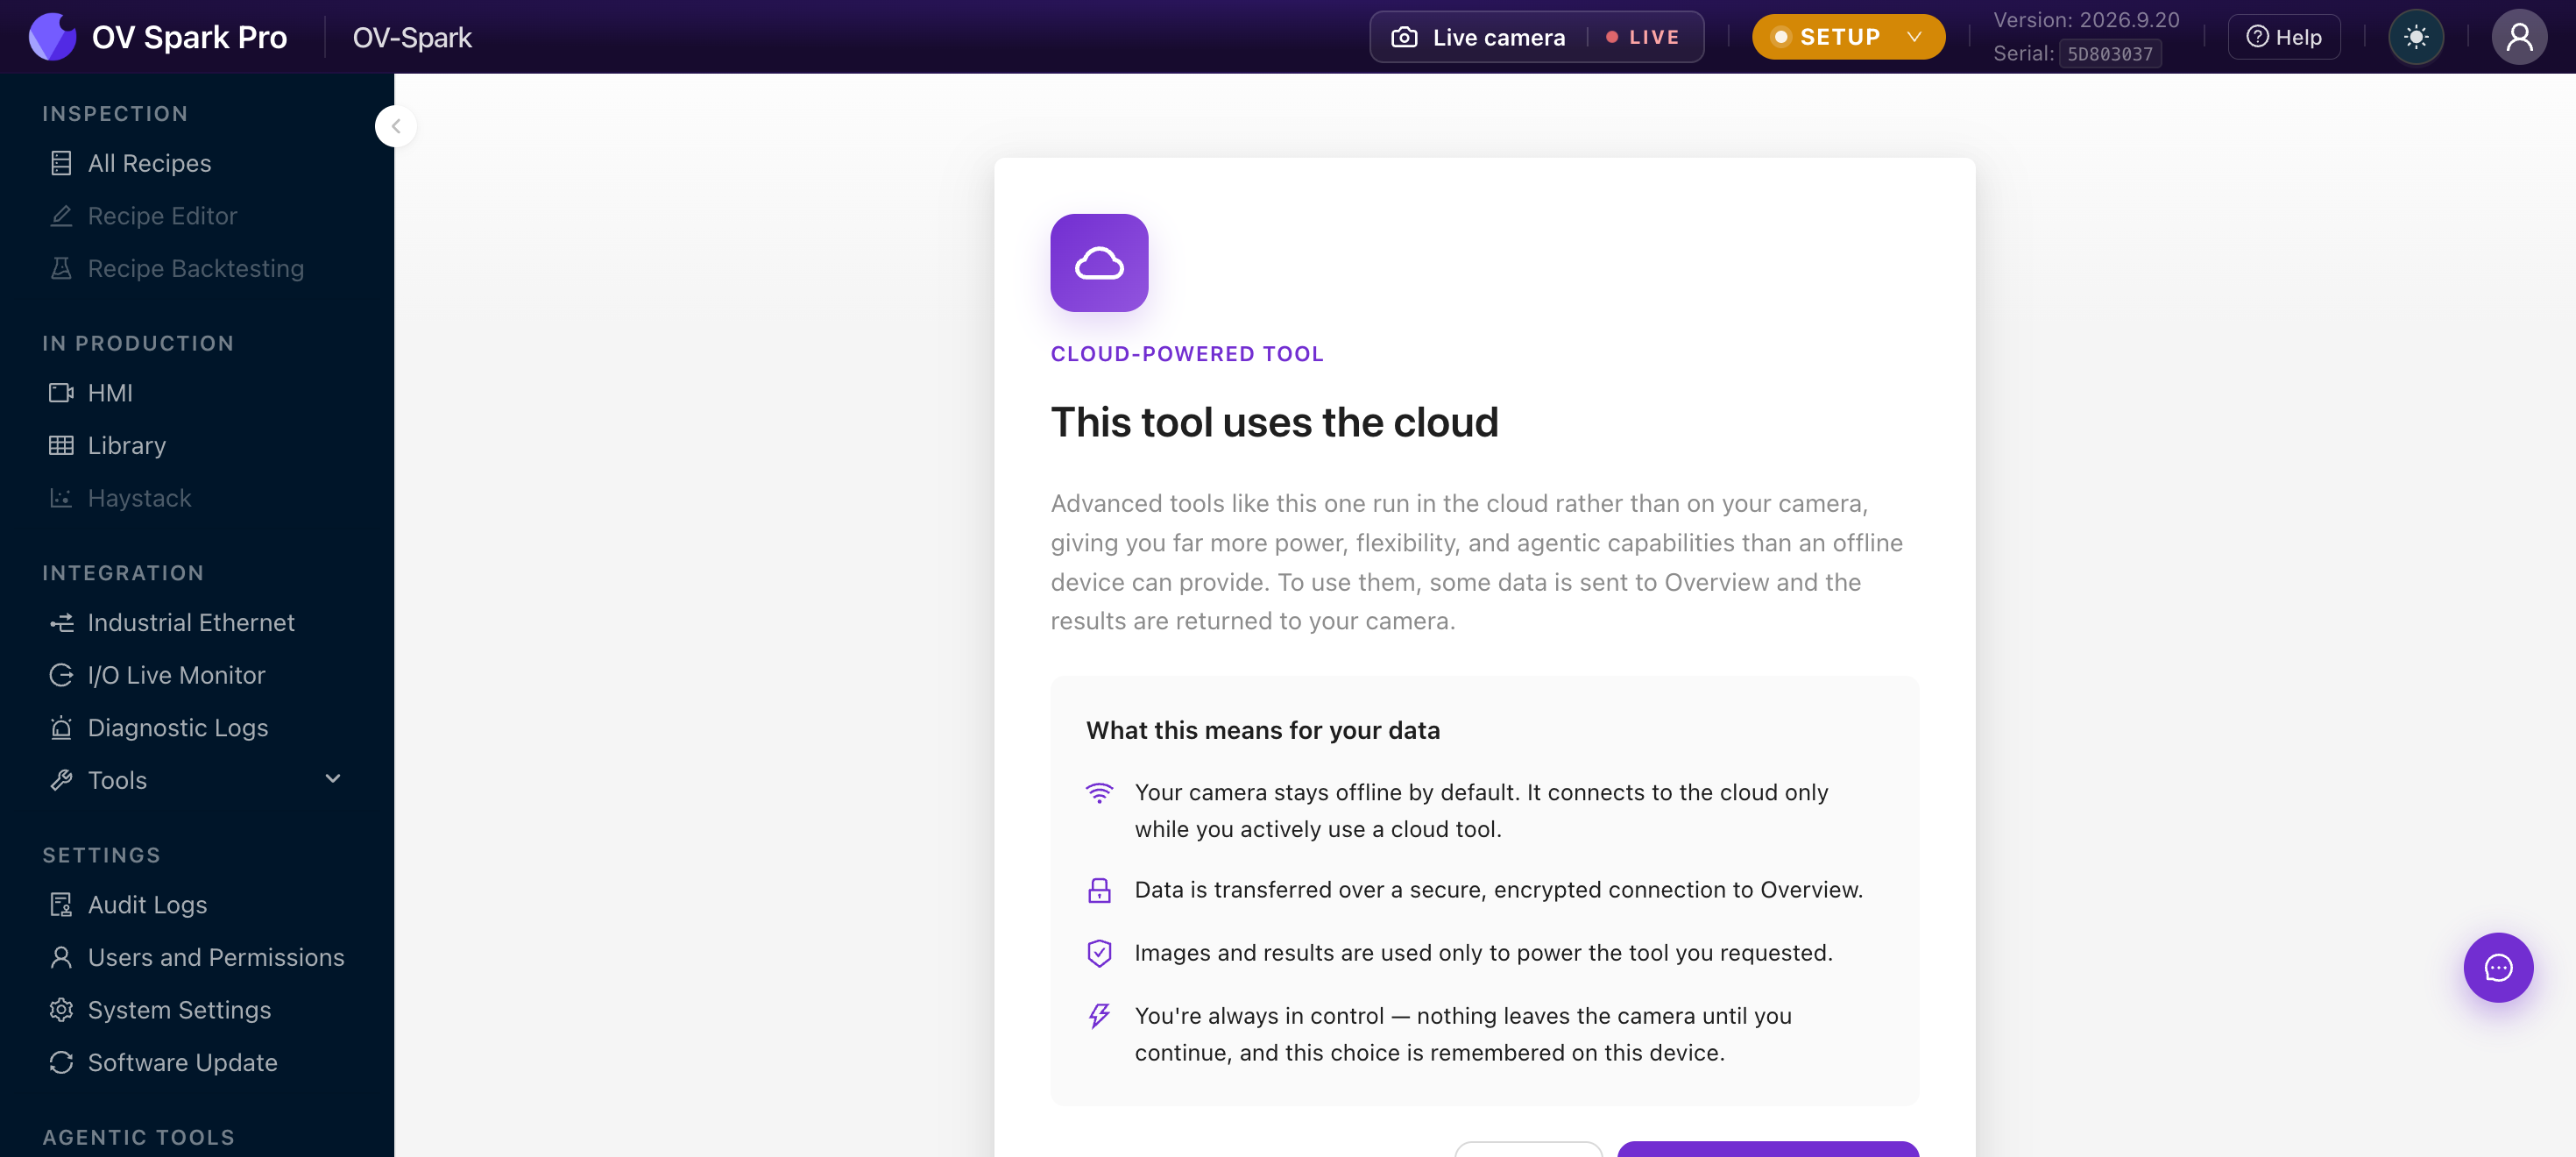
The four assurances it makes:
- Your camera stays offline by default, and connects only while you actively use a cloud tool
- Data is transferred over a secure, encrypted connection to Overview
- Images and results are used only to power the tool you requested
- Nothing leaves the camera until you continue, and the choice is remembered on this device
Many plants restrict sending production images off-premises. Consent is stored per camera serial, so accepting on one camera does not accept on any other, and a camera on an isolated network can stay isolated.
Declining costs you nothing else. Every inspection capability on the camera runs on-device and does not depend on this.
Getting started
- Upload a clean, well-lit image of your part. Drag and drop into the canvas, or click Browse Files. The tool supports up to 8K resolution, and all images are stored locally in your browser.
- Choose your camera target. Match the aspect ratio to the camera the training data is for. OV Spark Pro captures 2592 x 1944 at 4:3. If your image is larger, the tool downscales automatically. If the aspect ratio does not match, a crop overlay lets you choose which portion to keep.
- Select a defect type. After upload, the AI analyzes your part's material, shape, and surface finish, then suggests relevant defect types. 16 built-in types are available: Scratch, Dent, Chip, Stain, Crack, Corrosion, Porosity, Weld Defect, Discoloration, Burr, Delamination, Warping, Contamination, Missing Material, Inclusion, and Oxidation. You can also add Custom Defects with your own descriptions.
- Mark the defect region. Use the annotation tools to draw precisely where the defect should appear.
- Generate. Click the purple Generate button. The AI creates a photorealistic defect within your marked region.
Annotation tools
The left toolbar provides seven tools for precise defect placement:
| Shortcut | Tool | Best for |
|---|---|---|
| C | Circle Marker | Round or spot-type defects like pits, bubbles, localized discoloration |
| M | Rectangle Select | Banded patterns like scratches along an edge or panel-level warping |
| L | Lasso | Irregular or organic shapes like cracks, spills, complex fracture patterns |
| G | Move/Resize | Repositioning and resizing annotations after drawing them |
| E | Eraser | Removing annotations |
| H | Pan | Navigating around the image (also available temporarily by holding Space) |
| Z | Zoom | Magnifying up to 800% for pixel-level accuracy |
Additional keyboard shortcuts: Ctrl+Z to undo, Ctrl+Shift+Z to redo, Del to delete the last annotation.

Annotation toolbar
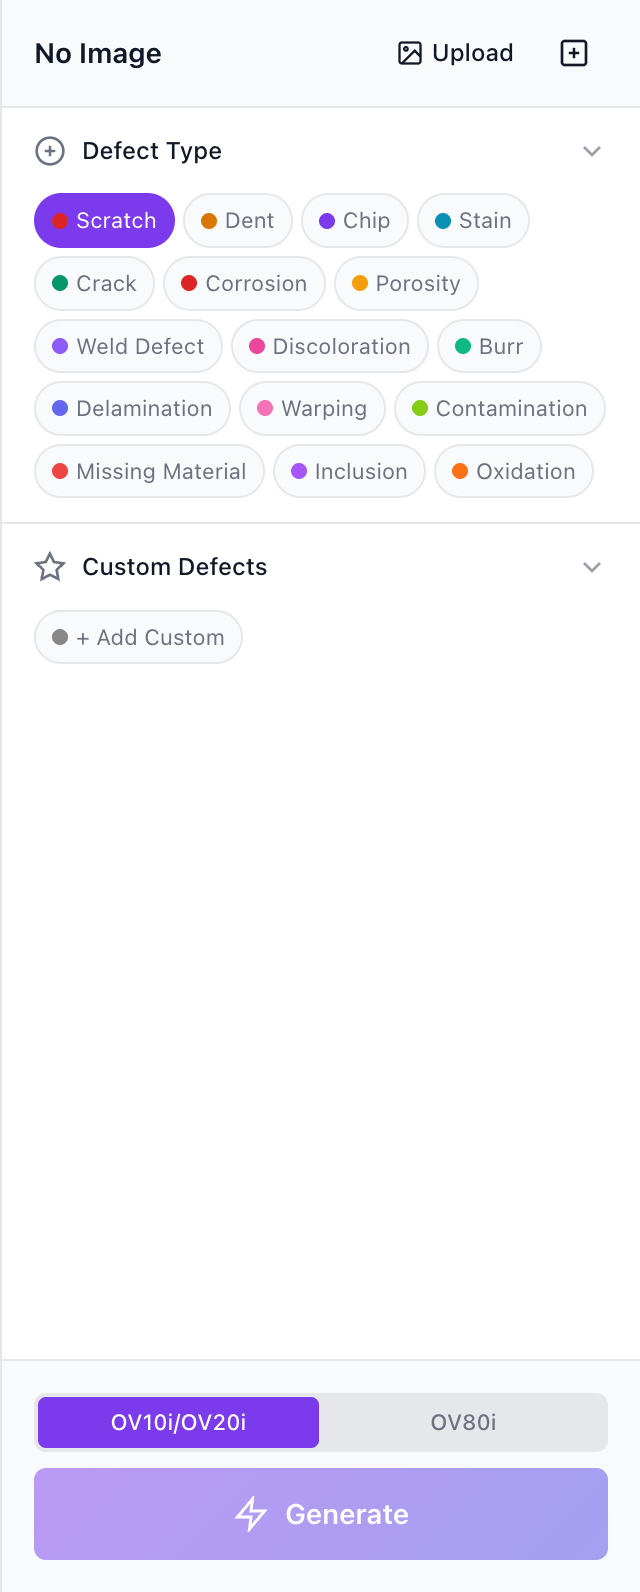
Defect type panel with camera selector and Generate button
Treat each annotation as a precise instruction window. The AI generates defects only inside your selection. If your region is tight around the intended defect zone, the model can focus precisely. Loose regions that include unrelated background may cause the model to spread defect influence across extra area.
Writing effective defect descriptions
The AI interprets your defect name as a natural-language instruction. Specificity matters.
| Quality | Example | Why |
|---|---|---|
| Good | "Light horizontal transparent scratches on glossy plastic" | Includes morphology, direction, surface type, and visual behavior |
| Good | "Fine radial crack near molded corner" | Specific about shape, location, and material context |
| Bad | "scratch" | Too vague for the model to produce anything useful |
| Bad | "damage" | No morphology, no surface context |
Start with the AI-suggested defect types first. They appear short in the UI, but internally each maps to a richer semantic description that helps the model produce accurate results. Only add a custom defect when your target is not covered by the suggestions.
Capture from Image (reference defects)
One of the most powerful features. Use Browse & Capture to select an uploaded image, mark a real defect area, and save it as a reusable reference template. This lets you transfer a real defect from one image onto other images.
- Naming is critical. The crop includes both the defect and surrounding background. The AI uses your name to understand which part is the actual defect. "Bent pin on connector" gives the model a semantic anchor, while "defect" leaves it guessing.
- Transfer scenarios: Same part in a different position, similar parts on the same line, or even different manufacturing lines when the defect concept still makes sense.
- Severity, Rotation, and Size sliders (reference defects only): Without variation, every transferred defect would be an exact copy. Rotation changes the angle and orientation. Size controls spatial coverage. Severity controls how visually prominent the defect appears.
Severity control
The severity slider controls how visually prominent the defect appears. The default is intentionally subtle because most real manufacturing defects are subtle. Even at 50%, defects remain quite faint. At 1%, defects are nearly invisible to humans, but OV vision cameras can still detect them. This is one of the key advantages of machine vision: the camera never gets tired and can pick up patterns below the threshold of human perception.
Style Variations Mode
Located next to the Change Image button. After uploading an image, the AI analyzes the part type and suggests style modifications common in manufacturing, like changing a metal finish from brushed to polished, switching plastic color, or altering coating type. You can also add your own custom style variations.
Two valid sequences:
- Restyle first, then add defects. Useful for generating training data for a new product line or colorway before it physically exists.
- Add defects first, then restyle. See how the same defect looks across material, finish, and color variants.
Part geometry, orientation, layout, and composition remain identical. Only the targeted style attribute changes. This is especially valuable because the defect context stays stable across variants, so your model learns to detect the defect itself rather than a specific combination of defect plus surface appearance.
Region limits
- Up to 9 normal defect regions (built-in or custom text-based)
- Up to 4 reference-image transfer defects
- Fewer regions generally yield cleaner results. Start with one precise region, verify quality, then add more incrementally.
Queue and throughput
The Studio runs up to 3 generations in parallel. Additional requests queue automatically and execute as slots become available. Use 3-run bursts for rapid A/B/C comparison: submit the same configuration three times, compare results side by side, and pick the best output. For volume, queue 10 or more jobs and let them process while you continue other work.
Compare, Library, and Downloads
- Compare: Toggle between the baseline and generated image. For subtle defects, rapid toggle/flicker-style switching works best. The human visual system detects change through motion far better than through static side-by-side comparison.
- Image Library: The bottom tray provides a scrollable filmstrip for quick visual scanning. The expanded view adds full dataset management: search, sort, multi-select, download individual images, create ZIP archives for training pipelines, and delete.
- Annotation persistence: When you switch between images, all annotations are automatically preserved and restored.
Recommended workflow
- Upload a clean baseline image with good lighting, proper focus, and minimal background clutter.
- Start with AI-suggested defects. They are calibrated for your part type.
- Place one precise, tight region and generate first. One-region runs are the most reliable baseline.
- Use Compare aggressively after every generation. For subtle defects, rapid toggling makes tiny differences pop visually.
- Adjust severity, region tightness, and wording based on what you see. Repeat until quality stabilizes, then scale to multiple regions and queued volume.
The best approach: train with your initial 3-5 real images first, identify where the AI struggles, then use Defect Studio to generate targeted synthetic examples for those specific failure modes. Real data teaches the baseline; synthetic data fills the gaps.
Defect Studio images are powerful for filling gaps in your training set, but they should never be your only source of training data. Always validate model performance against real production images.
See it in action
Where it fits in the workflow: You'll use Defect Studio while training the AI tools in Step 3 of the recipe editor, to build training data faster.
See also
- Sparky, the other agentic tool
- Inspection Tools